19
SARTORIUS QC - Scales
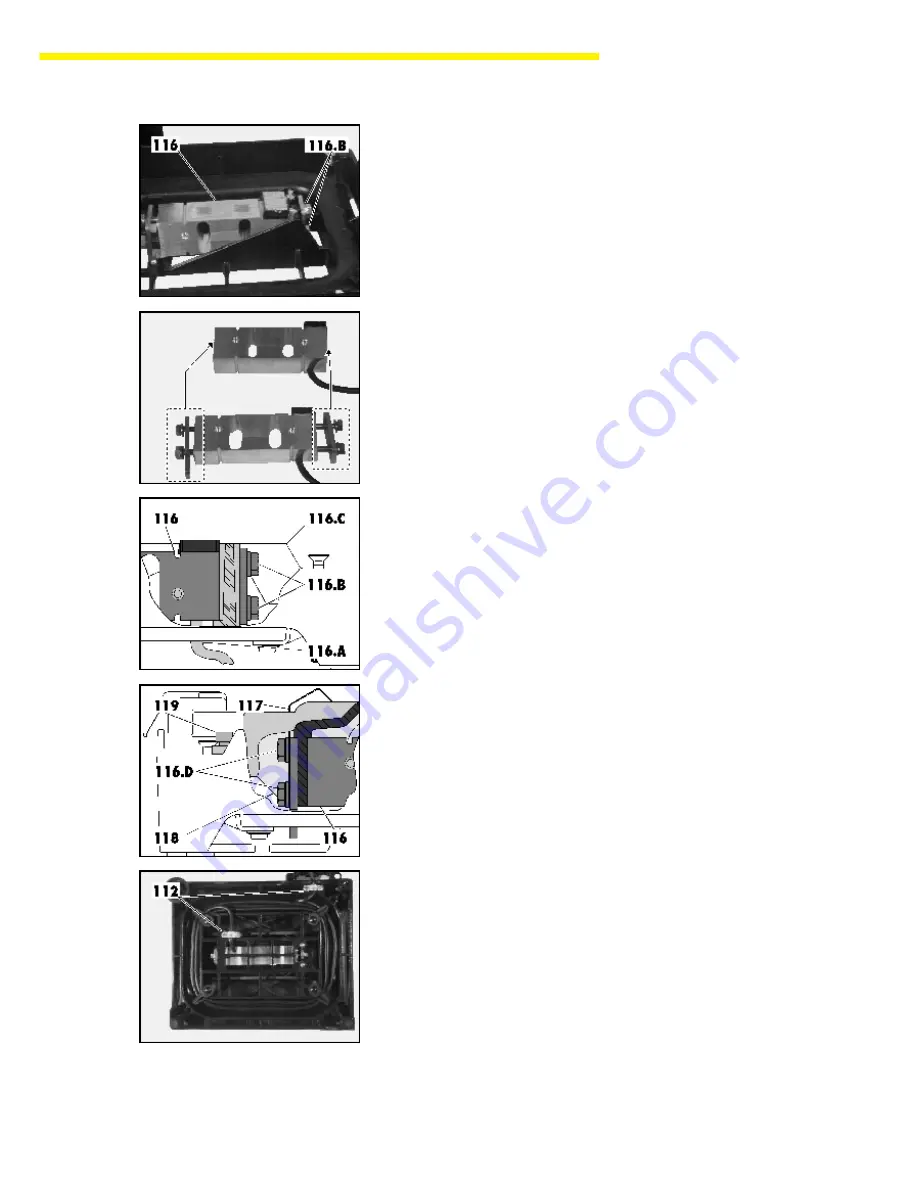
– Now loosen the two fastening screws (116.B) far enough so that you can
remove the strain gauge system through the base pan (116).
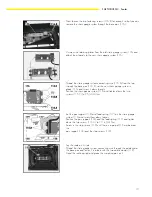
– Unscrew the retaining plates from the old strain gauge system (116) and
attach them loosely to the new strain gauge system (116).
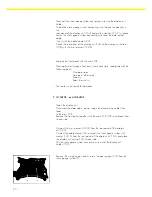
– Thread the strain gauge system connecting wire (116.A) from the top
through the base pan (116.B); set the new strain gauge system in
place (116) and screw it down loosely.
– Position the strain gauge system (116) and tighten down the two
screws (116.C) to 7.5 (+0.4) Nm.
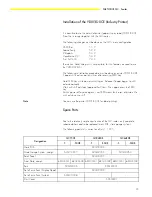
– Set the pan support (118) and load spring (117) on the strain gauge
system (116) and screw them down loosely.
– Position the pan support (118) and the load spring (117) and tighten
down the two screws (116.C) to 7.5 (+0.4) Nm.
– Screw in the stop screws (119) until there is a gap of 0.6 mm between
the
pan support (118) and the stop screws (119).
– Lay the scale on its side.
– Thread the strain gauge system connecting wire through the guide under
the base pan and fasten it in place with the two cable clamps (112).
– Stand the scale upright and place the weighing pan on it.
Summary of Contents for QC34EDE-S
Page 2: ...2...


