21
SARTORIUS QC - Scales
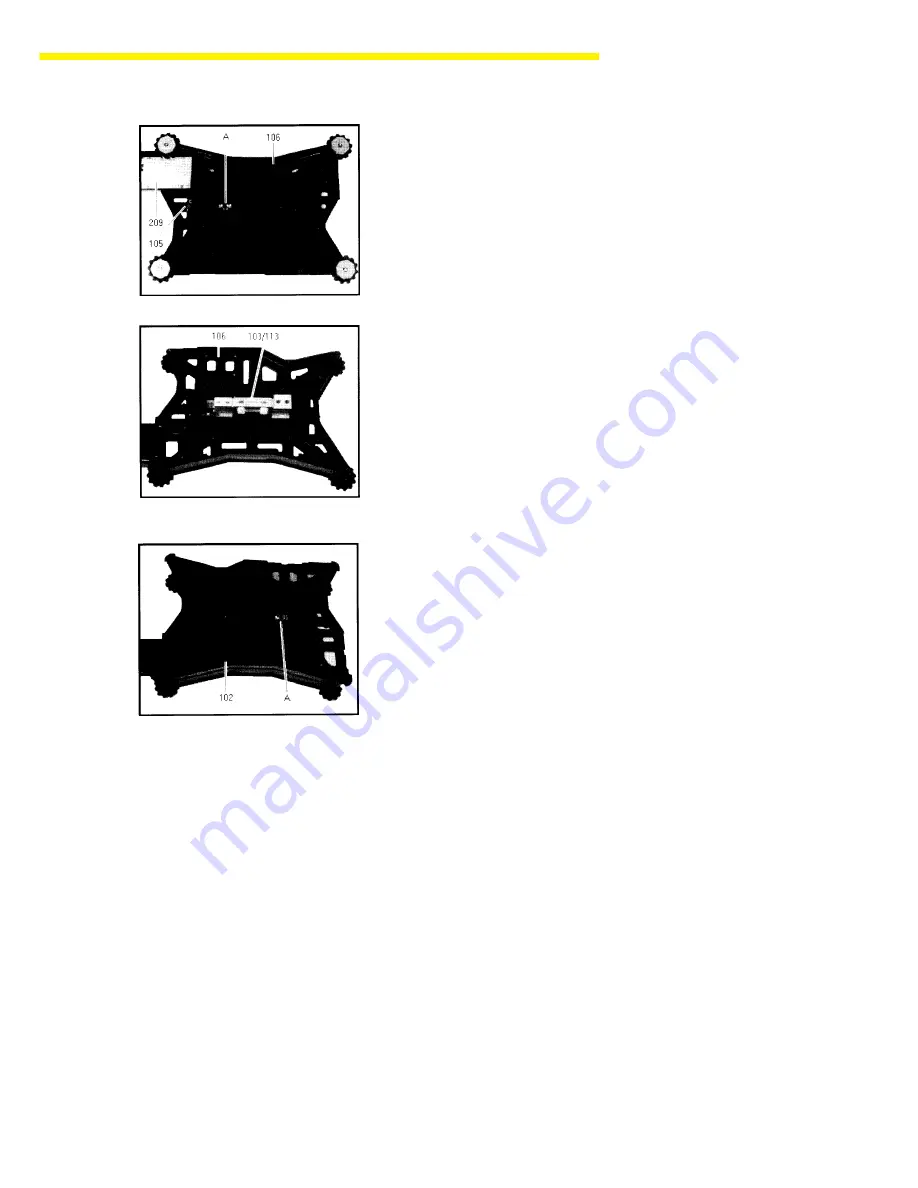
– Lay the scale on its side.
– Remove the cover plate (209) from the holder (210) (A).
– Remove the strain gauge system connecting wire from the bottom
plate (106) (remove the strain relief (105)).
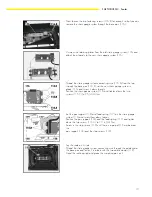
– Unscrew the strain gauge system (103) from the bottom plate (106).
– Unwind the strain gauge system connecting wire from the bottom plate
and remove the strain gauge system.
– Place the new strain gauge system (103/113) on the bottom plate (106)
and screw it down loosely.
– Position the strain gauge system (103/113) and tighten the fastening
screws to 25 Nm.
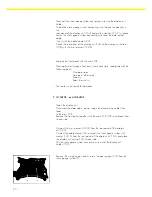
– Attach the strain gauge system connecting wire to the bottom plate (106)
(re-attach the strain relief).
– Loosely attach the screws that hold the pan support (102) on the strain
gauge system, then position it and tighten the screws (25 Nm).
– Now pull the strain gauge system connecting wire into the display unit
holder.
– Thread the strain gauge system connecting wire through the opening in
the rear panel of the display unit (104) and put the washer (104.C) in
place.
– Fasten the strain gauge system connecting wire (and the data output
cable,
if any) with the cable clamp (103).
– Attach the rear panel of the display unit (104) to the display unit
holder (108) with the two retainers (104.B).
– Replace the front panel with the main PCB.
– Now perform a through check and, where necessary, readjustment of the
following points:
Overload stops
Zero point offset value
Linearity
Span (Sensitivity)
– The scale is now ready for operation.
Summary of Contents for QC34EDE-S
Page 2: ...2...


