Savant Lamp Control Deployment Guide
Copyright © 2016 Savant Systems, LLC
009-1388-01 | 160810
36
of
38
Appendix D: Additional Procedures
Configure Lamp Control to Function as a Switch
Follow the steps described below to configure the Lamp Control to operate as an On/Off switch. The procedure
assumes the Lamp Control has already been added to the configuration and is working as a Dimmer.
1.
Open the RacePoint Blueprint configuration.
2.
Open the Lighting Manager from the menu bar (
Tools > Savant Lighting and Keypads
).
3.
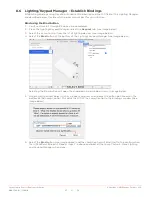
Select the
Lighting Scenes
tab (see image below for steps 3-7).
4.
Select the
Show Load Scene
check box so that all the load scenes are displayed under the Scene window.
5.
Select the Lamp Control load scene. In this example, the Corner Lamp Scene is associated with the Lamp
Control.
6.
Modify the Min and Max values of this load scene to 100%.
7.
Select the
Sync…
button and follow the prompts to update the lighting data table with the changes made.
8.
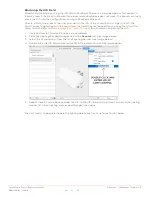
During the Sync operation, the lighting data table opens. Locate the Lamp Control being modified. Change
the value in the Entity column of the Lamp Control from Dimmer to Switch (see image below).
9.
Select
Done
when complete.
10.
Select
Generate Services
from the RacePoint Blueprint toolbar and follow the prompts.
HELPFUL INFORMATION!
After Generating the Services, the State Icon in the RacePoint Blueprint toolbar changes
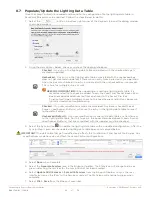
to green, verify the Lamp Control in the lighting data table is still set to switch (
Tools > Settings > Lighting
).
11.
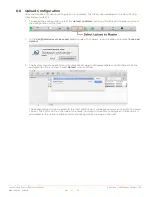
Upload the updated file to the Savant Pro System Host.
12.
Test and verify the Lamp Control now has switch (On/Off) controls in the Savant Remote and the Savant
Pro 8 App. Selecting On or Off now toggles the load On and Off.


