Savant Lamp Control Deployment Guide
Copyright © 2016 Savant Systems, LLC
009-1388-01 | 160810
33
of
38
Appendix B: Provision to the Network – Web UI
If the SmartConnect application is not available, the Lamp Control can be provisioned using the embedded Web UI in
the Lamp Control.
1.
section above for initial setup and testing information. If the Lamp Control is
already set up, skip that section and proceed to step 2 below.
2.
By default, a new Lamp Control is set at the factory to be in Access Point Provisioning Mode. See
If it is, skip this step and proceed to step 3 below. If the Lamp Control is in some other state
than Access Point Provisioning Mode follow the bulleted steps below to set it to this mode.
•
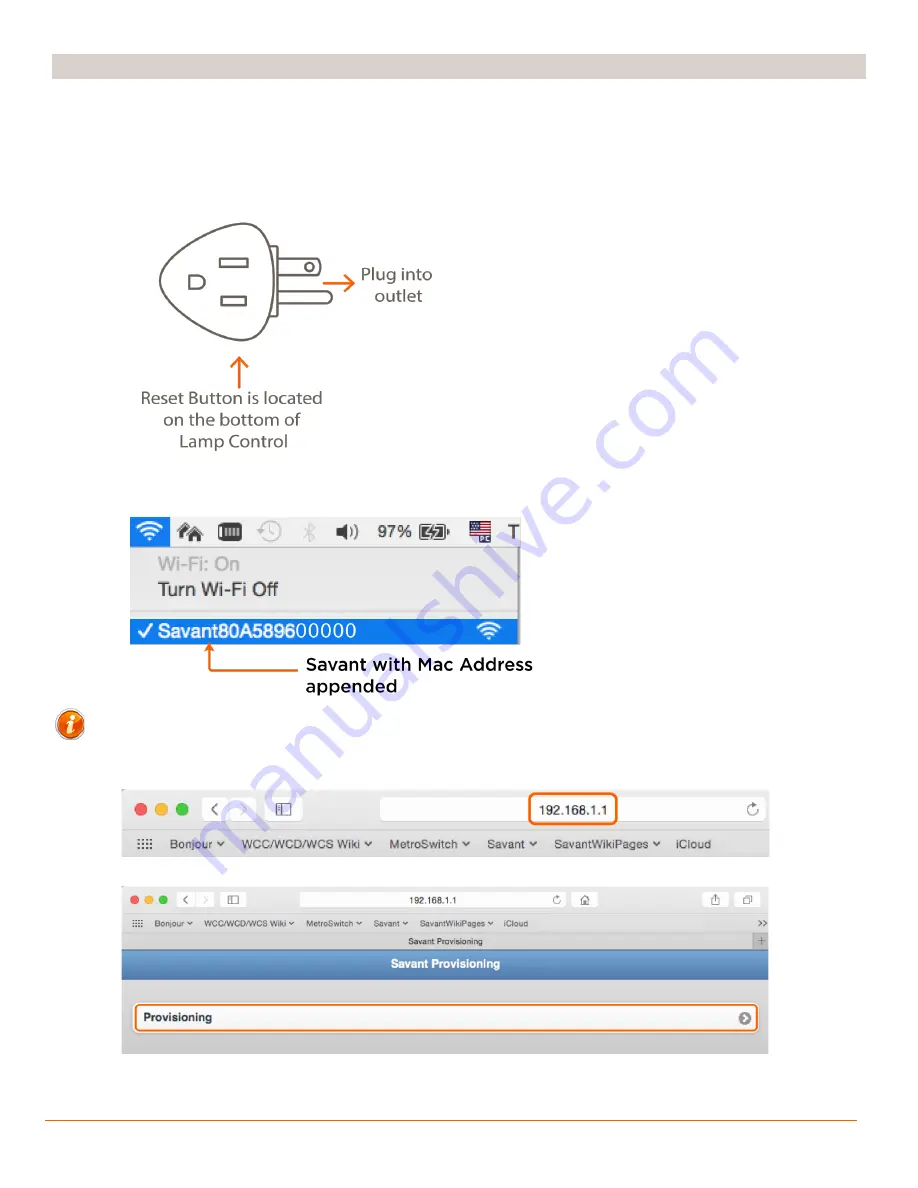
Insert a pointed object such as a paper clip into the
reset button pinhole. Press and hold the reset button
for five seconds until LED blinks red, then release.
•
After the reset, the LED will switch to solid yellow
while the Lamp Control boots.
•
After approximately 5-10 seconds, the LED on the
side of the Lamp Control starts blinking yellow once
per second indicating it is in Access Provisioning
Mode and ready to be provisioned to the local
network.
section for LED state info.
3.
On the MacBook/SDE, select the Wi-Fi icon in the menu bar and select the Lamp Control from the available
networks. The Lamp Control will appear as
Savant[Mac Address]
. The Mac Address is the first 12 characters
of the Savant UID.
The check indicates the controller is
connected to your MacBook/SDE.
HELPFUL INFORMATION!
If the UID is not known, the rpmEmbScanner application that is accessed through the
Launch menu in the Savant Application Manager (SAM) can be used to find the Mac Address.
4.
In the address bar of a browser, enter the following IP Address:
192.168.1.1
5.
Select
Provisioning
to display a list of available networks.

