Module Installation
Refer to
Module installation Precautions
above before installing
module.
1.
Power O
ff
the SmartMediaPro Chassis using the power switch
located on the rear of the chassis and disconnect the AC power
cord.
2.
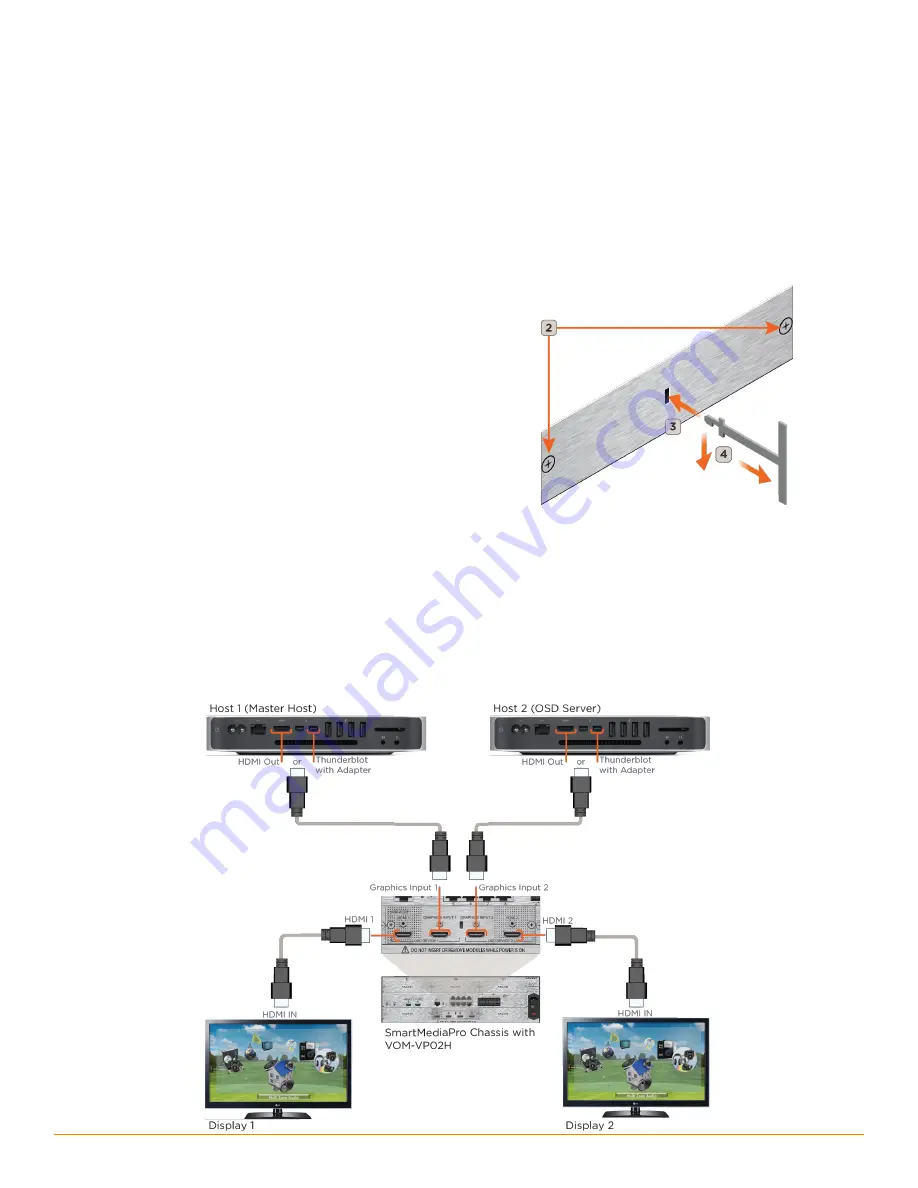
Remove the two (2) M3 x 6 mm retaining screws. Set screws
aside as they will be used later in procedure.
3.
Align the module board with the two rails located at the bottom
of the opening and gently slide the module all the way until a
slight resistance is felt. This is where the connector on rear of
the PCB gets seated into the chassis connector.
4.
Gently press on the module the rest of the way until it seats into
the connector at the rear of the slot and the plate seats against
the chassis.
5.
Insert the screws removed in step 2 and tighten.
Module Removal
Refer to
Module installation Precautions
above before removing
module.
1.
Power O
ff
the SmartMediaPro Chassis using the power switch
located on the rear of the chassis and disconnect the AC power
cord.
2.
Remove the two (2) M3 x 6 mm retaining screws. Set screws
aside as they will be used later in procedure.
3.
With the notch in the module removal tool (included with
SmartMediaPro chassis) facing downward, insert the tool into
the slot in the module faceplate.
4.
Lower the tip of the tool downward to ensure it is hooked
behind the faceplate and with slight outward pressure, pull the
module outward. A slight resistance will be felt as the module is
unseated from the chassis side of the connector.
5.
Slide module out until it is completely removed from chassis.
6.
If the module is being replaced, refer to the
instructions for proper installation procedure.
7.
If the module is not being replaced, install a blank plate using
the two (2) M3 x 6 mm screws removed in step 2. This will
ensure that proper airflow through the chassis is retained as well
as preventing dust and debris from entering the chassis.
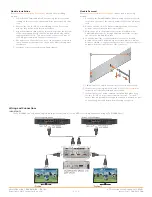
Wiring and Connections
IMPORTANT!!
The SVR-5000S can only have a single display port connected, a second OSD server is required when using an SVR-5000S host.
VOM-VP02H-06 | 009-0410-02 | 150306
VOM-VP02H-06 | 009-0410-02 | 150306
45 Perseverance Way, Hyannis, MA 02601
Copyright © 2015 Savant Systems, LLC
2 of 2


