6
Determine the Location
Use this procedure to level the basin area:
a) Place 2 x 4 or straight-edge across the basin.
b) Set builder’s level on top of the board.
c) Add or remove dirt to the area until the bubble
is centered.
Level the Area
Choose a Location
Use a garden hose to temporarily lay out your waterfall or
stream and catch basin. Once you have chosen a location,
mark the outline with turf marking paint or stakes and remove
the hose.
PF46 - up to 6’ Waterfall or Stream
PF88 - up to 11’ Waterfall or Stream
Outline Shape
TIP:
When choosing a location, select an area which provides
the best viewing angle. For example, the “ideal” position
may allow you to view the water feature from both an outdoor
living/entertaining area and from within your home (ie.
kitchen, bedroom, studio).
Create a natural appearance for your water feature by
utilizing
the existing grade of the yard. For flat, level areas, build-up the
waterfall runway using excess soil from the excavation of the
basin. In some cases you may need to import additional soil.
You can use concrete blocks to help stabilize the slope.
S T E P 1 – D E T E R M I N E T H E L O C AT I O N
Basin
Waterfa
ll
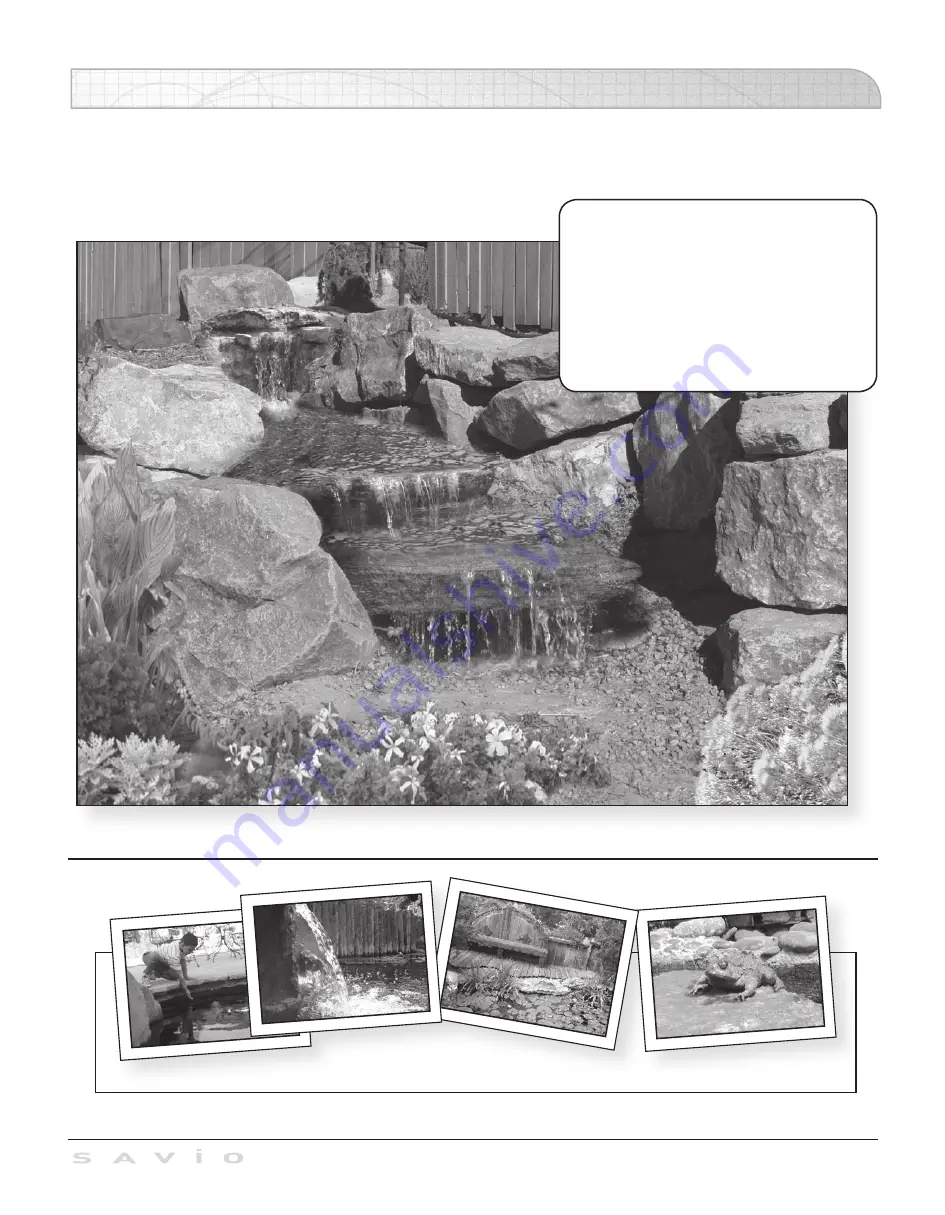
T H E E N D R E S U LT
The End Result
19
Take a photo and send it to us at: pondstories
@
savio.cc. We’d love to share your success on our website.
Send Us Your Pictures
TIP!
Loss of water due to evaporation will vary
with climatic conditions. Do not allow the
pump to run dry. If the water level in the
basin becomes too low, you will begin to hear
the noise of the pump. If this occurs, place
additional water into the basin. An optional
autofill accessory is available for
the Waterfall Well.
At last!
All your hard work has finally paid off and you have a beautiful backyard
paradise to enjoy for years to come. You’ll enjoy the easy maintenance and
superior water quality only a pond built with S
AV
i
O
products can provide.


