background image

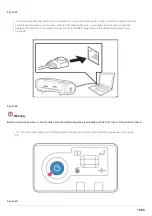
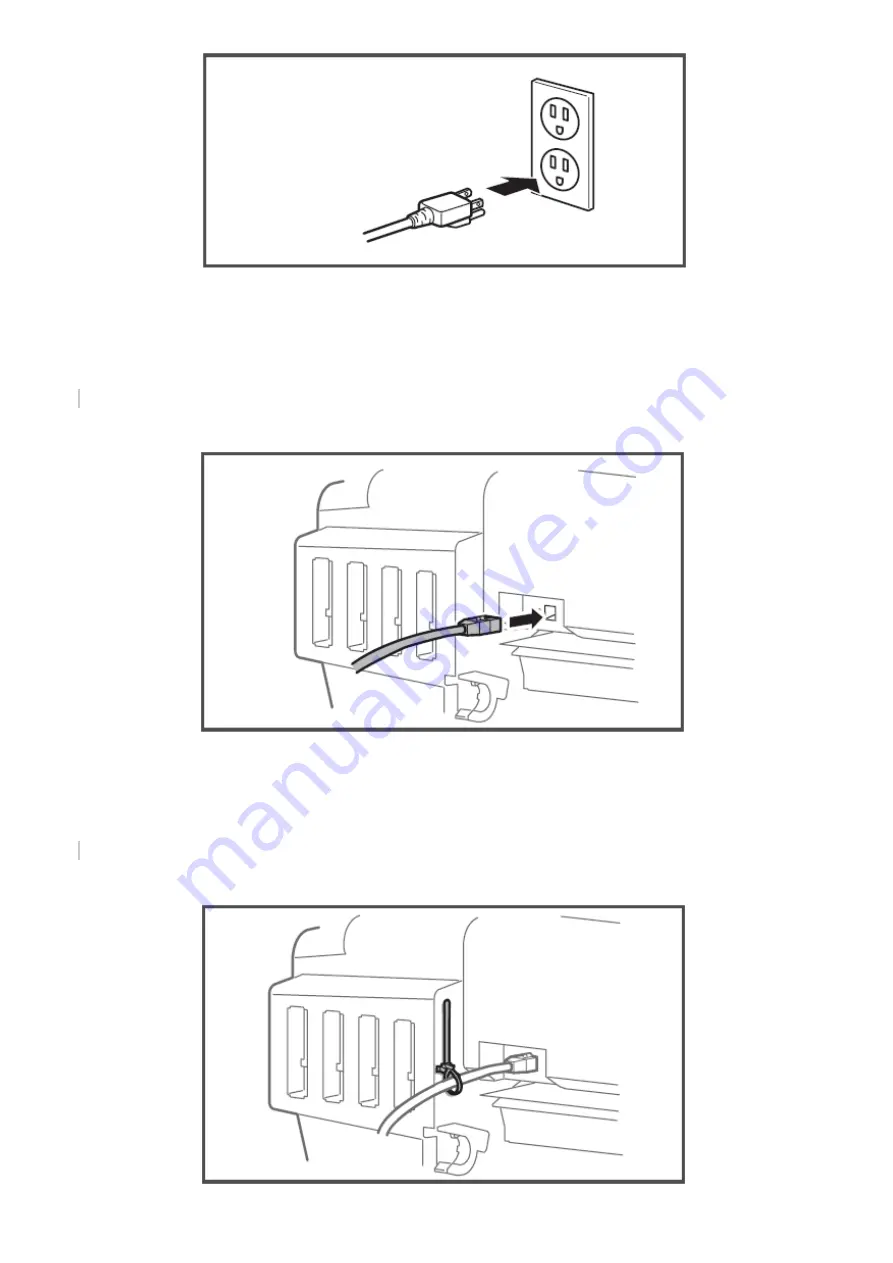
Figure 25

 7.  Connect the ethernet cable to the printer. See Figure 26.

Figure 26

 8.  Use the tying band to fasten the ethernet cable. See Figure 27.

17/26

Summary of Contents for SubliJet-HD VJ628

Page 1: ... Take Up Unit Assembly Installing Configuring Software Safety Tips Warnings Unpacking and Assembly Warning Two or more people should carry out the operations of unpacking and moving this printer Be sure to keep this product level when moving it Unpacking Installation Box 1 Open the installation box and confirm that it contains the following See Figure 1 Figure 1 a Virtuoso VJ 628 Getting Started G...

Page 2: ...ning cartridges x8 e Ink Cartridge assignment stickers Unpacking Printer Box 2 Open the printer box and confirm that it contains the following See Figure 2 Figure 2 a Roll media holder x1 b Printer x1 c Accessory box x1 2 26 ...

Page 3: ...nfirm that it contains the following See Figure 3 Figure 3 a Lint free cloth x1 b Pack of cleaning swabs x1 c Tying bands x2 d Media guides x2 Unpacking Printer Stand Box 4 Open the printer stand box and confirm that it contains the following See Figure 4 3 26 ...

Page 4: ... x1 c Stand middle piece x1 d Hexagon wrench x1 e Wing screws x2 f Hexagon socket head screws x4 Unpacking Take Up Unit Box 5 Open the take up unit box and confirm that it contains the following See Figure 5 Figure 5 a Rail x1 b Hexagonal screw x8 4 26 ...

Page 5: ...Not Supplied 6 In order to install the product and make the initial settings you will need the following items in addition to the packaged items See Figure 6 Figure 6 a Computer x1 b Ethernet cord x1 c Media Paper d Take up tube for Take up Unit 25in length 2 or 3in in diameter e Ink Cartridges x8 Notice You must use a computer running Windows 7 8 or 10 operating system 5 26 ...

Page 6: ...erature 20 30 C has small variation in temperature and humidity Ranges to ensure printing precision Temperature 22 30 C and Humidity 40 60 has no drafts including those from heating or air conditioning equipment blowing onto it has low levels of electromagnetic radiation and noise Environment for storage If not charged with ink when stored up to 6 months Temperature 10 to 40 C and Humidity 20 80 I...

Page 7: ... below This tying band is for fastening the power cable so that it will not interfere with the roll media To release the tying band simply press its lever See Figure 8 Figure 8 11 Install the other tying band on the opposite side as shown below This tying band is for fastening the ethernet cable so that it will not interfere with the roll media See Figure 9 7 26 ...

Page 8: ... operation of mounting the printer onto the stand must be carried out by two or more people working together Before installing printer onto stand ensure there is no power to printer 12 Assemble the stand See Figure 10 8 26 ...

Page 9: ...Figure 10 13 Lock the casters See Figure 11 9 26 ...

Page 10: ...s rubber feet with the stand s protrusions and mount the printer to the stand with the two wing screws See Figure 12 Figure 12 15 Open the front cover and turn the media fixing knob to release the fixing mechanism See Figure 13 10 26 ...

Page 11: ...Figure 13 16 Remove the roller protective sheet See Figure 14 Figure 14 17 Remove the protective material from the steel bar See Figure 15 11 26 ...

Page 12: ...Figure 15 18 Peel away the tape then move the left and right paper guides to their outer positions See Figure 16 Figure 16 19 Peel the tape off of the cutter See Figure 17 12 26 ...

Page 13: ...igure 17 20 Remove the screws and head fixing plate See Figure 18 Figure 18 21 Apply the ink specific cartridge assignment stickers to the back of the printer over the cartridge slots See figure 19 13 26 ...

Page 14: ...ting Cables 1 Before connecting cables close the front cover turn the media fixing knob to its locked position then check to make sure the waste ink valve is locked See Figure 20 Figure 20 2 Make sure that the power button is turned off If the power switch is in a pressed inward state it is turned on and you must press it again See Figure 21 14 26 ...

Page 15: ...than IE1U003000 set the voltage selector swith to the voltage of the region where you are using the product See figue 22 For AC 100V to 120V set the voltage selector switch to 115V For AC 200V to 240V set the voltage selector switch to 230V Figure 22 Notice The voltage selector switch is set to 230V when it is shipped If the voltage selector does not match the voltage in your area it can cause err...

Page 16: ...Figure 23 5 Use the tying band to fasten the power cable See Figure 24 Figure 24 6 Insert the power cable plug into the outlet Be sure to insert it correctly See Figure 25 16 26 ...

Page 17: ...Figure 25 7 Connect the ethernet cable to the printer See Figure 26 Figure 26 8 Use the tying band to fasten the ethernet cable See Figure 27 17 26 ...

Page 18: ...er to peer connection between this product and computer Connection method differs depending on the usage environment See Figure 28 Figure 28 Warning Before turning the power on check to make sure the media fixing knob is unlocked and the front cover of the printer is closed 10 Turn the printer power on The blue indicator will light up and the printer will start to power up See Figure 29 Figure 29 ...

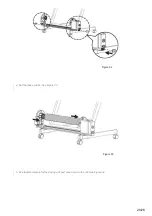
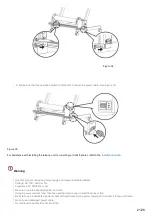
Page 19: ...hexagonal screw See Figure 30 Figure 30 2 Make sure that bottom of the screws of driving unit and driven unit are into the groove then slide the unit Embed them so that the driving unit is on the right side and the driven unit is on the left side when seen from the front See Figure 31 Figure 31 3 Attach the rail caps on both edges of the rail See Figure 31 19 26 ...

Page 20: ...Figure 32 4 Set the take up tube See Figure 33 Figure 33 5 Use thumbscrews to fix the driving unit and driven unit on the rail See Figure 34 20 26 ...

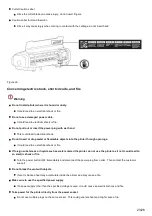
Page 21: ... this product under the power supply environment indicated below Voltage AC 100 240V 10 Frequency 50 Hz 60 Hz 1 Hz Be sure to use the specified power cord set Using a power cord set other than the specified can cause an electric shock or fire Be sure to use a dedicated power socket with earth wire for the power supply and connect it to the earth wire Do not use a damaged power cable It could lead ...

Page 22: ... check Perform cleaning if necessary Print Head Alignment Paper Feed Adjustment Adjust the feed amount if necessary Registration Set up is now complete Safety Tips Warnings For Users in EU or where CE is required The CE marking is a mandatory European marking for certain product groups to indicate conformity with the essential health and safety requirements set out in European Directives By affixi...

Page 23: ...mmable objects into the printer through openings It could lead to an electrical shock or fire If foreign substances or liquids such as water entered the printer do not use the printer as it is It could lead to an electric shock or fire Turn the power button OFF immediately and disconnect the power plug from outlet Then contact the customer support Do not block the vent with objects If vent is bloc...

Page 24: ...shorting of the electrical circuits When printer is not in use for long periods be sure to turn off the printer power and remove the power cord from power outlet Installing the printer Warning Do not install the printer on a surface that the printer could topple over or fall off that is shaky that is tilted that receives vibration from other machines or equipment nearby Ensure printer is level Do ...

Page 25: ... handling ink cartridges refer to supplied SDS on ink for proper protective equipment required Do not disassemble cartridges During ink charging abide by the following Do not turn off printer s power Do not disconnect the printer s power cable Do not open front cover Do not raise the paper setting lever To install a roll of paper keep level If you install with its scrollers in an upright position ...

Page 26: ...Document 900005 VJ628 SubliJet Startup Guide Rev 2 See QMS master document for changes 26 26 ...

Reviews: