SawStop 10” Contractor Saw 65
Adjusting
Your
Saw
Lower Elevation Limit Stop
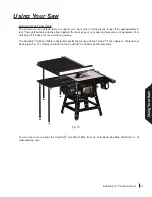
To check the position of the lower elevation limit
stop, turn the elevation handwheel counter-
clockwise until the blade is lowered all the way.
The top of the blade should be approximately
1
⁄
8
inch below the table top surface. If the
distance is approximately
1
⁄
8
inch, no further
adjustment is necessary.
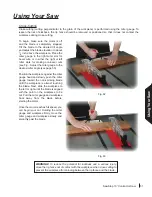
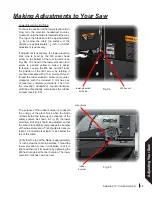
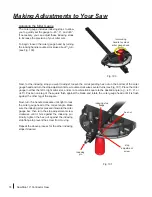
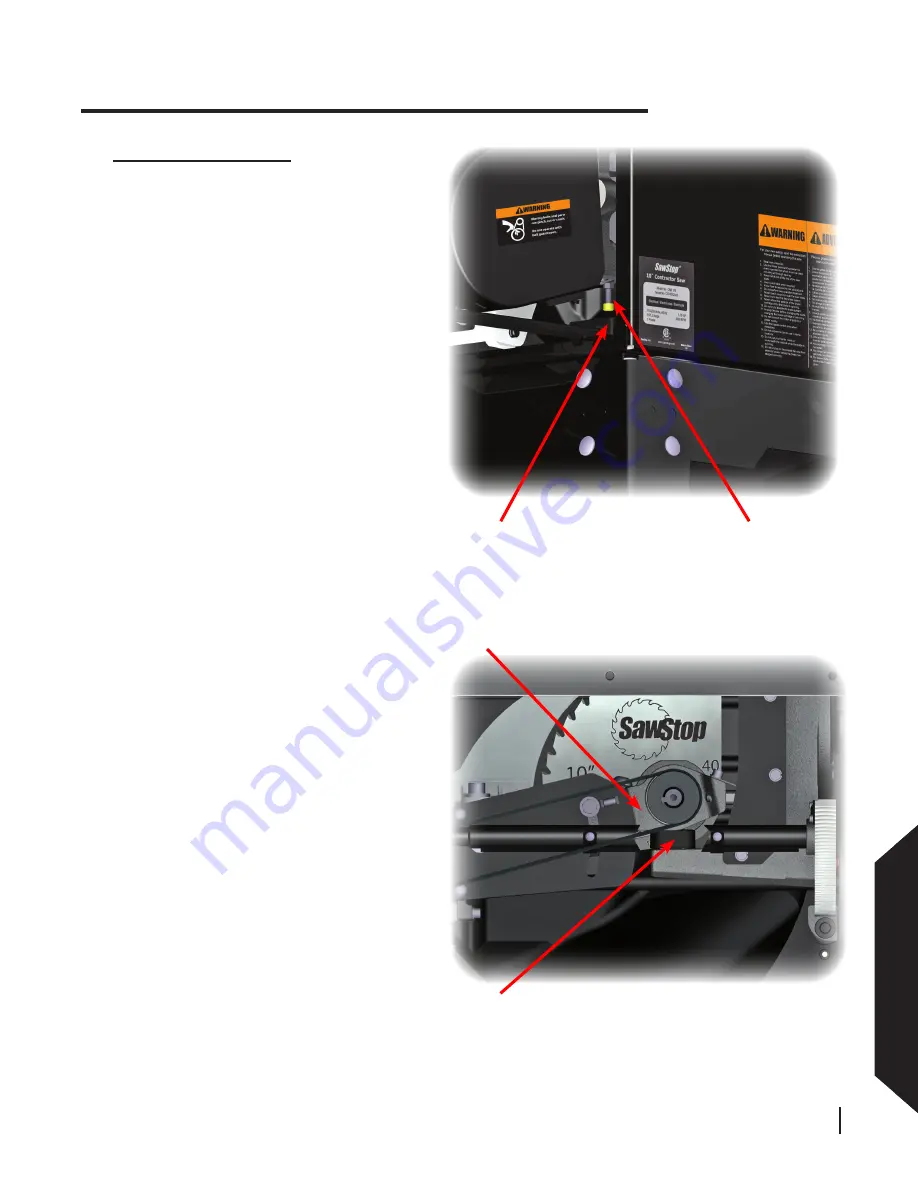
If adjustment is necessary, the lower elevation
limit stop is fixed by the M6 socket head
screw on the bottom of the rear trunnion (see
Fig. 84). The head of the lower elevation limit
screw is painted yellow to make it easier
to locate. Loosen the M6 hex nut that locks
the position of the limit screw by rotating it
counter-clockwise with a 10 mm wrench. Next,
thread the lower elevation screw out counter-
clockwise with the included 5 mm hex key
at least two complete revolutions. Then turn
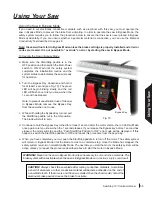
the elevation handwheel counter-clockwise
until the arbor slightly compresses the rubber
bumper (see Fig. 85).
The purpose of the rubber bumper is to absorb
the energy of the arbor block when the blade
retracts below the table upon activation of the
safety system. As shown in Fig. 85, the lower
elevation limit stop should be adjusted so that
the arbor block slightly compresses the bumper
at the lowest elevation. This should also ensure
that a 10 inch blade is at least
1
⁄
8
inch below the
top of the table.
Verify that the top of the blade is approximately
1
⁄
8
inch below the table top surface. Thread the
lower elevation screw in clockwise until it is
tight and then lock its position by tightening the
M6 hex nut against the rear trunnion. The lower
elevation limit has now been set.
Making Adjustments to Your Saw
Fig. 84
rubber
bumper
arbor block
Fig. 85
lower elevation
limit stop
M6 hex nut

