18 SawStop
®
10” Industrial Cabinet Saw
WARNING!
Never install the blade backwards. The brake might not stop a blade
that is installed backwards, therefore you may receive a serious injury.
7. Brake Position Adjustment:
It is important to make sure that the brake cartridge is close to, but
not touching, the edge of the blade to minimize the time it takes
the safety system to stop the blade in the event of an accident.
The spacing between the brake cartridge and the blade should be
checked whenever the blade or brake cartridge is changed. If the
spacing is too small, the blade may touch the brake and cause the
brake to activate.
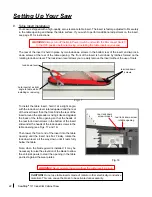
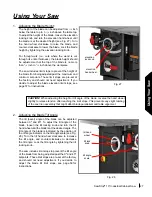
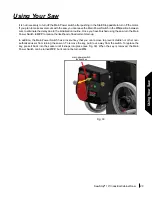
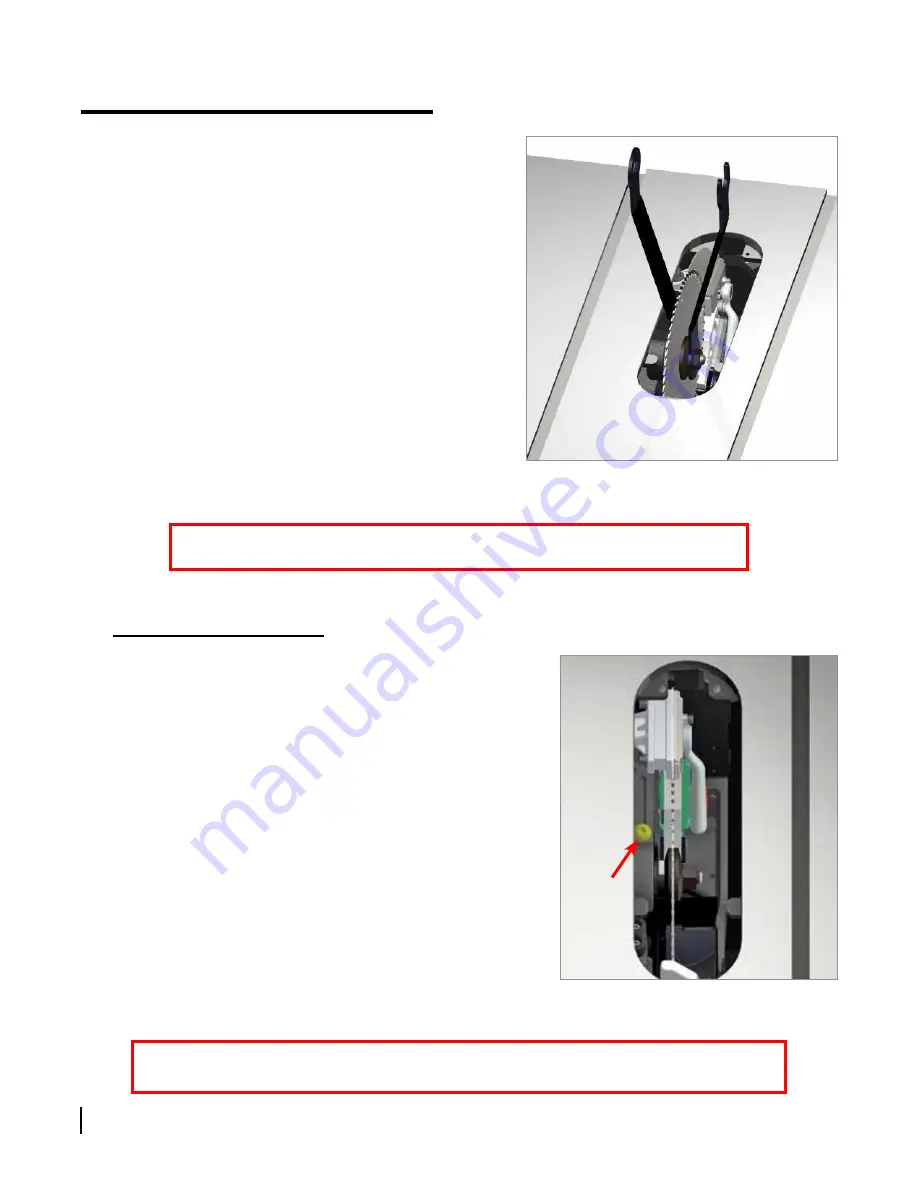
The spacing between the brake cartridge and the blade is adjusted
by the yellow brake positioning bolt mounted in the top of the arbor
block (see Fig. 10). To access the brake positioning bolt, set the
tilt angle to 0º and adjust the blade elevation to approximately 1½
inches above the table top. The bolt will be accessible through the
opening in the table top.
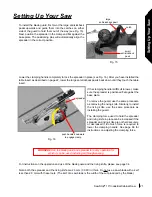
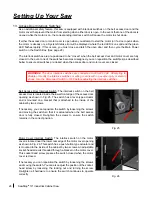
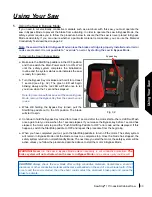
To install the blade, use the open end of one of the blade
wrenches included with the saw to hold the arbor behind
the arbor flange, and use the closed end of the other blade
wrench to loosen the arbor nut. The arbor nut is right-hand
threaded so turn the nut counter-clockwise to loosen it and
clockwise to tighten it. After removing the arbor nut and arbor
washer, install the blade and reinstall the arbor washer and
arbor nut. Use the blade wrenches to tighten the arbor nut
securely (see Fig. 9).
Install dado sets just like you install a blade. For dado widths
larger than about
3
/
8
inch, remove the arbor washer and
tighten the arbor nut against the dado set. (Remember to
remove the standard 10 inch brake cartridge and install the
optional 8 inch dado brake cartridge before installing your
dado set.)
Setting Up Your Saw
WARNING!
Always turn off the Main Power Switch and switch the Disconnect Switch to the
OFF position before removing, installing or adjusting the brake cartridge on your saw.
Fig. 10
brake
positioning
bolt
Fig. 9


