22 SawStop
®
10” Industrial Cabinet Saw
9. Table Insert Installation:
Your saw is shipped with a high-quality, zero-clearance table insert. The insert is factory-adjusted to fit securely
in the table opening and below the table surface. If you wish to perform additional adjustment on the insert,
see page 61 for instructions.
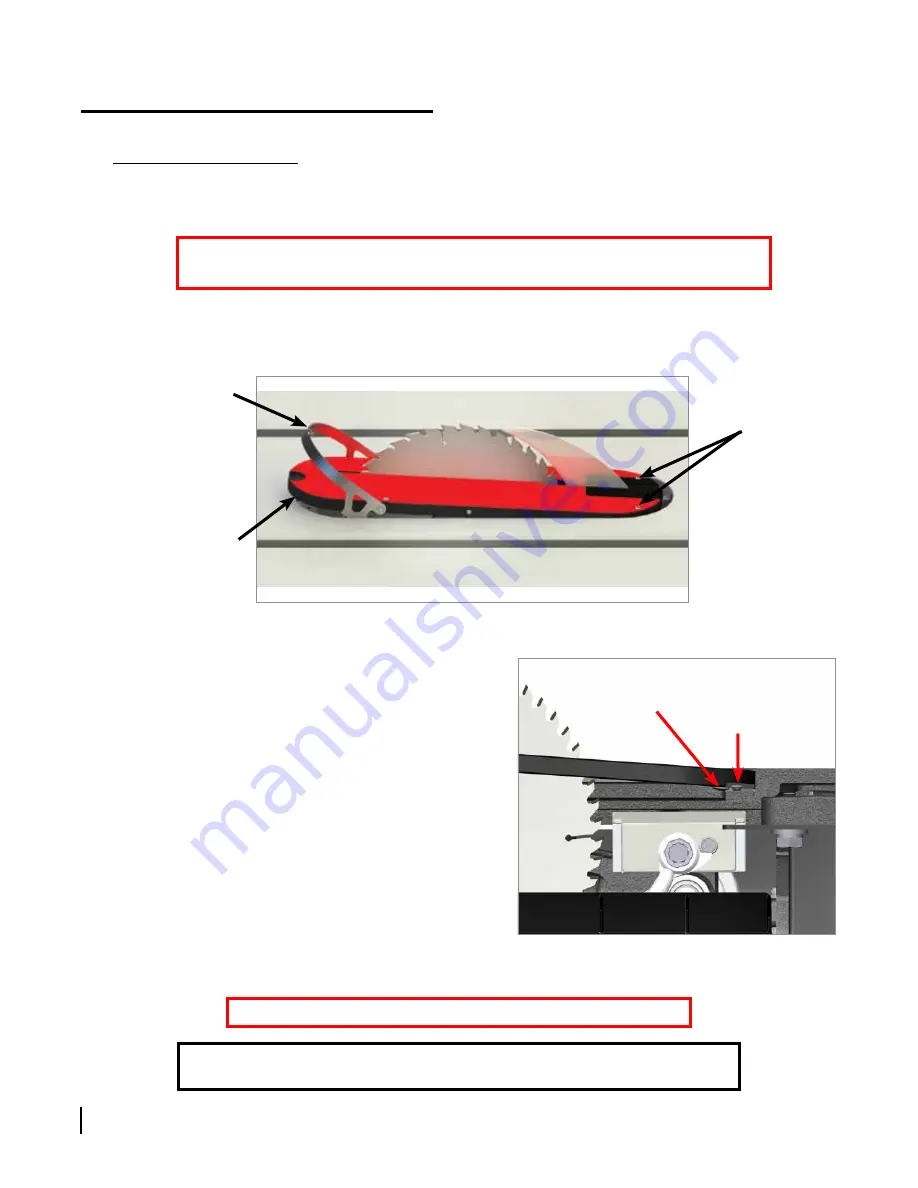
The rear of the insert is held in place by two lock-down screws in the bottom rear of the insert and two lock-
down screws at the rear of the table opening. The front of the insert is held down by latches formed on the
rotating lock-down lever. The lock-down lever allows you to easily remove the insert without the use of tools.
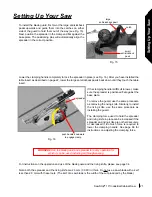
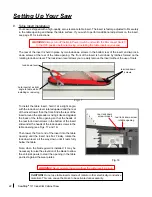
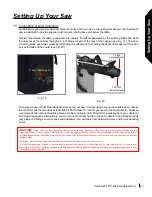
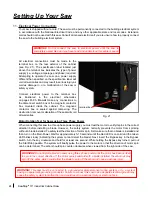
To install the table insert, hold it at a slight angle,
with the lock-down lever rotated upward and the rear
of the insert lower than the front. Slide the rear of the
insert around the spreader or riving knife and against
the back of the table opening so that the heads of
the rear lock-down screws in the bottom of the insert
slide under the heads of the lock-down screws in the
table opening (see Figs. 17 and 18)
Then lower the front end of the insert into the table
opening until the insert lies flat. Finally, rotate the
lock-down lever all the way down until it rests fully
below the table.
Note: when the blade guard is installed, it may be
necessary to raise the elevation of the blade to allow
the anti-kick pawls to clear the opening in the table
and rest against the wear plates.
WARNING!
Never operate the saw without the table insert in place.
CAUTION!
Do not use table inserts made of metal or other electrically-conductive
materials. This can cause the brake to be activated unnecessarily.
Setting Up Your Saw
WARNING!
Always turn off the Main Power Switch and switch the Disconnect Switch
to the OFF position before removing or installing the table insert on your saw.
Fig. 17
Fig. 18
hold insert at a slight
angle to table when
installing or removing
rear lock down screw
in table opening
rear lock down
screw in insert
lock-down lever
rear lock-down
screws


