50 SawStop
®
10” Industrial Cabinet Saw
Alternate Table Alignment Procedure
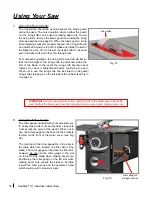
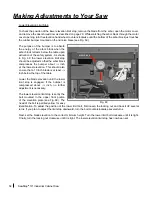
For this procedure you will need a set of calipers or a combination square. Begin by removing the table insert
and installing a blade or reference plate as described in the Preferred Table Alignment Procedure. Set the tilt
angle to 0º and raise the blade elevation to approximately 3 inches above the table.
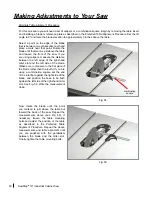
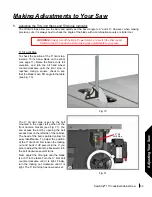
Select a point on the edge of the blade
that is between two consecutive teeth and
place a mark near that point. Rotate the
blade until that mark is just above the table
and toward the front of the saw. If you
are using calipers, measure the distance
between the left edge of the right-hand
miter slot and the left side of the blade.
(
Make sure to measure to the flat plate of
the blade rather than the tooth.
) If you are
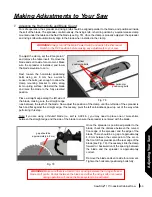
using a combination square, set the end
of the ruler flat against the right side of the
blade, and position the base to be flush
against the left side of the right-hand miter
slot. See Fig. 58. Write the measurement
down.
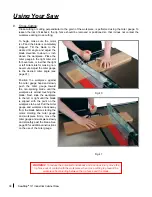
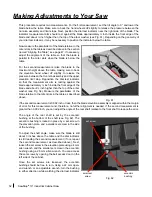
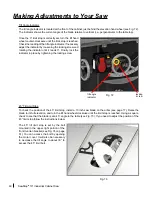
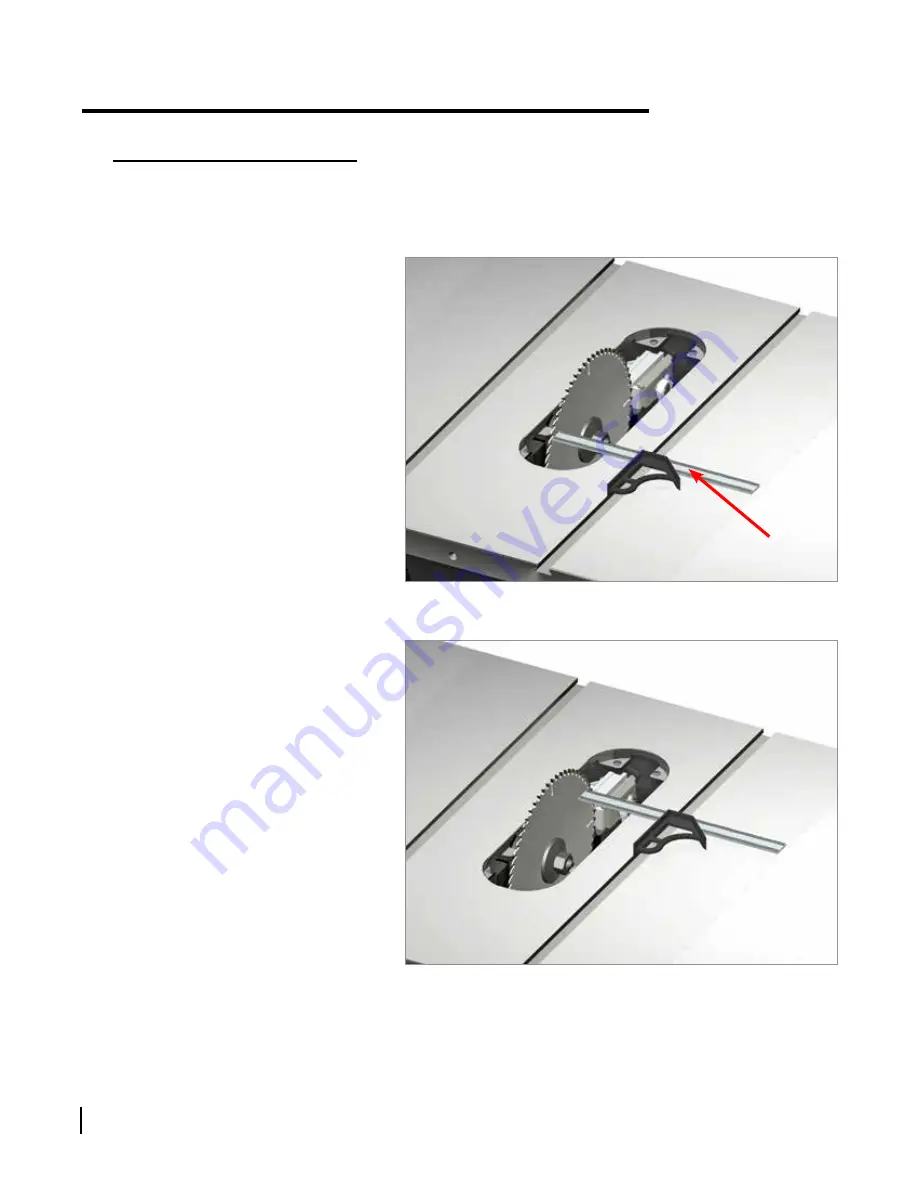
Now rotate the blade until the point
you marked is just above the table but
toward the back of the saw. Repeat the
measurements above (see Fig. 59). If
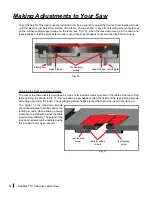
necessary, loosen the table mounting
bolts and adjust the position of the table
as described in the Preferred Table
Alignment Procedure. Repeat the above
measurements and table alignment until
you are satisfied with the parallelism
between the blade and the miter slot.
Finally, tighten the table mounting bolts.
Making Adjustments to Your Saw
Fig. 58
combination
square
Fig. 59

