21
WALLMOUNTING BASE UNIT
The base unit can be m ounted on a wall phone plate by using the supplied wall-mounting
bracket.
1. Bring the barrel plug of the AC adapter through the
rectangular opening of the wall-m ounting bracket.
2. Plug the AC adapter’s barrel plug into the jack marked
“500m A DC 9V” at the bottom of the base unit and press
the cord in the slot above the jack.
3. Bring the short telephone line cord through the
rectangular opening of the wall-m ounting bracket and
plug it into the jack marked “LINE”.
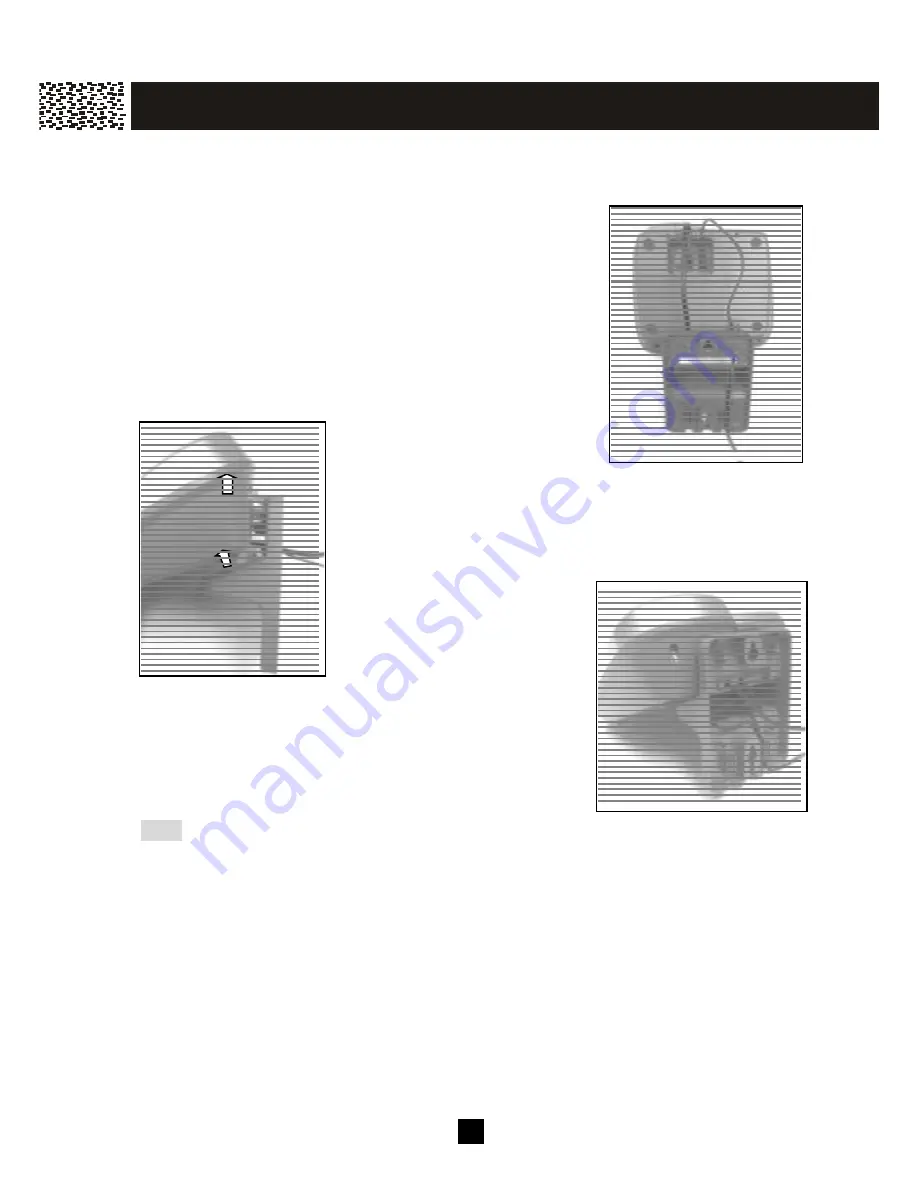
4. Insert 2 hook-tabs and 2 short
tabs of the wall-m ounting
bracket into the slots at the
back and bottom of the base unit sim ultaneously.
5. Press the wall-mounting bracket against the base unit
until they are rest on each other firm ly.
6. Hold the base unit up next
to the wall jack and plug the
line cord into the wall jack,
any extra line cord can be
hided inside the
wall-mounting bracket.
7. Place the base unit on the posts of the wall plate and
push down until the unit is secured firm ly.
8. Plug the AC adapter into a standard wall outlet.
Note: If you are not using a standard wall plate to mount the phone on wall, you m ay also
m ount it with ordinary screws. Use the W all m ount Tem plate on page 59 to affix two
screws at your desired location. Rem em ber to leave 1/8 inch of the screw extending
from the wall.
Please charge all the batteries for at least 15 hours prior to initial use.
GET T IN G STAR T E D
Hook tab
Short tab
long tab
short tab
PICTURE
TO BE
UPDATED
PICTURE
TO BE
UPDATED
PICTURE
TO BE
UPDATED


