background image

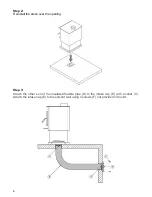
Step 2:  

Reinstall the stove over the opening. 


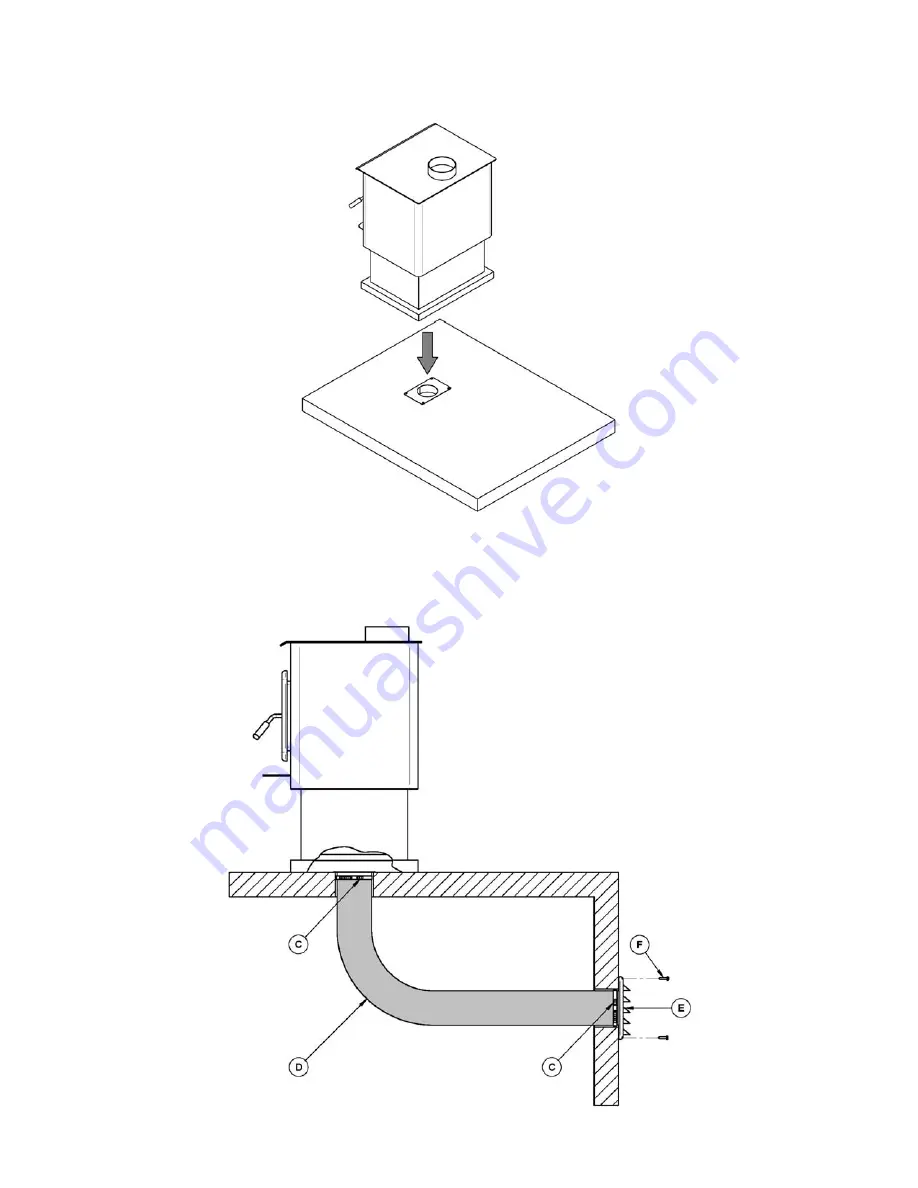
Step 3: 

Attach the other end of the insulated flexible pipe (D) to the intake cap (E) with a collar (C). 
Attach the intake cap (E) to the exterior wall using 4 screws (F) not provided in this kit. 


Summary of Contents for AC01336

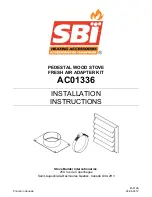
Page 1: ...rinted in Canada 28 08 2012 PEDESTAL WOOD STOVE FRESH AIR ADAPTER KIT AC01336 INSTALLATION INSTRUCTIONS Stove Builder International inc 250 rue de Copenhague Saint Augustin de Desmaures Quebec Canada...

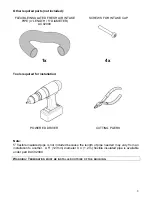
Page 2: ...2 This pedestal wood stove fresh air adapter kit contains the following parts 5 127 mm ADAPTER BLACK METAL SCREW 10 X 1 2 TYPE A PAN QUADREX 1x 4x 5 127 mm INTAKE CAP COLLAR 4 93 TO 5 75 1x 2x...

Page 3: ...Tools required for installation POWERED DRIVER CUTTING PLIERS Note 5 flexible insulated pipe is not included because the length of pipe needed may vary from an installation to another A 5 127mm diame...

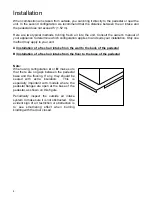
Page 4: ...A Installation of a fresh air intake from the wall to the back of the pedestal B Installation of a fresh air intake from the floor to the base of the pedestal Note When using configuration A or B make...

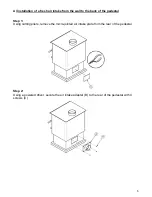
Page 5: ...the wall to the back of the pedestal Step 1 Using cutting pliers remove the micro jointed air intake plate from the rear of the pedestal Step 2 Using a powered driver secure the air intake adapter B...

Page 6: ...your stove Attach the 5 flexible insulated pipe E to the fresh air adapter flange with a collar D Attach the other end of the pipe E to the intake cap F located outside with a collar D Attach the inta...

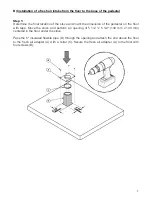
Page 7: ...ion of the pedestal on the floor with tape Move the stove and perform an opening of 5 1 2 x 5 1 2 140 mm x 140 mm centered in the floor under the stove Pass the 5 insulated flexible pipe D through the...

Page 8: ...all the stove over the opening Step 3 Attach the other end of the insulated flexible pipe D to the intake cap E with a collar C Attach the intake cap E to the exterior wall using 4 screws F not provid...

Reviews: