background image

M O U N T I N G   I N S T R U C T I O N S

4

Before starting the installation, it is important that you 
have your chimney inspected by the chimney sweep. This 
ensures that the chimney is dense and has the appropriate 
diameter for your stove.

Proceed as follows:

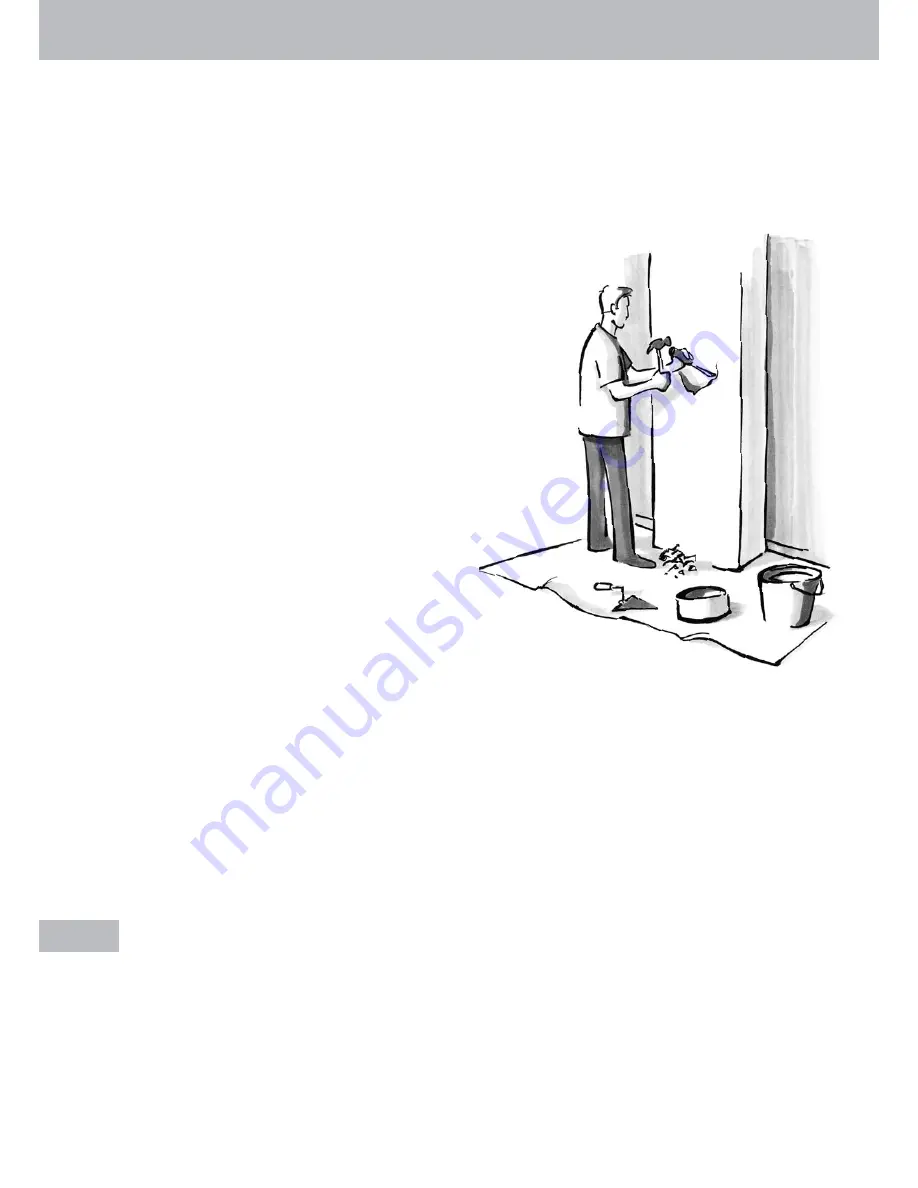
1.   Mark out the point where the centre of the pipe touches 

the wall and cut out a hole of the same diameter as 
the pipe. The distance from the floor to the centre of 
the stove's flue outlet appears from the drawing in the 
specific instructions for your stove. If the stove is to 
be connected on the top with an elbow, please do not 
forget to take the height of the elbow into account when 
measuring out the position of the hole. You should also 
remember to take the thickness of a possible base plate 
into consideration.

2.   We recommend that you build a wall sleeve into the wall. 

The elbow is to be fitted onto the stove's collar, and the 
clean-out door of the elbow is to be positioned on the 
vertical section of the elbow. The elbow has to fit com-
pletely into the wall sleeve (but not into the chimney!). 
We recommend that you check that the distance from 
the floor to the wall sleeve is correct before the masonry 
has dried completely.

3.   When the masonry is dry, you can continue the instal-

lation. 

Important!

 If you wish to mount a cover ring 

to cover the passage between the pipe and the wall, 
you have to do this now, before you connect the stove. 
Mount the pipe on the flue collar of the stove. Push the 
stove with the pipe towards the wall so that the pipe 
goes into the wall sleeve. The pipe must never penetrate 
into the chimney. If the pipe is too long, you can shorten 
it. If you want, you can put a thin, ceramic packing cord 
around it at the wall sleeve.

4.   Mount the cover ring - if any - on the wall.

5.   The installation is ready for approval by the chimney 

sweep.

Connection to an existing brick-built chimney

Summary of Contents for 45 Mini

Page 1: ...e Mon terin gsve jledn ing 4 7 Tilslut ning til eksist erend e mur et skors ten Tilslut ning topafg ang til stålsk orsten Forbr ændin gsluft udefra Brug s og fyrin gsan visn ing 8 1 0 Vedlig ehold else af pejse ovnen Hånd tering af bræn dsel Optæ nding og fyring Fejls øgni ng 11 SCA N 3 B R U G S A N V I S N I N G Til denne Brugsanvisning hører også en generel Monteringsvejledning Udgave 03 03 DK ...

Page 2: ...e and building regulations With the misuse of the stove and use of disallowed fuel or non original spare parts see Instructions for Installation If the serial number has been removed or defaced If service for defects covered under this warranty is performed by other than an authorised Scan dealer or contrary to Scan A S instructions At any change in the original condition of the Scan prod uct or i...

Page 3: ...nsult your local rules You can see the recommended security distances for your stove model in the Specific Installation Instructions deliv ered with your stove Requirements of flooring The stove is to be placed on a noncombustible surface e g an original Scan base plate floor tiles or the like We re commend that the base plate extends at least 150 mm from the sides and at least 500 mm from the fro...

Page 4: ... elbow is to be fitted onto the stove s collar and the clean out door of the elbow is to be positioned on the vertical section of the elbow The elbow has to fit com pletely into the wall sleeve but not into the chimney We recommend that you check that the distance from the floor to the wall sleeve is correct before the masonry has dried completely 3 When the masonry is dry you can continue the ins...

Page 5: ...tlet without fixing it 4 Fit the flue collar from the outside into the dis charge hole of the com bustion chamber in such a way that the bracket is located on the inside Tighten the screws Scan 4 and Scan ANDERSEN stoves are equipped with a heat shield at the rear Fig 2 The rear outlet is punched in the plates Remove the two punched plates and continue on fig 1 ill 3 4 You can also connect your st...

Page 6: ...prevent the chimney sweep s tools from destroying the ceramic smoke deflector Mounting of the flue collar without interme diate ring fig 5 Mount the flue collar in the flue outlet of the stove using the special angle fittings and short screws in the service bag At the same time you can mount the safety fitting in order to prevent the chimney sweep s tools from destroying the ceramic smoke deflecto...

Page 7: ... this container can be mounted afterwards The air channel must have a diameter of at least Ø 100 mm and must be insulated for condensation reasons Direct air supply from the bottom of the stove through a concrete floor Only pos sible on certain models and not to be mounted after wards Direct air supply from the rear of the stove through an external wall Can be mounted afterwards on cer tain models...

Page 8: ... metal cleaner If you exceed the maximum amount of fuel previously specified the colour of the gold or chromium doors may change a little Cleaning of glass Our stoves are constructed so that the glass is kept optimally clean from soot However by burning wet wood or lighting with closed dampers the doors may become sooty The glass is easily cleaned by use of a special cleaning fluid available at yo...

Page 9: ... determine the humidity of the wood is to clack the ends of the logs against each other if the sound is dull the wood is dry If you use wood that is too humid a large part of the heat is used for evaporating the water As a consequence the temperature of the stove does not rise and the room is not heated sufficiently This is of course inefficient and you risk soot on the glass in the stove and in t...

Page 10: ...s material Skamol and are not included in the warranty they are however extremely heat resistant The first lighting For lighting use pieces of crumbled paper newspaper and or fire lighters which are placed on the grate in the bottom of the combustion chamber Never use alcohol or other flammable liquids Put 2 3 small bags of fire lighters in the bottom of the com bustion chamber Then place about tw...

Page 11: ...an increasing formation of soot in the smoke ducts of the stove in the chimney connector and in the chimney To avoid the soot buildup we recommend that you clean the smoke ducts more frequently and increase the supply of combustion air Small pieces of wood should be used and fuel should be added more frequently General advice for your safety A wood burning stove has an intermittent burning Please ...

Page 12: ... valve adjusted according to the instructions Is the wood dry The door is closed too fast when refuelling The logs are too large Polluted chimney Incorrect combustion add more air Is the wood dry The shaking grate is stuck Check if a piece of wood a pin or the like is stuck Is the bar placed mounted correctly The stove s surface turns grey Overheating please refer to the firing instructions The st...

Reviews: