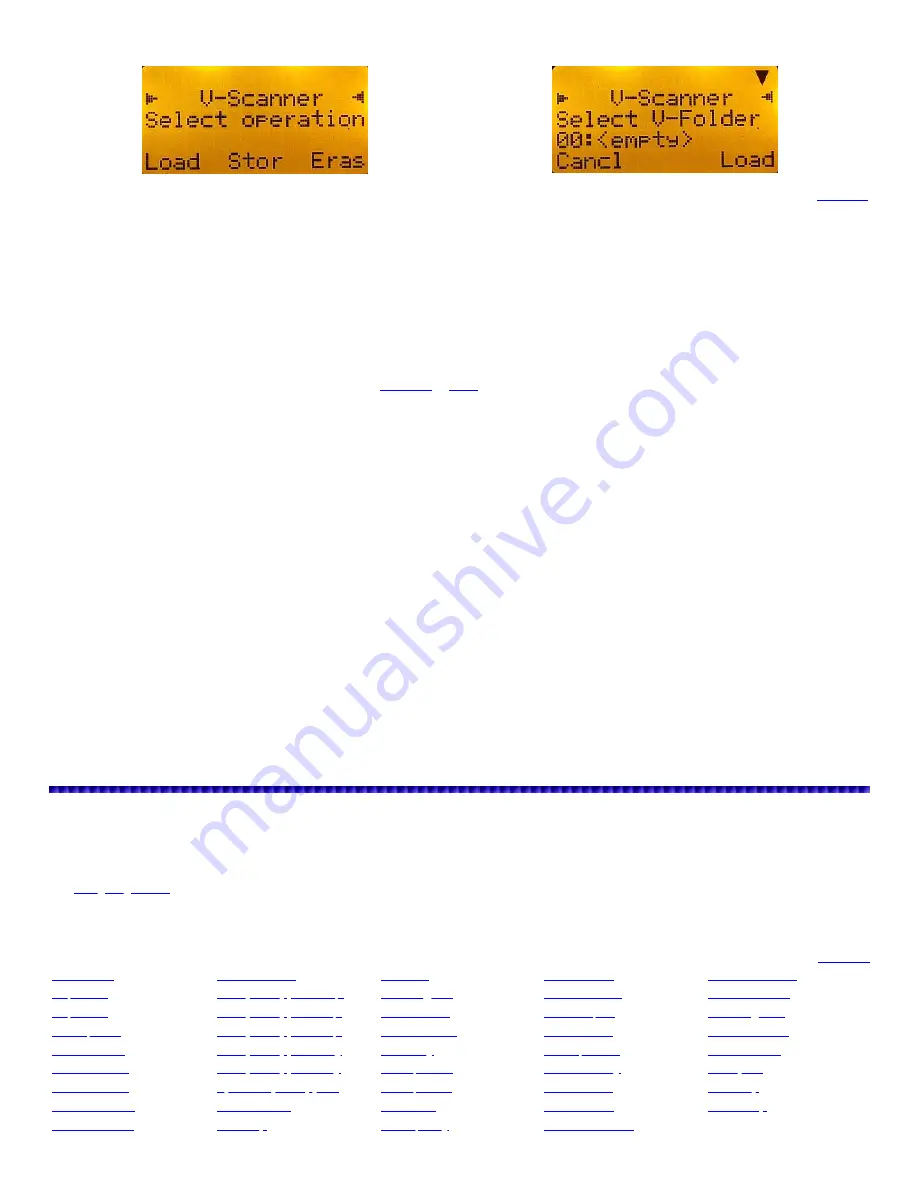
Using V-Scanner Folders
V-Scanner Menu
V-Scanner Selection
These scanners have two types of memory storage. Main memory and V-Scanner memory. Main memory is what you see and use when you turn on the
scanner. V-Scanner memory is used to store complete copies of your scanner's main memory including objects, 'Global Settings' and dedicated search
configurations. The V-Scanner menu will allow you to store, load, and name up to 21 'Main Memories'. Handy if you have a lot of systems for several
different areas. This can also be useful if you want to store or 'backup' your current memory 'as is', then try different settings for improvement. If the
settings don't work, you can reload your previous memory.
There is a CD that comes the 106/197 andPSR models to re-install the factory V-Scanner folders if you happen to delete them.
Note:
The scanner won't let you load/store V-Folders when the low battery icon is in the display.
To Store the Main Memory
press
FUNC
then
PGM
. At '
Select Operation
', press
F2
(
Stor
). Use
▼
to select the V-Folder (00-20) you want to store the
main memory into.
Press
F3
(
Stor
). If the selected V-Scanner folder already contains a 'main memory' '
Really overwrite V-Folder data?
' appears then press
F1
(
Yes
) to
store.
The scanner then allows you to name the selected folder (see
Enter text
or
Qtext
) or to keep the existing folder name. Press
F1
(
OK
) to finish the
operation.
Press
F1
(
Cancl
) to exit. Press
SCAN
to start scanning.
To Load a V-Scanner Folder
press
FUNC
then
PGM
. At '
Select Operation
', press
F1
(
Load
). Use
▼
to select the V-Folder (00-20) you want to load into
the main memory.
Press
F3
(
Load
). '
Really overwrite main memory?
' appears then press
F1
(
Yes
) to load. Press
SCAN
to reboot the scanner and start scanning.
To Erase a V-Scanner Folder
press
FUNC
then
PGM
. At '
Select Operation
', press
F3
(
Eras
). Use
▼
to select the V-Folder (00-20) you want to erase.
Press
F3
(
Eras
). '
Really erase V-Folder data?
' appears then press
F1
(
Yes
) to erase.
Press
F1
(
Cancl
) to exit. Press
SCAN
to start scanning.
Preprogrammed V-Scanner Folders (not with the Pro-651/652)
See the V-Scanner guide included with each scanner for more detailed system information.
VS-
0
-empty-
VS-7
Washington, Oregon, Nevada and Utah
VS-14
Michigan, Indiana
VS-
1
Washington, DC, Maryland, Virginia
VS-8
Arizona, New Mexico, Colorado, Kansas,
Oklahoma
VS-15
North Ohio, Pennsylvania
VS-
2
North Florida
VS-9
North Texas
VS-16
South Ohio
VS-
3
South Florida
VS-10
South Texas, Louisiana
VS-17
Delaware, Maryland, New Jersey Shores
VS-
4
Virginia
VS-11
Mississippi, Alabama, Arkansas
VS-18
North New Jersey, New York
VS-
5
California Desert
VS-12
Tennessee, Georgia, Missouri
VS-19
Kentucky, North Carolina, South Carolina
VS-
6
California
VS-13
Wisconsin, Illinois
VS-20
Connecticut, Massachusetts, New
Hampshire, Maine
Expert Settings Menu
The 'Expert Settings' menu allows you to adjust some of the more advanced features of these scanners. The default settings will work fine in most cases
but you will probably want to fine tune the radio to suit your individual needs.
Press
PGM
then
FUNC
then
F3
(
GLOB
). Use
▼
or
▲
to select each option.
See
Navigating Menus
if you are new to the radio.
Main menu changes do not take effect until the menu is saved-
F1
(
Save
).
If you forget to save any changes, you will see '
Unsaved Changes! Go Back?
'.
Press
F1
(
Yes
) to go back or
F3
(
No
) to exit without saving.
All settings in menu order
Max Tunes
WX Lstn Time
ADC Cal
HD2 Holdoff
EDACS UnMute
SQ Wait 1
RSSI Sig Cal
96CC HD2 TO
EDACS ET HO
SQ Wait 2
Bat Icon Cal
96VC SQ TO
Trunking Ch#
RF SQ Fade
Zeromatc Cal
96VC XF TO
Show RadioID
DG Int Prime
ZM Delay
HD2 Qual DG
Noise Thresh
ACSQ SrcInt
Bandplan
WX Check Int
ACSQ PolInt
M36 ET Patt
WX 1050Hz Th
HD5 Fade
WX Alrm Time
HD2 Qualify


