4–24
TextBridge Professional Edition User's Guide
Note
The following procedure assumes that if you are using a scanner,
it is properly connected to your Macintosh, powered on and ready,
and that the TextBridge Pro main application is active.
1. If you are scanning, load the page(s) into your scanner,
then go to Step 2. Otherwise, start at Step 2.
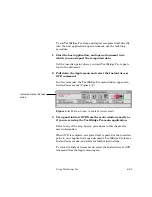
2. On the TextBridge Pro main toolbar, define the image
source by clicking either the Input From Scanner, or the
Input From File button. Also, depress the Preview button.
3. Prepare the job.
For details, refer to “Preparing the Job” earlier in this chapter.
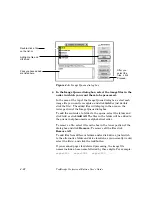
4. Click the Go button to start the process.
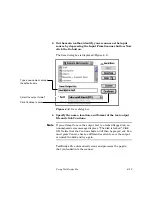
The Save dialog box is displayed (Figure 4–2).
5. Specify the name, location, and format of the text output
file and click Continue.
If you are scanning, TextBridge Pro automatically scans a page
from the scanner.
☞
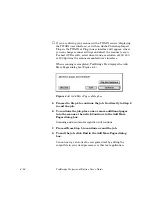
If you are driving your scanner with a TWAIN source (displaying
the TWAIN user interface), or with an Adobe Photoshop Import
Plug-in, the TWAIN or Plug-in user interface will appear, where
you can change scanner settings and direct the scanner to scan.
For best OCR results, select lineart and a resolution of 200, 300,
or 400 dpi from the scanner manufacturer’s interface.
If you are reading the page image(s) from one or more on-line
image files, TextBridge Pro first displays the Image Queue dialog
box (Figure 4–5). In the Image Queue dialog box, queue up the
image files to be processed, then click Continue.


