English
- 49 -
Note
: Remove the battery from remote control
handset when it is not to be used for a long period.
Otherwise it can be damaged due to any leakage of
batteries. Remote range is approximately 7m/23ft.
Switching On/Off
To Switch the TV On
Connect the power cord to the 220-240V AC 50 Hz.
•
Then the standby LED lights up.(The led will blink
during the standby On/Off)
To switch on the TV from standby mode either:
•
Press the “
•
” button,
P+
/
P-
or a numeric button
on the remote control.
Press the “
•
” button,
-
or
+
button on the TV. The
TV will then switch on.
Note
: If you switch on your TV via PROGRAMME
UP/DOWN buttons on the remote control or on the
TV set, the programme that you were watching last
will be reselected.
By either method the TV will switch on.
To Switch the TV Off
Press the “
•
” button on the remote control or press
the “
” switch on the TV, so the TV will switch to
standby mode.
To power down the TV completely, unplug the
•
power cord from the mains socket.
Note
: When the TV is switched to standby mode,
standby LED can blink to indicate that features such
as Standby Search, Over Air Download or Timer is
active.
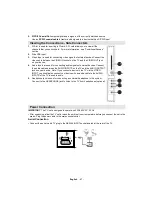
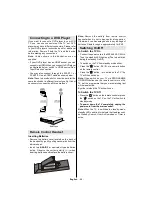
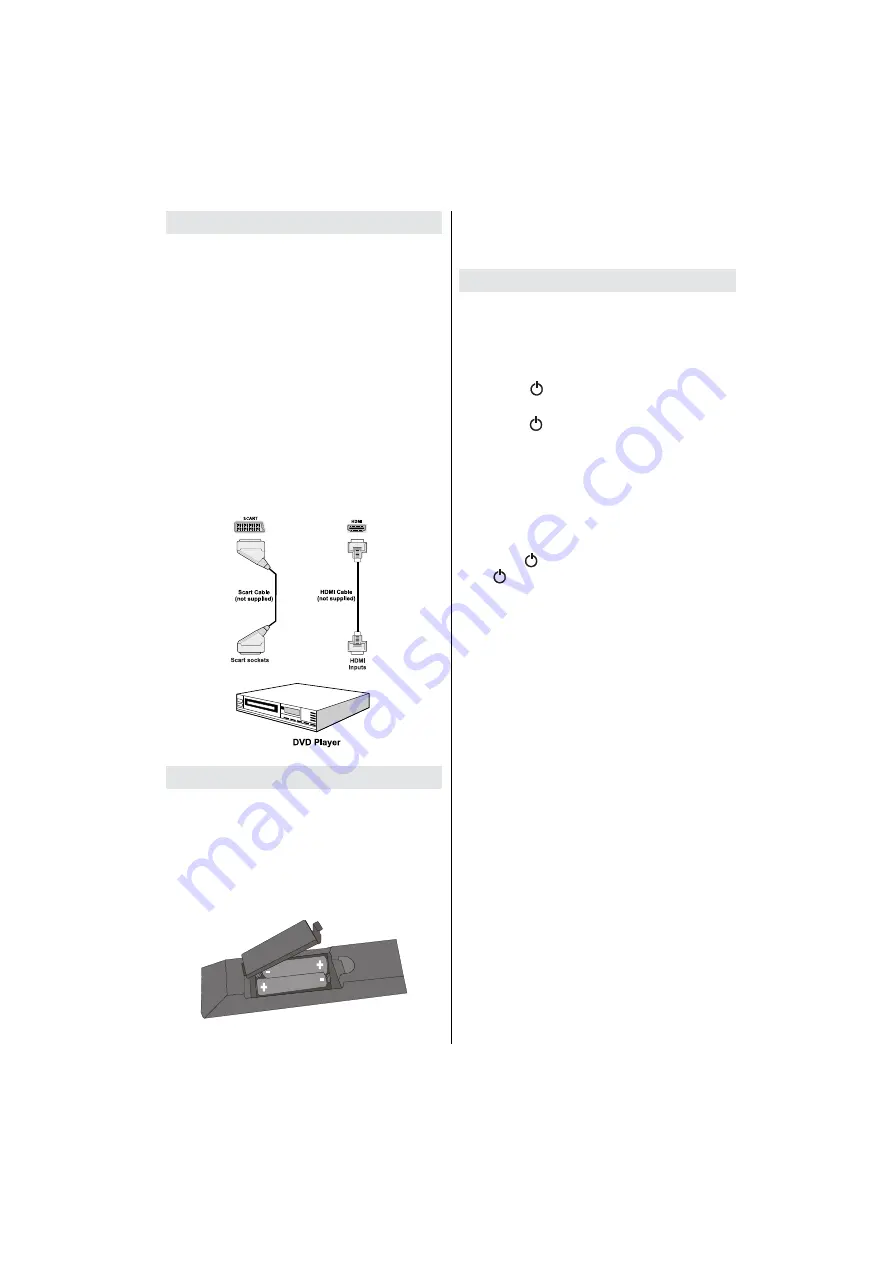
Connecting to a DVD Player
If you want to connect a DVD player to your LCD
TV, you can use connectors of the TV set. DVD
players may have different connectors. Please refer
to your DVD player’s instruction book for additional
information. Power off both the TV and the device
before making any connections.
Note
: Cables shown in the illustration are not
supplied.
If your DVD player has an HDMI socket, you can
•
connect via HDMI. When you connect to DVD player
as illustrated below, switch to HDMI source. See,
“Input Selection” section.
You may also connect through the SCART 1 or
•
SCART 2. Use a SCART cable as shown below.
Note
: These two methods of connection perform the
same function but in different levels of quality. It is not
necessary to connect by all three methods.
Remote Control Handset
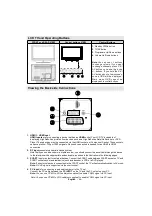
Inserting Batteries
Remove the battery cover located on the back of
•
the handset by gently pulling backwards from the
indicated part.
Insert two
•
AAA/R3
or equivalent type batteries
inside. Observe the correct polarity (+/-) when
inserting batteries and replace the battery cover.
Summary of Contents for 26LT30
Page 1: ...26LT30 Bedienungsanleitung Istruction Manual Mode d emploi Istruzioni Per L uso ...
Page 2: ...Deutsch 1 ...
Page 34: ...Deutsch 33 ...
Page 35: ...Deutsch 34 ...
Page 36: ...Deutsch 35 ...
Page 37: ...Deutsch 36 ...
Page 38: ...Deutsch 37 ...
Page 39: ...Deutsch 38 ...
Page 40: ...English 39 ...
Page 70: ...English 69 ...
Page 71: ...English 70 ...
Page 72: ...English 71 ...
Page 73: ...English 72 ...
Page 137: ...50177065 ...

