Tools Required:
Wrench: 9/16, 7/16’’, 1/2’’
Ratchet
Socket 9/16’’, 7/16’’
Pliers
Axle stands
Allen key
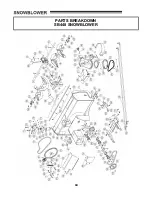
Refer to parts breakdown section for parts
identification
Step 1
Snowblower Preparation:
1. Remove the snowblower from the shipping crate.
2. Remove the support plates from skid shoes.
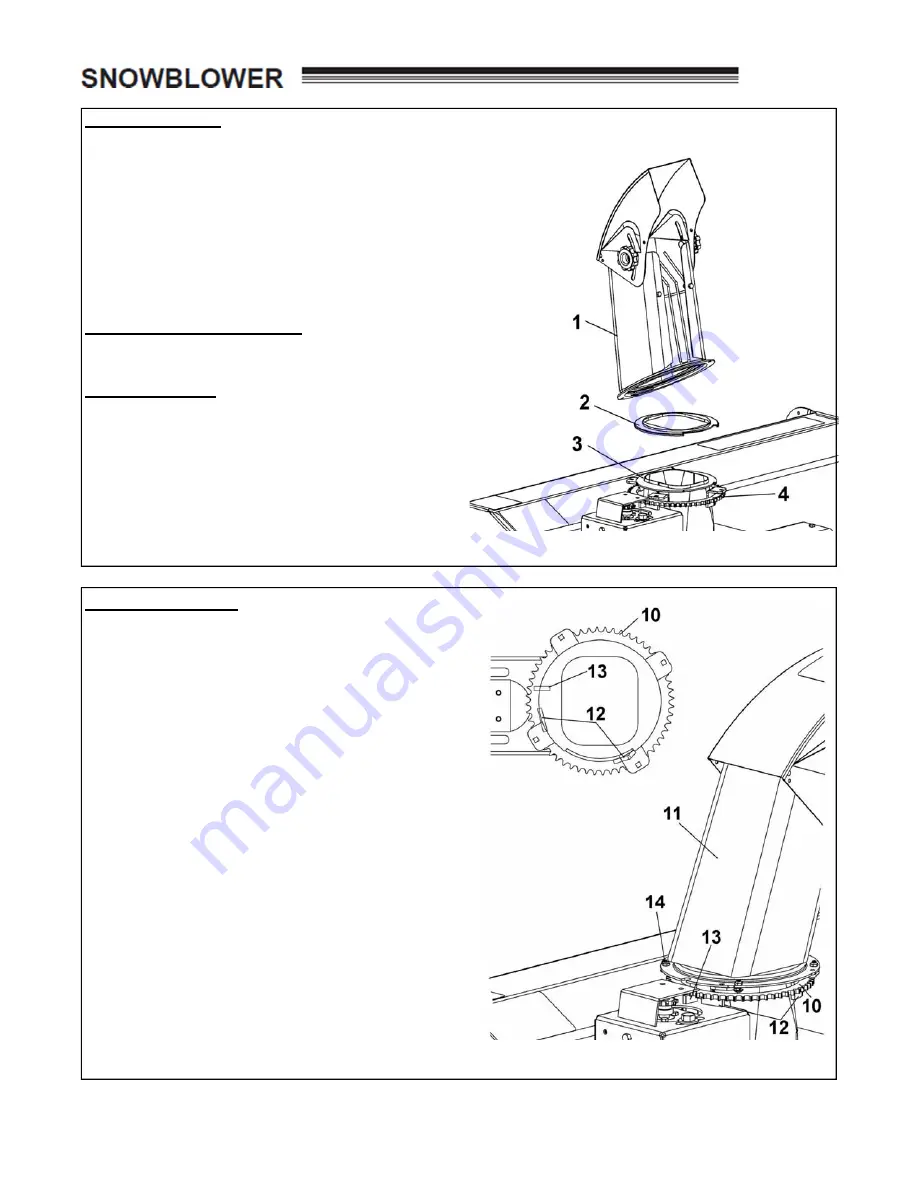
Chute Installation:
1. Remove the packaging around the rotation sprock-
et (item 4).
2. Install the rotation ring (item 2) over opening (item
3) as shown and align the notches.
3. Place the chute (item 1) (facing the rear) and clip
the back over the rotation ring then turn the chute
towards the front to lock into place.
Sprocket installation:
1. Turn the rotation sprocket (item 10) and the chute
(item 11) in position as shown (Make sure the
sprocket stoppers (item 12) and the rotation stop-
per (item 13) are placed in the same position as
shown.
2. Install the four carriage bolts with four nylon lock
nuts (item 14).
3. Try turning the chute manually from one side to
the other, if the chute’s discharge opening can be
turned in the direction of the operator, the sprocket
is not properly positioned. Repeat the procedure.
7
ASSEMBLY INSTRUCTIONS
Summary of Contents for 75-70666
Page 2: ...2 ...
Page 19: ...PARTS SECTION PARTS SECTION 17 ...
Page 20: ...PARTS BREAKDOWN SB448 SNOWBLOWER 18 ...


