16
Classic
Pro
ADJUSTMENTS
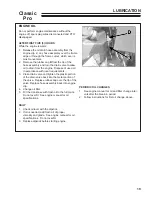
TRACTION BRAKES/PARKING BRAKES
With the traction control rods properly adjusted, apply
both parking brakes and try to push the machine
forward. If one or both wheels rotate, adjust the
corresponding brake(s).
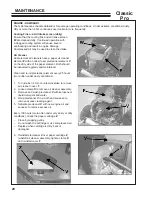
TO ADJUST
:
1. Set the traction control lever in the neutral posi-
tion.
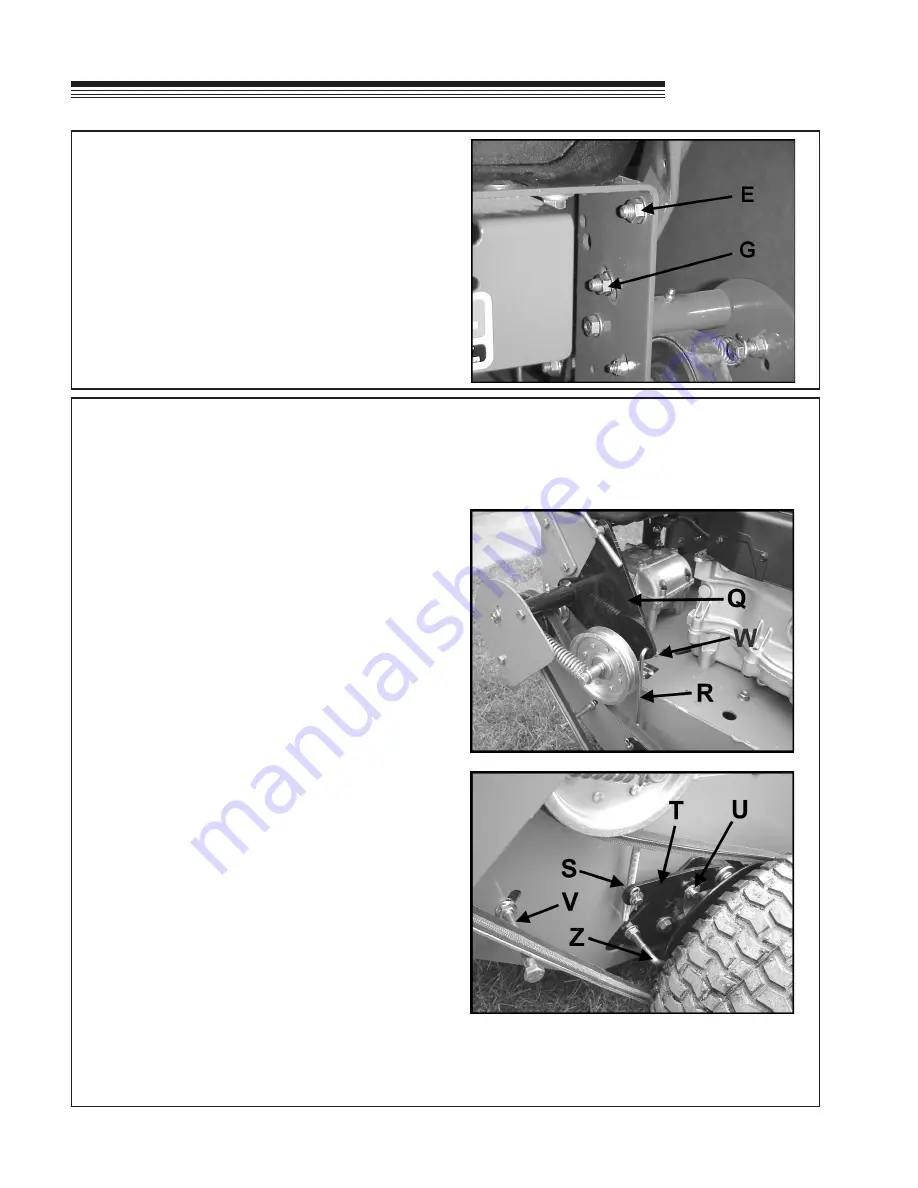
2. Remove the hairpin cotter
W
from the brake rod
R
on idler bellcrank
Q
.
3. Adjust the brake rod by turning it in or out of the
swivel pin on the brake arm until it just goes into
the bellcrank hole.
4. Reassemble the brake rod to the bellcrank.
5. Check the adjustment. DO NOT OVER ADJUST.
If necessary, repeat the procedure until the cor-
rect adjustment is achieved.
6. If adequate adjustment can not be achieved with
the brake rod, the links
U
between the brake arm
T
and brake band may be moved to a different
hole in the brake arm.
7. Adjust belt guide
V
to remove any sag in the
drive belt between the drive pulley and the wheel
pulley.
When the brakes are properly adjusted the machine
can be freely manuevered with the traction control
levers in the neutral position. If not, the brakes have
been over-adjusted and have to be backed off.
NOTE:
Clean inner groove of wheel drive pulley and
belt daily for better drive and neutral. Accumulation
of grass, mud or other debris in pulley groove can
affect declutching. Set mud scraper
Z
at each wheel
drive pulley to angle down to catch debris.
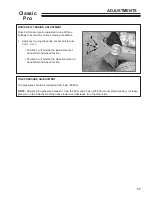
UPPER HANDLE HEIGHT ADJUSTMENT
To adjust upper handle height: Remove the traction
control rods. Remove bolts
G
and loosen bolts
E
on each side of the lower handle. Raise or lower as
required. Reposition upper handle and reinsert bolts
G
into appropriate hole in lower handle and tighten.
Readjust traction control rods, brakes and parking
brakes.
Summary of Contents for BOB-CAT 33007J
Page 5: ...5 Classic Pro LABELS ...
Page 29: ...PARTS SECTION ...
Page 42: ...42 Classic Pro FIGURE 7 PEERLESS TRANSMISSION ...
Page 44: ...44 Classic Pro 32 DECK 40 46 45 10 22 20 47 31 40 44 31 40 48 FIGURE 8 ...
Page 46: ...46 Classic Pro FIGURE 9 36 DECK 47 48 40 10 20 39 44 22 31 40 49 ...
Page 54: ...54 Classic Pro FIGURE 13 DECALS 8 4 UNDER COVER 1 12 11 7 2 10 14 6 9 15 16 13 5 3 ...


