background image

2

ELECTRICAL SPECIFICATIONS

Model

Amps (12VDC)

Per Lock

Amps (24VDC)

Per Lock

Holding Force 

(lbs) Per Coil

M420

0.750

0.380

500

M450

0.750

0.380

1000

M490

0.650

0.350

1500

LOCK INSTALLATION

PREPARE FOR INSTALLATION

1a

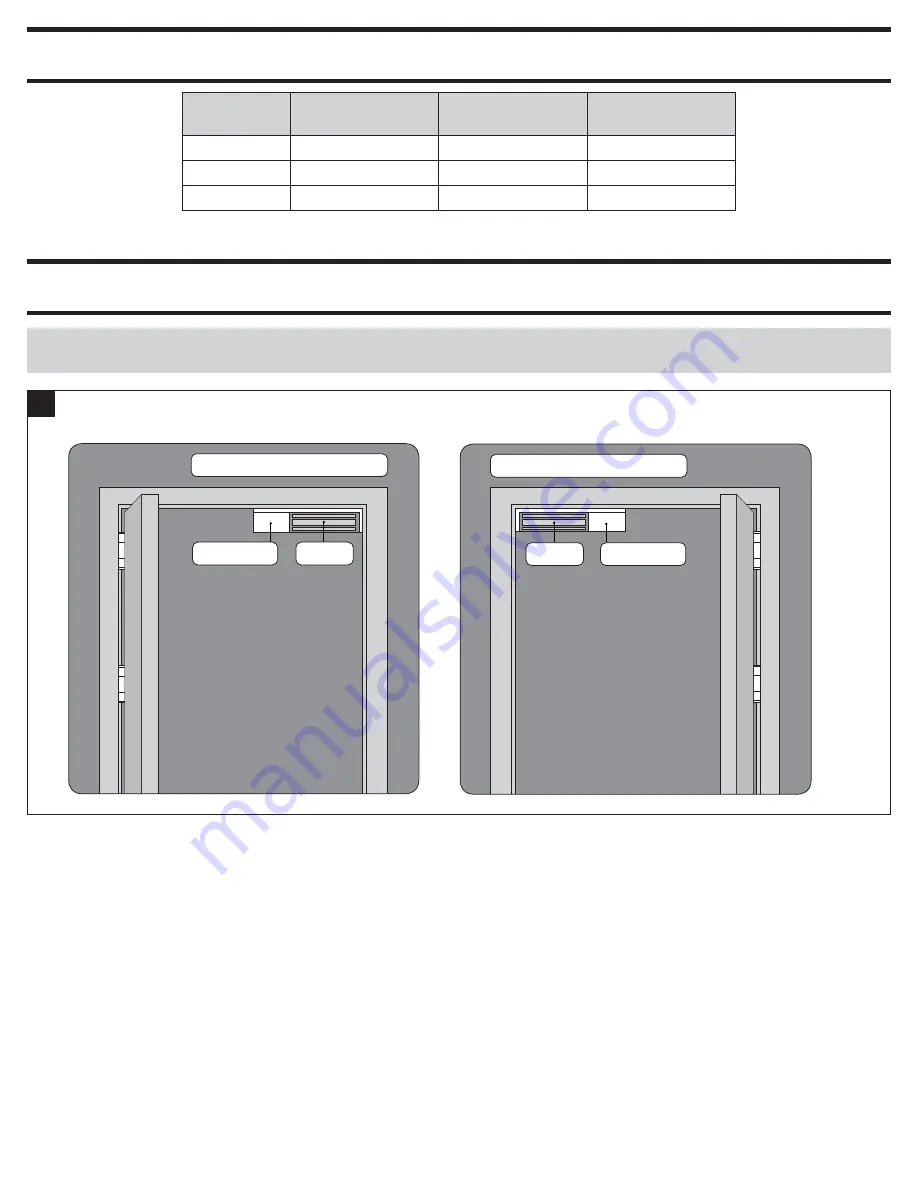
  Determine Proper Magnet Orientation

•  Magnet should be placed opposite of door hinges.

Magnet

Wiring Cover

LHR Door - Shown from Exterior


Magnet

Wiring Cover

RHR Door - Shown from Exterior

Summary of Contents for M420

Page 1: ...ng M490 Max Security UL1034 and 10C 1500lb and 3hr rating TRIMS Basic Auto Voltage Selection AVS for 12 or 24VDC Plus Basic features Door Position Switch DPS Magnetic Bond Sensor MBS Relocking Time Delay RTD LED Status Indicator LED and Anti Tamper Switch ATS UL Requirements Units shall not impair operation of panic hardware mounted on door Units shall not impair intended operation of an emergency...

Page 2: ...oil M420 0 750 0 380 500 M450 0 750 0 380 1000 M490 0 650 0 350 1500 LOCK INSTALLATION 1 PREPARE FOR INSTALLATION 1a Determine Proper Magnet Orientation Magnet should be placed opposite of door hinges Magnet Wiring Cover LHR Door Shown from Exterior Magnet Wiring Cover RHR Door Shown from Exterior ...

Page 3: ...Block Magnet End Block with screw hole Rotate magnet end blocks and wiring cover as shown then reassemble Magnet Wiring Cover End Block with screw hole 1c Place Template and Mark Holes Place template on top corner opposite of hinges Mark holes and prepare them per template LHR RHR ...

Page 4: ...er 2b Drill Hole for MBS Indicator Bottom 0 75 19 mm 6 mm drill bit M420 0 50 13 mm M450 490 0 75 19 mm 0 25 6 mm hole 2c Install MBS Indicator 3 INSTALL ATS OPTIONAL PLUS MODELS ONLY 3a Remove End Block and Wiring Cover a c b 3b Install ATS and Reassemble d e f ATS ...

Page 5: ...all as Shown Outside 2x 5 INSTALL MOUNTING BRACKET INTO FRAME 5a Attach Mounting Bracket Temporarily Install two middle screws into slots and partially tighten Partially tighten Pull wires OUTSIDE Actual Size Reinforced Metal Sheet Metal ...

Page 6: ... Press magnet to armature INSIDE Mark here 5e Fully Attach Bracket Remove magnet from bracket Check bracket alignment with marks Fully tighten two screws in slotted holes Drill four 4 remaining holes Fully tighten all screws Fully tighten all screws Drill four 4 holes Use 10 24 tap if metal reinforced Check alignment OUTSIDE Actual Size Reinforced Metal Sheet Metal ...

Page 7: ... Secure with Screws Actual Size 7 CONNECT WIRING TO BOARD STANDARD MODEL 7a Review Wiring Connections TB1 Printed Circuit Board DC Power DC DC From Magnet 7b Connect Wires to Board From Door Frame DC Power Wires From Magnet 7c Install Cover ...

Page 8: ...ed state DPS 0 25A 30VDC Resistive Contacts shown in open door state From Magnet Printed Circuit Board From LED From MBS From MBS RTD Adjuster RED Polarized Black Red Note Two MBS plugs are interchangeable Min Time Max Time 8b Connect Wires to Board From Magnet From Door Frame Multi Wire Cable From LED From MBS 2 From MBS 1 8c Connect ATS Wires ATS NC violet NO gray C white Switch Rating 1A 30VDC ...

Reviews: