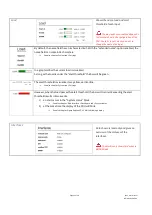
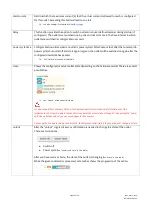
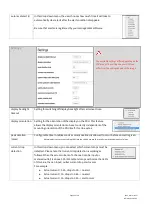
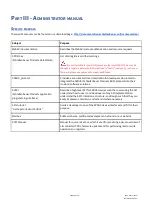


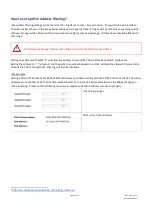
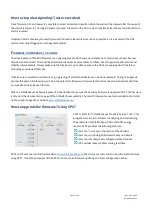
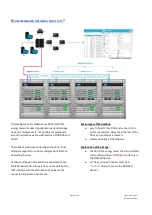

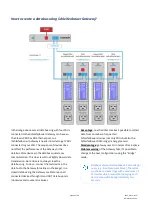
How to use the ‘device list’ section in the web interface?
The web interface will show a list of all devices connected to the bridge-PDU on the left pane (or below the blue header
when using narrower displays) only when the PDU is configured in Bridge mode. Initially this list is empty but will be filled
while the web interface is loading data from the bridge-PDU. A user must click the configuration icon on the right side of
the device list and choose “scan data bus”. A selected device is marked - yellow line - in the device list (left pane). Users
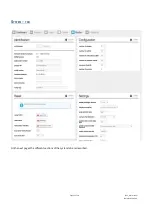
can switch between devices just by clicking the row in the device list. Information and settings about the currently selected
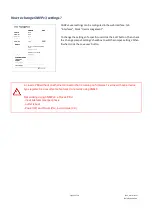
device can be seen on the right pane of the web interface. Next to the configuration icon is the ring icon. This icon shows if
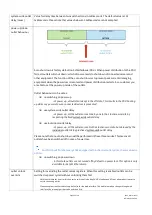
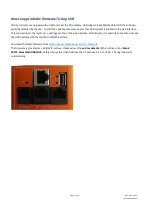
your ring is properly closed, or if it’s open. The example below shows an open ring. The example on the bottom of this
page shows a properly closed ring. It’s closed by connecting the “out” of the last device in the ring to the “in” of the first
device. A closed ring guarantees redundancy of all data between the master “bridge” device and the addressed “hybrid”
device.
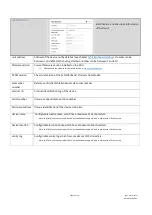
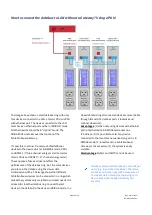
Note: When using multiple devices in a ring, make sure the one connected to the local network is in bridge mode and all
others are in hybrid mode.
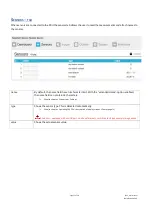
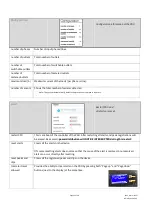
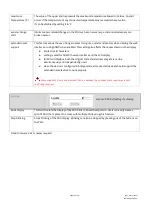
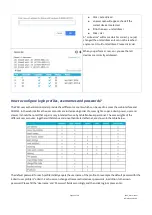
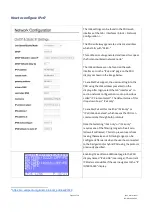
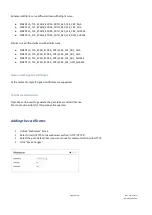
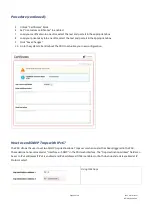
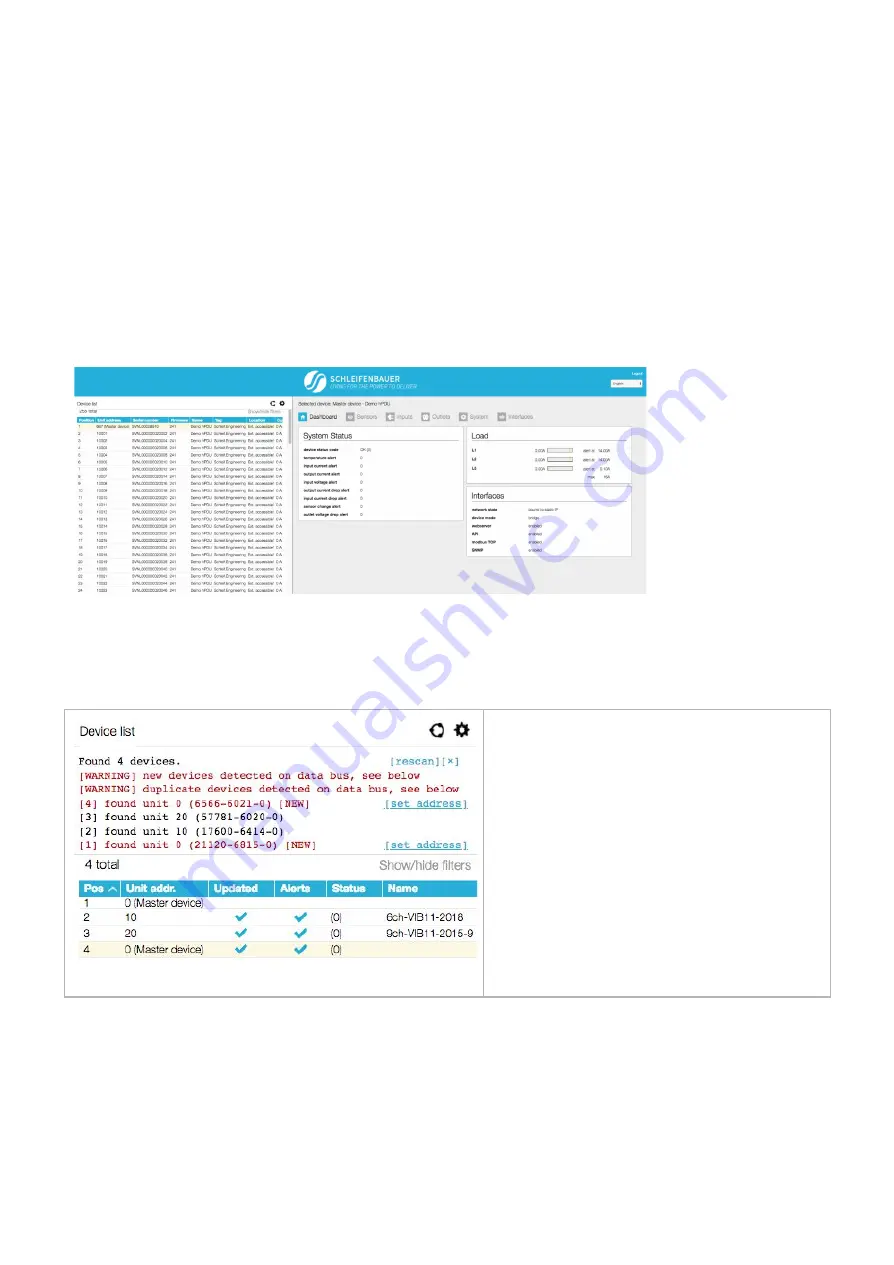
How to add new devices on an existing ring? How to solve duplicate devices?
Device list only appears when the
connected device is in “bridge”
mode.
When new devices are added to a ring, the firmware
might find several devices with unit address 0.
All connected devices require a unique unit address
to function properly. Having duplicate unit
addresses will result in warnings (see image).
It is not possible to set all addresses all at once!
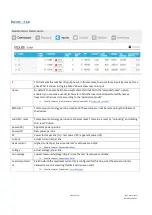
In this example, four devices are found. Device [1] is
the bridged device so it is best to set this unit
address last. So start with [4] which is the device on
top in the list that was found first.
Page 40 of 58
V262_User manual
Schleifenbauer PDU


