11. Maintenance / maintenance schedule
Reference Manual |Edition 4.0 (10-2013) |EcoCut 3300
67|108
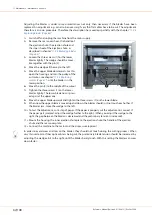
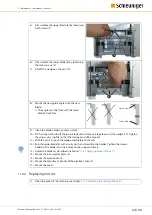
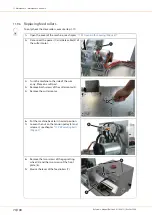
5» Disassemble the upper blade (6) by loosening
both screws (7).
7
6
6» Disassemble the lower blade (8) by loosening
the three screws (9).
7» Lift off the wedge on the pin (10).
10
9
8
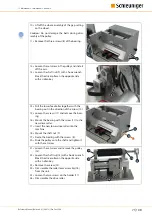
8» Mount the new guide angle onto the new
blade.
➥
The angle must be flush with the lower
blade’s front face.
Guide angle
Lower blade
9» Clean the blade holders‘ contact surface.
10» With an oily cloth rub off the lower blade (8) and mount it together with the wedge (10). Tighten
the screws very slightly so that the wedge can still be moved.
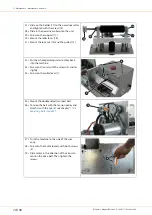
11» With the pin (10), push the wedge completely to the left.
12» Rub the upper blade (6) with an oily cloth, and mount to the holder. Tighten the screws.
Caution:
The blades must lie evenly on the support surface.
13» Adjust the blades as described in chapter
"11.8.1 Adjusting blades (Page 61)"
.
14» Mount the inner ejector plate (4).
15» Mount the ejection chute.
16» Mount the adjustment handle of the ejection chute (2).
17» Mount the cover.
11.9.4
Replacing motors
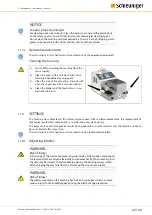
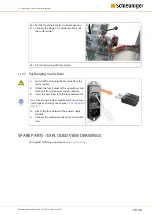
1» Open the cover of the machine, see chapter
"11.9.2 Opening the housing (Page 65)"
.
Summary of Contents for EcoCut 3300
Page 8: ...Table of contents 8 108 Reference Manual Edition 4 0 10 2013 EcoCut 3300...
Page 22: ...4 Product specifications 22 108 Reference Manual Edition 4 0 10 2013 EcoCut 3300...
Page 74: ...12 Spare parts exploded view drawings 74 108 Reference Manual Edition 4 0 10 2013 EcoCut 3300...
Page 76: ...13 Decommissioning disposal 76 108 Reference Manual Edition 4 0 10 2013 EcoCut 3300...
Page 102: ...14 Appendix 102 108 Reference Manual Edition 4 0 10 2013 EcoCut 3300...
Page 103: ...Personal notes Reference Manual Edition 4 0 10 2013 EcoCut 3300 103 108...
Page 104: ...Personal notes 104 108 Reference Manual Edition 4 0 10 2013 EcoCut 3300...
Page 107: ......
Page 108: ......

