6 Installation
Operating Instructions | Version 1.0 (05-2018) | Uni-M Ferrule
18 | 32
6.1.2.5
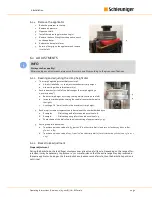
Verify/set crimp height dials
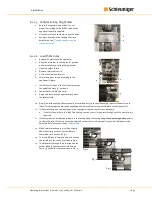
1.
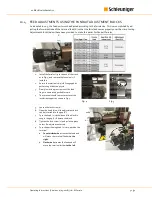
Ensure the top crimp height dial (1) is set
properly according to the INDEX value on the
applicator identificationplate.
2.
Use the mark (2) on the lower ring as the index.
3.
For more information on reading the crimp
height dials, see
"Reading and adjusting the
crimp height dial"
.
6.1.2.6
Load the ferrules
1.
Remove air pressure to the applicator.
2.
Bring the press ram to the top center position
either manually or by using the jog buttons.
3.
Open the safety shield.
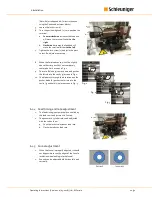
4.
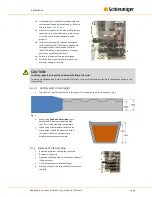
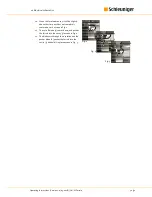
Remove the funnel unit (1).
5.
Lift the ferrule brake lever (2).
6.
Select the proper ferrule according to the
applicator ID plate.
7.
Install ferrule strip until the first ferrule reaches
the end of the track (3), as shown.
8.
Lower the ferrule brake lever (2).
9.
Apply air pressure to the applicator and close
the safety shield.
10.
Slowly lower the tooling either manually or with the press jog so that the tooling captures the next ferrule.
(Note: This may require a few cycles depending on where the ferrule strip is with relation to the feed cycle.)
11.
If the ferrule strip is advanced properly, the tooling will capture the first ferrule properly.
a.
If the first ferrule lies to the left of the tooling, continue to cycle the press through until the first ferrule is
captured.
12.
If the ferrules are not captured properly in the tooling, open the tooling using the opposite jog button and try
to adjust the strip. If the strip cannot be adjusted so that the ferrule is properly captured, the feed must be
adjusted. Refer to the section on
"Adjustments"
.
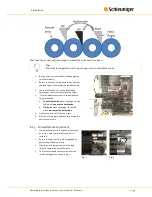
13.
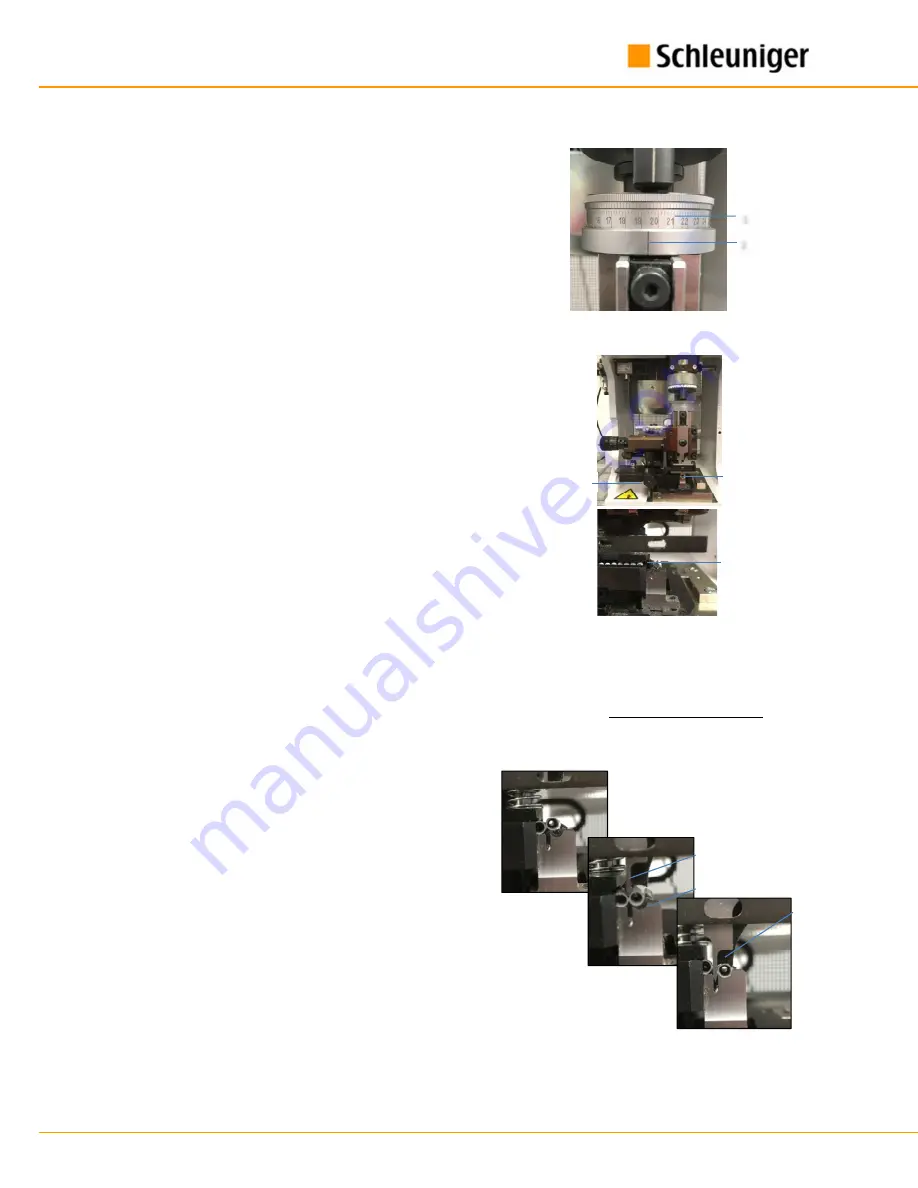
When the ferrule advances, it will be slightly
above the crimp anvil but not completely
centered over it as seen in Fig. 1.
14.
The cut-off blade (4) comes down, and pushes
the ferrule into the cavity (5) as seen in Fig.2.
15.
The blade cuts through the insulation and the
pusher blade (6) pushes the ferrule into the
cavity (5) and hold it in place as seen in Fig. 3.
2
1
2
1
3
5
4
Fig. 1
6
Fig. 3
Fig. 2


