7 Maintenance
Operating Instructions | Version 1.0 (05-2018) | Uni-M Ferrule
27 | 32
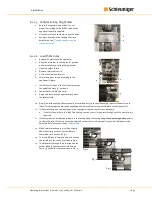
To install the new kit parts, proceed as follows:
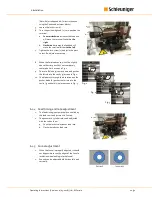
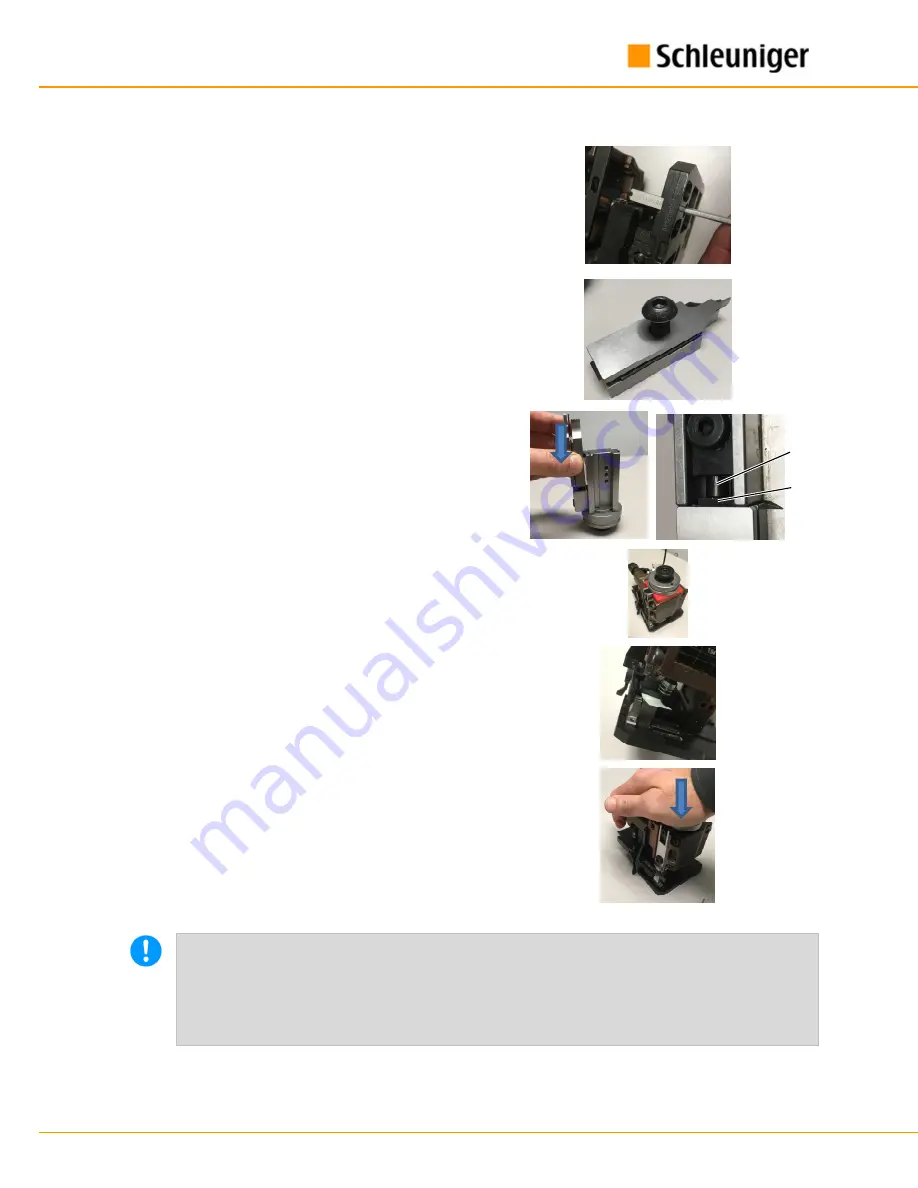
Install the anvil onto the base and secure them by
tightening the screws (11)/(12).
Ensure the anvil(s) are properly seated and flat on
the base.
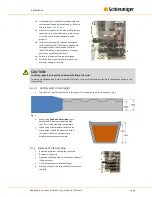
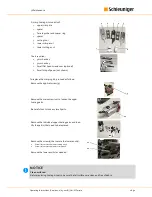
Starting with the upper crimp die (1) on the bottom,
stack the upper tooling (1 – 5) in the order they are
listed above.
With the ram resting on its head (right), mount the
parts above in the order they are listed back onto
the applicator ram.
Ensure that the end of the ferrule pusher (3) is en-
gaged with the pusher spring (13).
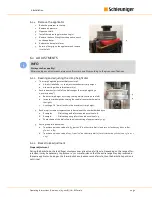
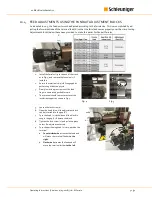
Insert the main screw (10) but
do not tighten it
completely.
Carefully insert the ram into the applicator.
If it is difficult, loosen the upper tooling slightly and
try again.
For this next step, remove the red ram color.
Lay a small strip of paper across the lower crimp an-
vil.
Lower the ram and gently push down.
Tighten the main screw (10) to secure the tooling.
NOTICE
Handle carefully!
After installing the ram back into the applicator, ensure that the ram does not drop freely onto the crimp
anvil(s). This may result in damage to the crimp dies. Whenever possible, the red protection collar should be
installed to prevent tooling damage.
13
3

