4
Operating instructions
Safety light grids
SLG440
EN
Factory setting
The system features many functions without needing any additional
devices The following table gives an overview of the possible functions
and the factory settings configuration
Function
Factory setting Configuration
Protective mode,
automatic
not active
External wiring
Restart interlock
(manual reset)
not active
External wiring
Double acknowledgement/
reset
not active
with command device
Blanking of moving
objects
not active
with command device
Contactor control (EDM)
not active
with command device
Beam coding A
not active
with command device
By default neither the restart interlock (manual reset) nor
the protective mode is active One of both operating modes
must be wired in order to enable the OSSD outputs If no
operating mode is selected, the following message is shown:
Status indication E1 + LED OSSD OFF (red)
2.8.1 Protective mode / Automatic
The protective mode switches the OSSD outputs to the ON state
(protection field not interrupted), without external release of a switching
device
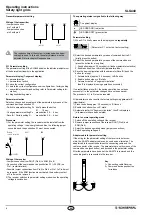
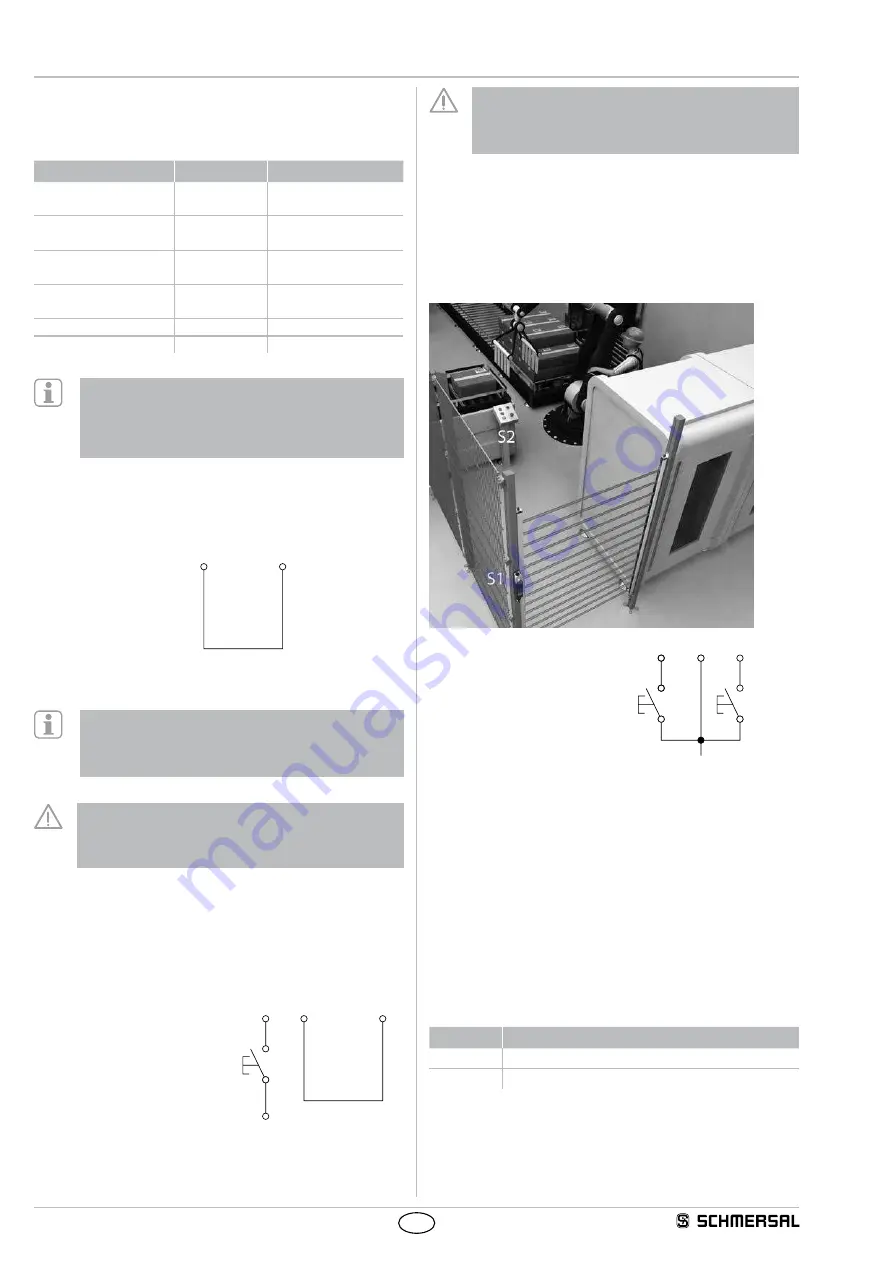
Wiring of the receiver
Jumper connection
pin 1 with pin 6
Pin 1
Pin 6
This operating mode generates an automatic restart of the machine if
the protection field is not interrupted
A 24 VDC H-signal at the input of pin 1 leads to a restart of
the system If the 24 VDC H-signal is still present at pin 1
after the self-test, the system switches to setting mode,
see chapter "Setting mode"
This operating mode may only be chosen in conjunction with
the restart interlock (manual reset) of the machine
This operating mode must not be chosen, when persons can
step behind the protection field
2.8.2 Restart Interlock (operation)
The restart interlock (manual reset) prevents an automatic enabling of
the outputs (OSSD's ON state) after switch-on of the operating volt-
age or an interruption of the protection field The system switches the
outputs only to ON state, when an external command device (restart
button) generates an enabling signal at the restart input (receiver)
Wiring of the receiver
- Jumper connection pin 5 with pin 6
- Command device (enabling button)
at pin 1
+24VDC
Pin 5
Pin 6
S1
Pin 1
The command devices (enabling button) must be installed
outside of the hazardous area The operator must have
a clear view on the hazardous area when actuating the
enabling button
2.8.3 Restart interlock with double acknowledgement/reset
In applications with access monitoring, a complete overview of the
hazardous areas is often not possible; despite that, a reset of the com-
mand device for the restart interlock outside of the hazardous area by
third parties is at all times enabled, although possible persons/operators
are in the invisible area This hazardous situation can be avoided by
means of a double reset, ie integration of two command devices inside
and outside the hazardous area
Wiring of the receiver
- Command device S1 at pin 1
- Command device S2 at pin 5
- Pin 6, no signal (input open)
S1
+24VDC
Pin 1
Pin 2
S2
Pin 5
Specification
The operating mode is available, when the parameter setting -
double reset is activated (P 5) See chapter Parameter setting
Sequence for enabling:
1) Actuate command device inside of the hazardous area (S2) and
leave the hazardous area
2) Go through protected field or interrupt at least one beam, then
release protected field
3) Actuate the command device outside of the hazardous area (S1)
Command device S1 can be reset (acknowledged) within a timeframe
of 2 to 60 seconds after the actuation of S2 If the order or the time
requirement is not respected, the process must be repeated
Signaliling: LED restart (yellow)
Status
Note
On
Release of S2 (restart interlock 2) waiting for signal
Flashing
Release of S1 (restart interlock) waiting for signal

