4
Xact Small Tank Monitoring System
Prior to attaching the Sensor to the tank it is necessary to locate the center line of the tank. Use the
Xact Level to mark the bottom centerline of the tank in two places approximately 12” (30cm) apart at the
edges of the area where the Sensor will be installed on the tank. Draw a straight line on the tank wall
between these marks to produce a reference centerline for installation.
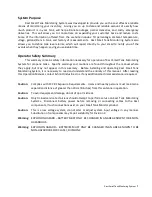
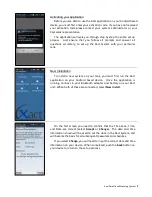
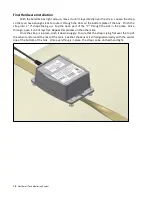
Apply the complete contents of the provided pre-measured
packet of acoustic gel to the center of the lens face of the Sensor
as shown in the figure. The amount of gel applied is critical to
function, so use the entire gel package contents. If you ever need
to remove and re-install the Sensor, ensure that both surfaces are
wiped clean, then re-apply the pre-measured amount of acoustic
gel from a new package.
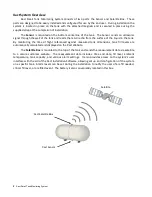
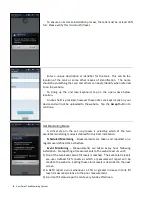
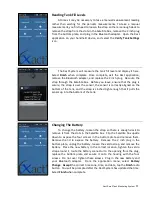
Locate the Sensor on the center line of the tank by aligning
the scribed lines on the sides of the Sensor housing and weather
boot, with the center line reference drawn on the tank. Once in
correct position, push the Sensor onto the tank surface.
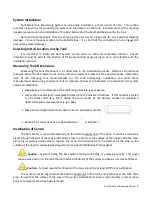
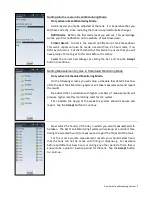
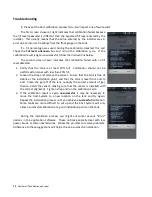
The Sensor is attached to the bottom of the tank with four
magnets. Using your free hand push up on the four spring loaded
magnets until they contact the tank. Push upward firmly in the
center of the Sensor and hold for about 10 seconds to ensure that
the acoustic gel is evenly distributed between the wall of the tank
and the face of the Sensor. Ensure the Sensor is aligned to the
centerline on the tank as you finish.
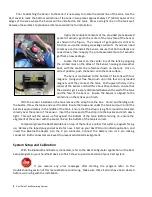
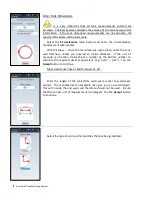
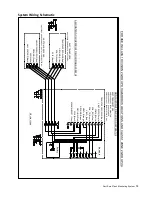
With the sensor installed on the tank remove the strap from the box. Unroll and holding onto
the buckle, throw the loose end over the tank. Route the loose end under the tank and pull it until the
buckle is approximately in the middle of the tank. Ensure that the strap is lying flat around the tank and
directly over the center of the sensor. Insert the loose end of the strap into the buckle and cinch down
tight. This will pull the sensor up flat against the bottom of the tank. Before moving on, ensure the
alignment of the sensor with the center line on the bottom of the tank is correct.
Temporarily place the Xact Satellite box on top of the tank or another flat surface, magnets facing
up. Remove the taped plug and set aside for now. Start up your Xact PDA or Android application, and
insert the Bluetooth adapter into the 9 pin connector. Connect the battery into its 2 pin locking
connector. Both connectors are keyed to prevent accidental misalignment.
System Setup and Calibration
With the Bluetooth and battery connected, refer to the Xact Configurator application or the Xact
Setup program on your handheld device to finish the set up and calibration of your Xact System.
If you receive any error messages after starting the program refer to the
troubleshooting section of this manual before continuing. Make sure that all errors have been cleared
before continuing with the installation.
Summary of Contents for Xact
Page 6: ......


