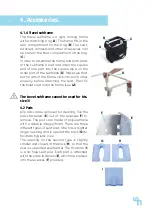
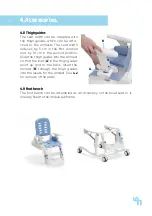


19
4. Accessories.
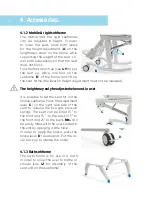
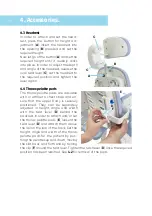
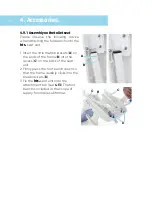
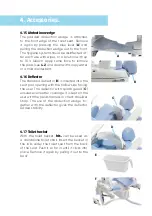
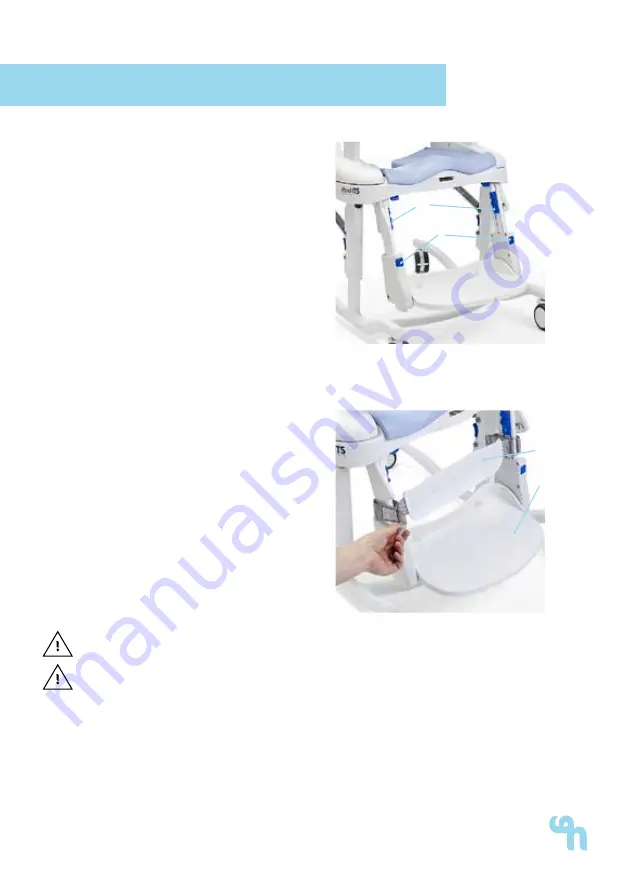
4.9.2 Foot bench height adjustment
In order to adjust the height of the foot
bench, press both buttons for height
adjustment (
A
), set the foot bench to
the required height and allow the but-
tons to audibly click into the place in
the required position.
4.9.3 Foot bench angle setting
The angle of the foot bench can be
adapted by pushing both levers (
B
) up
and setting the foot bench to one of
the four angles. The foot bench can be
also be folded in when transporting at
ground level.
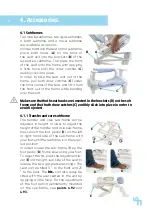
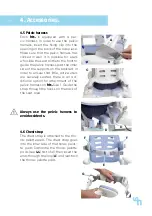
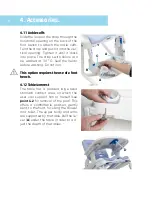
4.10 Calf guide
The calf guide (
C
) is fixed above the
foot bench (
D
). It should be removed
if the foot bench is set to one of the
upper positions. The calf guide is atta-
ched to the long supports on the foot
bench. With the strap pointing back-
wards and the rounded corners down-
wards, wind the strap around the long
supports and push it through the me-
tal ring from the front. Allow the hook
to click into place and fix the strap so
that it closes tightly around the long
supports.
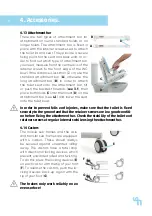
The calf guide option requires the use of a foot bench!
The load on the foot bench may not exceed 68 kg to avoid falls, tipping
over and other injuries!
B
C
D
A


