23.
A
lways use on a dry, level surface. Use on ceiling only.
24.
WARNING: T
o reduce the risk of fire or electric shock,
DO NOT
use this unit with any solid-state speed control device.
25.
DO NOT
attempt to repair or adjust any electrical or mechanical
functions on this unit.
D
oing so will void your warranty.
T
he inside
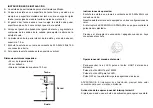
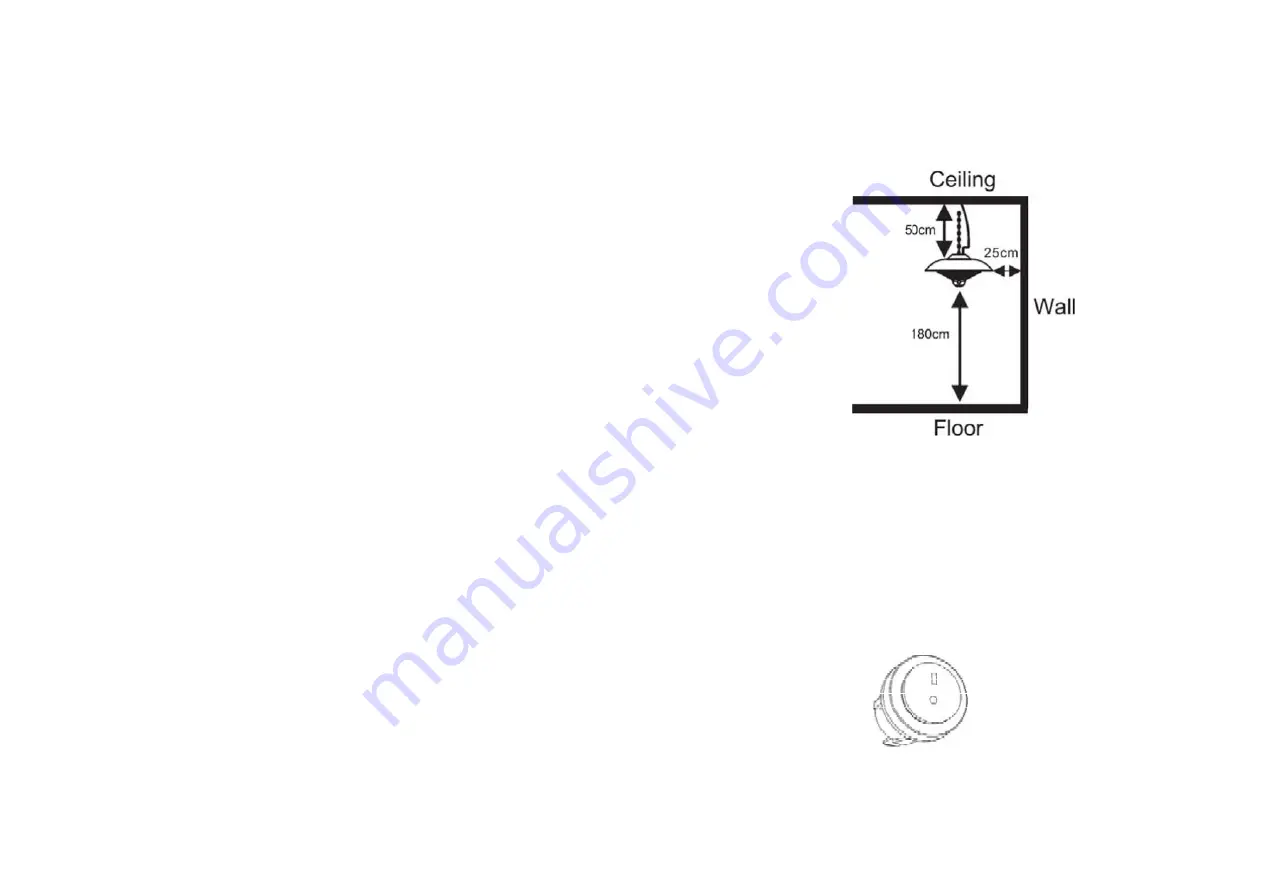
Minimum Required Distances:
•
25cm from the side wall
•
50cm from the ceiling
•
Installation height above 180cm
of the unit contains no user serviceable parts.
Q
ualified
personnel should perform all servicing only.
26.
C
onnect to properly grounded outlets only.
27.
WARNING: T
his heater is not equipped with a device to control
the room temperature.
Do not
use this heater in small rooms
when they are occupied by persons not capable of leaving the
room on their own, unless constant supervision is provided.
28. SAVE THESE INSTRUCTIONS.
INSTALLATION INSTRUCTIONS
A. Heater must be installed by a qualified electrician.
B. Place the heater on a firm, level ceiling surface; level ceiling surface;
installation of the heater on a strong rigid support (such as strong
wooden beams or metal rails etc).
C. The Hook on the ceiling hanging the Patio Heater must be able to
take a weight 3 or 4 times that of the Patio Heater itself.
D. Place the Hook A around the Ceiling Hook and clip on any Ring of
the Chain to adjust the height of the Patio Heater to the Floor.
E. The distance between the bottom of the Patio Heater to the Floor
must be over1.8M.
Operating Instruction:
Plug the Patio Heater into a grounded 220-240v 50Hz power outlet
Only operate the heater when it is in the upright position.
OurElectric Patio Heater is equipped with three heat settings
The ON/OFF switch on the heater is used to control the power of the
heater.
Press the on/off switch on the heater when the plug had been
connected.
F. Plug the Patio Heater into a grounded 220-240
outlet.
50Hz 15A power
G. Only operate the heater when it is in the upright position.


