Assembly
36
08.00 | PZN-plus | Assembly and Operating Manual | en | 0389374
NOTICE
Blockade of the gripper after setting or replacing of the switch-
ing cam!
The switching cam can be tilt in the guide, if it was not fixed ex-
actly in the base jaw.
•
Apply the switching cam in the direction of the base jaw, so
that the cam does not contact the housing of the gripper.
Variant Dust-tight:
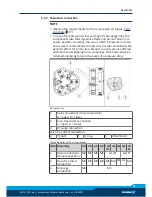
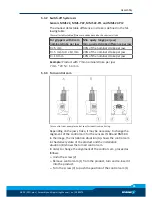
Before attaching the sensor, remove the sealing bolts from the
bracket. Before adjusting the control cam, unscrew the set-screw
from the side cover.
Ø
Move product to the "gripper open" position.
Ø
Loosen screw (4) and remove control cam (6) for the inductive
monitoring from the base jaw.
Ø
Apply adhesive to the top and sides of the control cam (6) from
the mounting kit.
✓
Make sure that there is no adhesive on the bottom of the
control cam (6), which comes into contact with the sensor.
✓
SCHUNK recommends the adhesive Loctite 290 or 638.
Ø
Slide control cam (6) out of the mounting kit front into the base
jaw.
✓
Ensure that the higher front side of the control cam (6) is
pointing outwards.
Ø
Tighten screw (4) slightly.
Ø
Turn the screw (5) to push the position of the control cam (6).
Ø
Tighten screw (4) and in doing so press the control cam (6) in
the direction of the gripper finger.
Ø
Slide the sensor (1) to the stop into the bracket (2).


