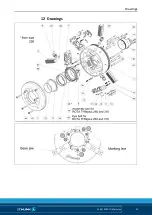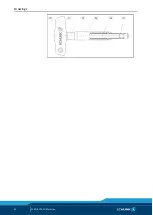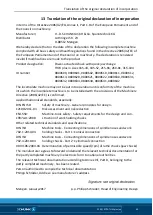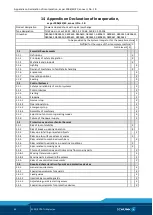
Attachment and disassembly of the chuck
01.00|ROTA THWplus |en
31
Disassembling and assembling the chuck
The chuck may only be disassembled once it has been uninstalled
(see Mounting the chuck, chapter 7.2).
• You can leave the base jaws (item 2) in the chuck. Move them
to the outermost permissible position. To do this, push the
chuck piston (item 3) to its front end position.
• Remove the screws (item 43) and use the threaded extraction
hole to push off the protection sleeve (item 4) away from the
chuck body (item 1), and then pull it out completely.
• Remove the screws (item 42/44) from the mount (item 7).
• Mark the position of the mount (item 7) in relation to the chuck
body (item 1).
• Undo the screws (item 40/41) several thread turns and ham-
mer gently on the screw heads using a rubber mallet. This al-
lows the mount (item 7) to be released from the centering for
the chuck body (item 1). Remove the screws and take off the
mount.
• Remove the safety bolt (item 14) with compression spring (item
35) and spring bolt (item 13).
• Use a suitable tool to push out and remove the jaw-change bolt
(item 8) with the balls (item 37) through the bore hole for the
safety bolt. Check the seal (item 33) for damage and wear, and
replace it if necessary.
NOTE: The bearing mechanism may cause metallic noise.
• Pull the chuck piston (item 3) together with the three wedge
bars (item 9) out of the chuck body (item 1). The individual
wedge bars (item 9) are identified in position in the chuck body
(item 1) in accordance with the numbering on the perimeter.
The piston has a point marking at the radial front side on the
piston wedge hook. This is assigned to base jaw guide
1
during
assembly.
• Push the base jaws (item 2) out of the chuck body (item 1).
• Check the seal (item 31) in the chuck piston (item 3) for the
protection sleeve (item 4) and the seal (item 32) for the draw
tube for damage and wear, and replace it if necessary.
• A wedge bar (item 9) consists of nine parts in total. Spring ten-
sion pre-loads the thrust bolt (item 12) and the pressure pieces
(item 16). Remove the wedge bar (item 9) using the appropri-
ate safety measures and using safety goggles.
7.3


