background image

4 Maintenance

EN Concrete troweling BEG 90

15

4 Maintenance

4.1 Customer service and spare parts

Only manufacturer’s original replacement parts

may be used.

In case of customer service queries, replacement

parts or repairs, please contact the manufacturer. To

ensure your queries are dealt with as quickly as pos­

sible, always quote your machine data (type, fea­

tures).

4.2 Cleaning the machine

The motor [9, Fig. A] may not be tilted and

should always be transported and stored in the

working position!

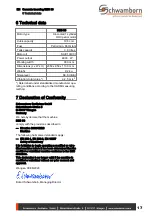
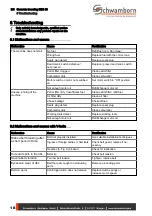
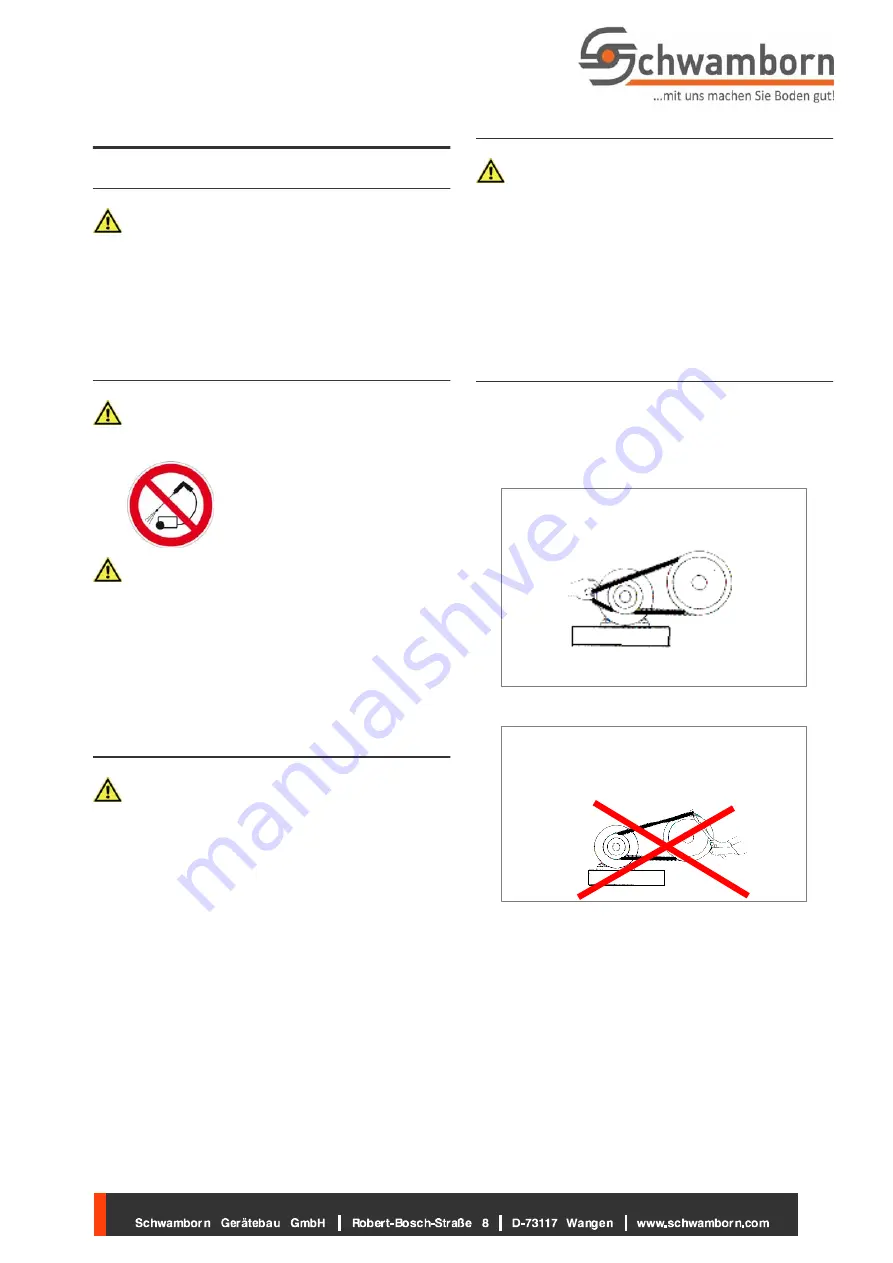
Do not use compressed air, high‐pressure

cleaners or solvents to clean the machine!

Clean the machine after use to prevent the ac­

cumulation of hardened cement. Hard concrete/

cement paste is very difficult to remove. Use a

brush and a gentle water jet for cleaning.

Cleaning petrol filter and air filter

(

!

HONDA GX 200 operating manual)

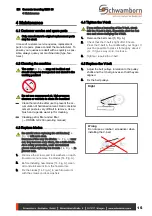
4.3 Replace blades

Be careful when replacing the old blades [14,

Fig. A] with new ones.

Because of the way the blades [14, Fig. A] wear

out, they become very sharp, like a knife blade.

As a safety precaution, wear cut-resistant

gloves when replacing the trowels [14, Fig. A] to

prevent cuts.

1.

Remove the screws and lock washers on each

trowel arm and remove the blades [14, Fig. A].

2.

Before installing new blades [14, Fig. A], clean

all concrete/cement from the trowel arms.

3.

Fix the blades [14, Fig. A] to each trowel arm

with the screws and lock washers.

4.4 Tighten the V-belt

If you notice a loosening of the V-belt, check

that the V-belt is tight. Especially after the first

use and when changing the V-belt.

1.

Remove the belt cover [5, Fig. A].

2.

Check that the V-belt is tight after 8 hours.

Press the V-belt in the middle with your finger. It

must be possible to press it through by about 2

cm. If it gives way more, it is loose.

3.

Tighten / repalce the V-belt.

4.5 Replace the V-belt

1.

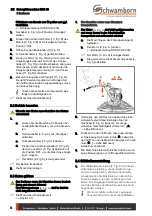
Adjust the belt pulleys in relation to the pulley

shafts and the V-belt grooves so that they are

aligned.

2.

Fix the belt pulleys.

Right

Wrong

Do not use a crowbar / screwdriver when

installing the V- belt.

Summary of Contents for BEG 90

Page 1: ...BEG 90 DE Betongl ttmaschine BEG 90 Originalbetriebsanleitung 3 EN Concrete troweling BEG 90 Translation of the original operating manual 11...

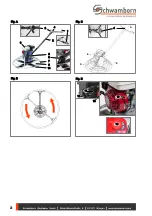
Page 2: ...2 3 1 4 9 5 2 6 7 8 Fig A Fig B 4 Fig C D D E E Fig D 13 11 10 10 12 14...

Page 3: ...n 13 D Startgriff 14 A Gl ttkellen 1 Wichtige Hinweise Schwamborn Ger tebau GmbH Alle Rechte liegen bei der Schwamborn Ger tebau GmbH Kein Teil dieser Originalbetriebsanleitung einschlie lich der bers...

Page 4: ...ung Gesetz ber Technische Arbeitsmittel Gesetz ber Ger tesicherheit Gesetz ber Produkthaftung Die Betriebsanleitung ist f r den Bediener sowie f r das Personal zur Wartung Pflege und Instandset zung d...

Page 5: ...Nach dem Beenden der Arbeiten eine K rperrei nigung durchf hren Sicherheitszone Am Griff befindet sich ein Totmannschalter 1 Fig A mit dem die Maschine gegen etwaige Gefahren angehalten werden kann Di...

Page 6: ...ie Maschine reinigen 3 3 Beton gl tten Der Bediener muss die Maschine immer kontrol lieren und steuern k nnen Die F hrungsstange 2 Fig A darf im Betrieb nicht losgelassen werden Die Maschine ist betri...

Page 7: ...schen Aufgrund der Art und Weise wie sich die Gl tt kellen 14 Fig A abnutzen werden diese sehr scharf wie eine Messerklinge Als Sicherheitsvorkehrung werden beim Aus tausch der Gl ttkellen 14 Fig A sc...

Page 8: ...rd vom Hersteller vollst ndig und verpackt geliefert 1 Maschine auspacken und anhand des beigef g ten Lieferscheins auf Vollst ndigkeit pr fen 2 Pr fen ob Transportsch den entstanden sind Transportsch...

Page 9: ...kl rung Schwamborn Ger tebau GmbH Robert Bosch Stra e 8 D 73117 Wangen Deutschland Hiermit erkl ren wir dass die Maschinen BEG 90 bereinstimmen mit den Bestimmungen der Richtlinie 2006 42 EG Maschinen...

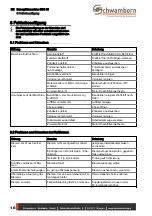
Page 10: ...g Kraftstoff Benzinfilter reinigen Kraftstoff nach f llen Luftfilter verschmutzt Luftfilter reinigen Choke bet tigt Choke ffnen Z ndkerze defekt Z ndkerze austauschen Vergaser verschmutzt Vergaser rei...

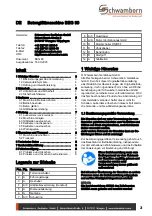
Page 11: ...9 A D Motor combustion engine 10 D Motor switch ON OFF 11 D Choke lever 12 D Petrol tap 13 D Starter handle 14 A Blades 1 Important notes Schwamborn Ger tebau GmbH Schwamborn Ger tebau GmbH reserves a...

Page 12: ...operating instructions are intended for opera tors and tool setters as well as for the personnel that service maintain and repair the machine Together with all the technical documentation it is inten...

Page 13: ...oughly clean yourself Safety zone A dead man s switch 1 Fig A is located on the handle with which the machine can be stopped against possible dangers The machine runs when the operator holds the dead...

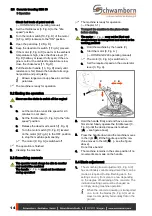
Page 14: ...moothing concrete The operator must always be able to monitor and control the machine The handle 2 Fig A must not be released during operation The machine is ready for operation Chapter 3 1 1 Transpor...

Page 15: ...ig A with new ones Because of the way the blades 14 Fig A wear out they become very sharp like a knife blade As a safety precaution wear cut resistant gloves when replacing the trowels 14 Fig A to pre...

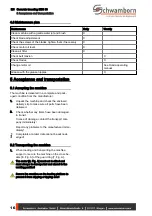
Page 16: ...aged condition from the manufacturer 1 Unpack the machine and check the enclosed delivery slip to make sure all parts have been delivered 2 Check whether any items have been damaged in transit In cas...

Page 17: ...asuring method 7 Declaration of Conformity Schwamborn Ger tebau GmbH Robert Bosch Stra e 8 D 73117 Wangen Germany We hereby declare that the machine BEG 90 comply with the provisions described in Dire...

Page 18: ...nsufficient fuel Clean petrol filter refill fuel Air filter dirty Clean air filter Choke bet tigt Choke ffnen Spark plug defect Replace spark plug Carburettor dirty Clean carburettor Working tools def...

Page 19: ......

Page 20: ......
Reviews:

Related manuals for BEG 90