Important Points to
Remember:
■
Instruments should always be clean
and free of debris and bioburden
prior to sterilization.
■
Fill the fresh water tank with
distilled water.
■
It is recommended that a chemical
indicator strip be used with every
cycle. If the chemical indicator strip
fails to change after cycle, repeat
cycle with new strip.
If this occurs again then arrange for
service and do not use the autoclave.
Running a Cycle:
1.
Clean and rinse all instruments.
2.
Arrange the instruments on the tray so that they do not touch each other.
3.
Use the pouch rack for pouches. This ensures their proper sterilization and drying.
4.
Ensure that the top of the load does not strike the tray above nor the chamber ceiling.
5.
Close the door by pushing until a ‘click’ is heard. The LED next to the door open button will light.
6.
Press the cycle select button until the required cycle is selected.
7.
Press cycle start button to start a fully automatic cycle.
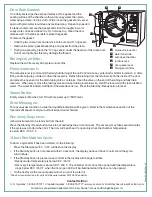
Abort Drying Cycle:
At the completion of each sterilization cycle, the unit automatically begins a vacuum drying cycle (approximately 30
minutes). The door open light flashes. Drying can be interrupted by pressing the door open button. The door will
open automatically only when it is safe and ‘15’ will appear on the display. Press Standby / Ready twice to reset.
At the end of the drying cycle the buzzer sounds 3 times. Press the door open button to open the door.
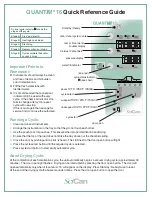
QUANT
IM
®
16
Quick Reference Guide
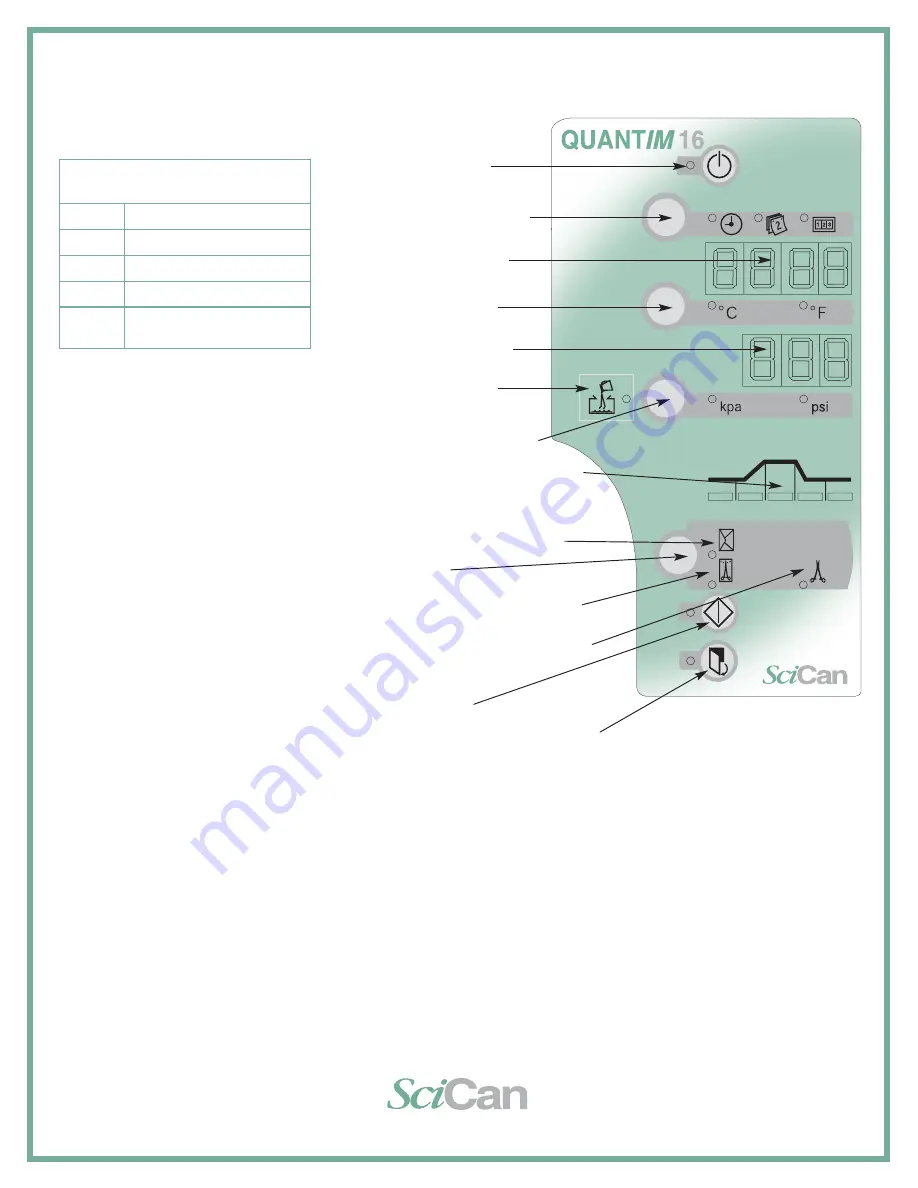
time / date / cycle counter
Celsius / Fahrenheit
water fill indicator
cycle select
packs
121˚C / 250˚F /30min
wrapped
132˚C/ 270˚F /15min
cycle start
door open
Standby / Ready
temp / time / date /
counter display
pressure display
(kpa / psi)
cycle status indicator
■
1
(see chart)
unwrapped
132˚C / 270˚F /3min
A
B
C
D
E
A visual cycle indicator
■
1
shows the
stages of the cycle:
Stage A.
Pre-Vac / water fill
Stage B.
Heating and air bleed
Stage C.
Sterilizing
Stage D.
Depressurization / drying
Stage E.
Cycle complete the buzzer
sounds 3 times.


