Page 131
STAT
IM 2000/2000S
Service Guide
96-106775 Rev 5.0
6. Cover Assembly
STAT
IM
5000/5000S/5000 G4 Service Guide
Removing and Replacing the STAT
IM 5000 G4 lCD overlay
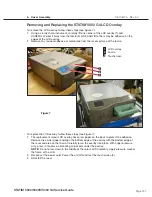
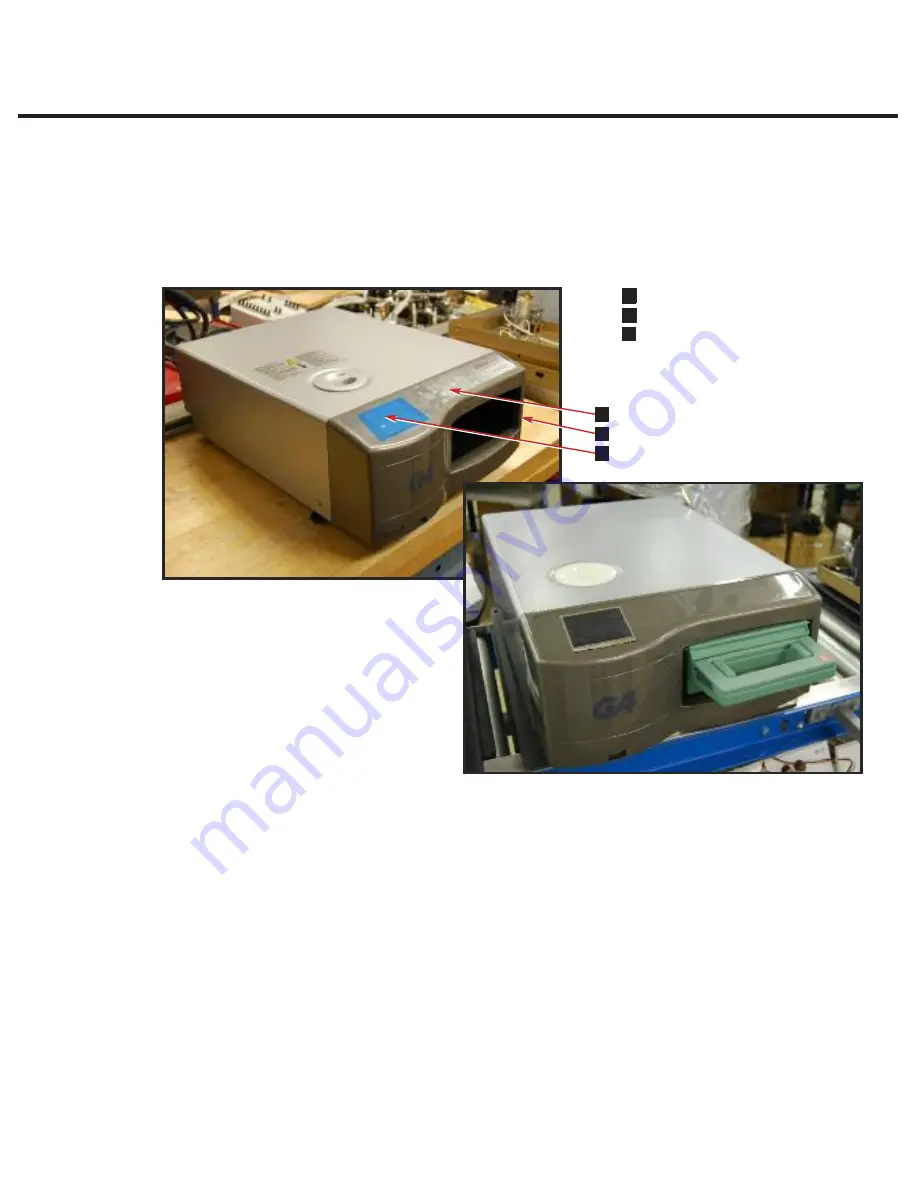
To remove the LCD overlay, follow these steps (see Figure 7):
1. Using a sturdy sharp instrument, carefully lift one corner of the LCD overlay (1) and
CAREFULLY peel it away from the fascia (2). USE CAUTION, there may be adhesive on the
edges of the LCD overlay.
2. Remove any residual adhesive or membrane from the recessed area of the fascia.
To replace the LCD overlay, follow these steps (see Figure 7):
1. The replacement colour LCD overlay has carrier paper on the back to protect the adhesive.
Remove the carrier paper and align the bottom edge of the overlay with the bottom edge of
the recessed area on the fascia. Carefully lower the overlay into place. With finger pressure
only, press it into place, eliminating air pockets under the overlay.
NOTE
: Do not press down in the middle of the colour LCD assembly. Apply pressure around
the frame of the LCD.
2. Reconnect the power cord. Power the unit ON and test the touchscreen (3).
3. Reinstall the cover.
Page 24
STATIM 5000 G4 Service Guide
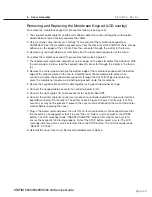
Removing and Replacing the LCD Overlay
To remove the LCD overlay, follow these steps (see Figure 3):
1. Using a sturdy sharp instrument, carefully lift one corner of the LCD overlay (1) and
CAREFULLY peel it away from the fascia (2). USE CAUTION, there may be adhesive on
the edges of the LCD overlay.
2. Remove any residual adhesive or membrane from the recessed area of the fascia.
To replace the LCD overlay, follow these steps (see Figure 3):
1. The replacement colour LCD overlay has carrier paper on the back to protect the
adhesive. Remove the carrier paper and align the bottom edge of the overlay with the
bottom edge of the recessed area on the fascia. Carefully lower the overlay into place.
With finger pressure only, press it into place, eliminating air pockets under the overlay.
Note:
Do not press down in the middle of the colour LCD assembly. Apply pressure around
the frame of the LCD.
2. Reconnect the power cord. Power the unit ON and test the touchscreen (3).
3. Reinstall the cover.
Cover Assembly
n
1
LCD overlay
n
3
Fascia
Touchscreen
1
2
3
Figure 3
1
2
3
Figure 7


