background image

Setting up your Chemistry Laboratory

Working in your Chemistry Laboratory

8

9

Keep accurate records of your work. There is 
little point in doing chemical experiments if 
you don’t know what you have done, why 
you did it and what happened. Follow the 
instructions carefully and watch very closely 
what happens, and then try to work out why 
it happened. At the back of these instructions 
are answers to what you should see and 
conclude from your observations.

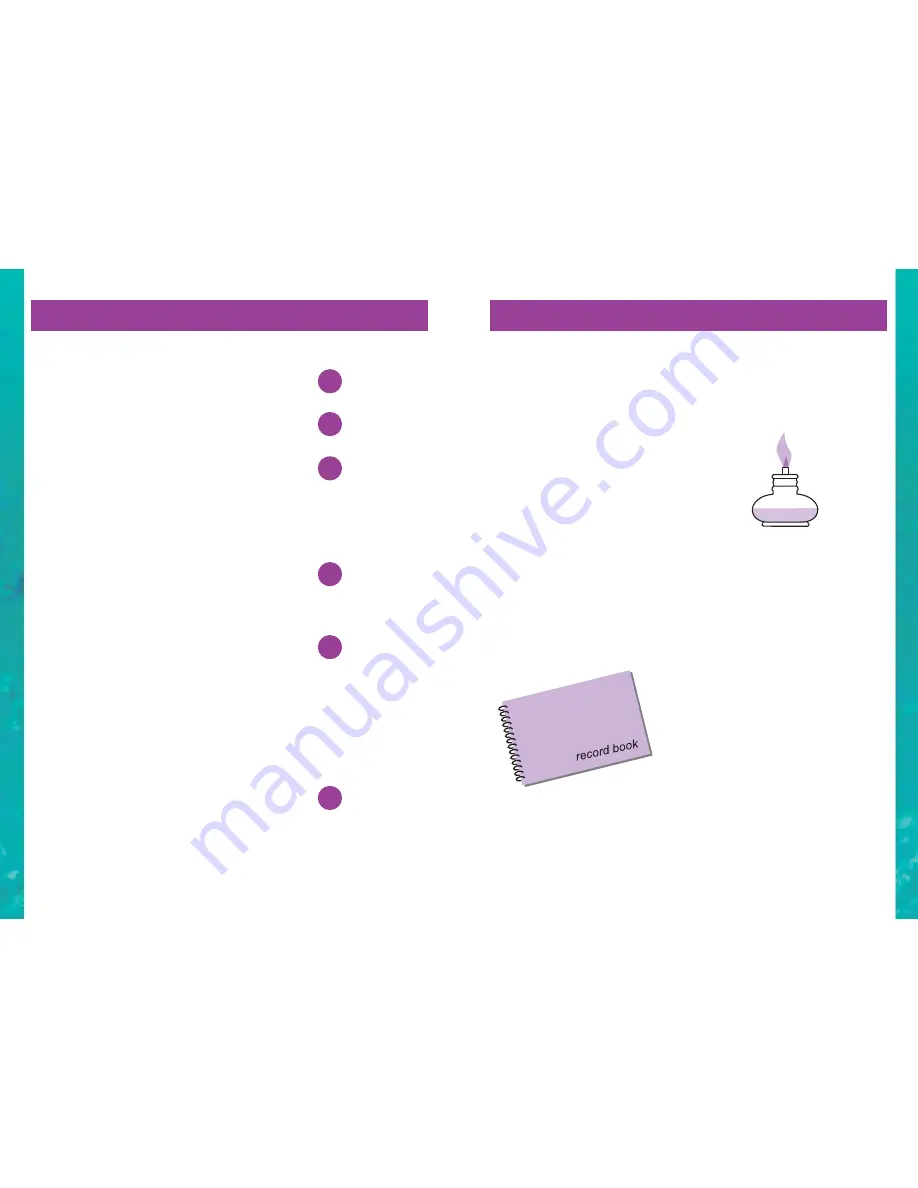
The Record Book

The best type of book to use is a hard 
covered book or one with a spiral binder.

Write up each experiment with:

• when you did the experiment (the date)

• what the experiment was about (its title)

• what you did (the method)

• what happened (the results)

• why it happened (the conclusions).

Laboratory Techniques

Practical chemistry requires you to carry out 
various tasks which will at first be unfamiliar 
to you. This section contains some hints and 
tips that will help you with these tasks.

Using The Spirit Burner

You must use the Spirit Burner with great 
care. It should always be placed on a metal 
tray that can catch any spillages - a biscuit 
tin lid is ideal.

Fill the burner three quarters full with 
Methylated Spirits, screw on the cap and 
wait a few minutes for the Methylated Spirits 
to soak up the wick. You need about 3mm of 
wick protruding from the cap. Ensure that the 
outside of the burner is dry. Keep the bottle 
of Methylated Spirits well away from the 
Spirit Burner. Light the burner with a match 

(or preferably a disposable cigarette lighter). 

You will see that the flame is nearly 
colourless and in bright sunlight it may be 
invisible. It is very easy to burn yourself and 
to minimise this risk we recommend the 
following tip.

Continued...

You need to set up your laboratory work 
space in a well lit and ventilated room with, if 
possible, a heat resistant surface to work on. 
You will soon discover that an experimental 
chemist spends a lot of time washing dirty 
equipment so a close supply of running 
water, or a large container to hold waste 
water is essential.

For most people the kitchen is the best place 
to set up your laboratory.

You also need a clean area nearby where you 
can write in your laboratory notebook and 
keep other items safe and dry. It is unlikely 
that you will have a laboratory area that is 
not to be used by other people at other 
times. This is certainly so if you work in your 
kitchen. You need, therefore, to be able to 
easily pack away your Chemistry Laboratory. 
You can, of course, use the box which we 
have supplied, but you will quickly acquire 
other equipment and chemicals, and we 
strongly recommend that you get a large 
strong cardboard or plastic box in which you 
can conveniently pack and unpack 
everything and store it away when not in use.

IT IS VERY IMPORTANT that you store this 
set somewhere where young children do not 
have access to it. Read and act upon all the 
safety advice within this manual!

Have readily available at all times the 

following 6 items.

A sink or container for liquid waste.

A waste bin for solid waste.

A piece of hardboard or thick 

cardboard or similar (newspaper in an 

emergency) to put on the work bench. 

Then if you have any spills you can 

easily clean up the mess.

A kitchen roll, or some cloths, 

for keeping your laboratory area

clean and tidy.

Two tea-towels (not those usually used 

in the kitchen). One dry tea-towel 

should be used for drying your 

apparatus after you have washed it. 

The other tea-towel should be wet and 

you should keep it handy so that you 

can quickly smother a small fire if you 

are unlucky enough to have one.

A biscuit tin lid, or something similar,

in which to stand your

Spirit Burner.

1

2

3

4

5

6

Summary of Contents for Chemistry Lab

Page 1: ...s Keep small children and animals away from experiments Keep the experimental set out of reach of children under 10 years old Eye protection for supervising adults is not included Functional sharp points and edges cut and puncture wound hazard Dispose of unwanted chemicals by greatly diluting with water and running into the waste water system For chemicals labelled as hazardous to the environment ...

Page 2: ...ntents of the Chemistry Lab Equipment CAUTION Contains some chemicals that are classified as a safety hazard CHEMICAL RISK Ammonium Chloride Harmful if swallowed Causes serious eye irritation CHEMICAL RISK Magnesium Sulphate Not hazardous Potassium Iodide Not hazardous Sodium Sulphate Not hazardous Sodium Thiosulphate Not hazardous Sodium Carbonate Causes serious eye irritation Sodium Hydrogen Sul...

Page 3: ...ould discuss the warnings and safety information with the child or children before commencing the experiments Particular attention should be paid to the safe handling of acids alkalies and flammable liquids f The area surrounding the experiment should be kept clear of any obstruction and away from the storage of food It should be well lit and ventilated and close to a water supply A solid table wi...

Page 4: ...r home and in the world around you Chemistry is a very important science because everything in the Universe is made of chemical substances You the water you drink the air your breathe the food you eat the hills you climb are all chemical substances All chemical substances are made from about 100 elements You for example are a very complicated mixture of chemicals but 98 of you is just 6 of these 1...

Page 5: ...set up your laboratory work space in a well lit and ventilated room with if possible a heat resistant surface to work on You will soon discover that an experimental chemist spends a lot of time washing dirty equipment so a close supply of running water or a large container to hold waste water is essential For most people the kitchen is the best place to set up your laboratory You also need a clean...

Page 6: ...r purpose if you get an adult to heat a needle held in a pair of pliers in your Spirit Burner flame and melt a small hole through the centre of the top of the cap Then click shut the top of the cap and squirt the water out of this fine hole continued SAFETY TIP Using the Spirit Burner You can extinguish the burner flame by blowing it out but a good tip to follow is to have a heat proof drinking gl...

Page 7: ...ts with several pieces of kitchen roll and throw it away Wash your hands under running water when you have cleared up One of the trickiest tasks you will have to do is to push the glass tubing into a cork It is very very easy to break the tubing and cut your hand when doing this so take great care TIP A Hand Sprayer A small 1 pint garden or indoor plant sprayer that is readily available at Garden ...

Page 8: ...ush or cotton buds A pencil A small mirror or piece of glass Writing paper preferably unglazed 2 tea towels A kitchen roll A roll of sellotape A pair of scissors A pair of tweezers or small pliers 5 small nails A wooden clothes peg very useful as a test tube holder A small saucepan An old cup or mug An egg cup A small plate DO NOT RE USE cutlery plates glasses or mugs etc used in experiments for d...

Page 9: ...ent heat it very gently DANGER The spoon will be VERY HOT put it on the tin tray holding the burner and wait for it to cool down Before doing any of the experiments read and understand the two earlier sections in this Booklet on Safety Matters and Your Chemistry Laboratory Collect together the Additional Equipment and Chemicals listed earlier For many experiments you will need some small pieces of...

Page 10: ...lace the funnel and filter paper into the mouth of a test tube and pour the solution and pepper into it The liquid filtrate passes through the fine holes in the filter paper into the test tube leaving the pepper stuck onto the filter paper To recover clean and dry pepper move the funnel into another test tube and gently wash the pepper with water Then carefully lift the filter paper out of the fun...

Page 11: ...own iodine will be formed Add water until the test tube is half full Carefully pour this solution into a bottle Label it Iodine Solution THIS IS VERY IMPORTANT Experiment 2 1 Invisible ink from a lemon a lemon crystallising dish artist s paint brush or a cotton bud writing paper Squeeze a lemon and pour some juice into a crystallising dish Use the paint brush or a cotton bud to write on a piece of...

Page 12: ...ution until it just boils and pour it into a crystallising dish leaving any residue in the test tube Put the crystallising dish somewhere warm for several days until all the water has evaporated away If possible prop up one side of the crystallising dish say with a pencil so the solution is not spread too thinly over the bottom of the dish Sodium sulphate crystals will be left in the crystallising...

Page 13: ...ate crystals magnesium sulphate beaker test tube small saucepan glass container There is a sample of magnesium sulphate in the Chemistry Lab but to carry out this experiment you will need to buy more It is sold as Epsom Salts Magnesium sulphate has this name because it is an important chemical in drinking water that was first found in spring water at Epsom in Surrey over 300 years ago in 1695 Put ...

Page 14: ...r lab to carry out this experiment Before you can carry out this experiment you need to buy more aluminium potassium sulphate or copper sulphate from a chemical supplier To grow really large crystals you need to suspend a small one known as the seed crystal in a saturated solution of the chemical and let the water slowly evaporate away As it does so the chemical will grow as one large crystal on t...

Page 15: ...gnesium sulphate into a clean dry test tube Heat the solid in the burner flame and look carefully at what happens Do you see any water vapour coming off from the magnesium sulphate and condensing on the cool upper parts of the test tube This water is part of the magnesium sulphate crystal It is called water of crystallisation Record in your notebook that magnesium sulphate contains water of crysta...

Page 16: ...ion Put 3 measures of sodium carbonate and 3 measures of calcium hydroxide in a clean conical flask Add a test tube full of water and gently shake and heat the flask over the burner for about 5 minutes As the flask will get hot you need to make a holder for it Do this by cutting an A4 sheet of paper in half to give a piece 15cm x 21cm and then folding this over 3 times to form a strip about 2cm x ...

Page 17: ...e substance that gives red cabbage its colour is an indicator Chop up a little red cabbage and gently boil it in water for 10 minutes or so Let the deep purple water cool and pour some into your beaker Dissolve measure of citric acid in 2cm of water in a test tube and pour it into the conical flask Add 1cm of red cabbage water What colour is the solution Add 2cm of your sodium hydroxide solution W...

Page 18: ...um potassium sulphate iron sulphate test tubes dropping pipette white plate Chemists often need to test for acids or alkalis and indicators that have been soaked onto filter paper and dried are usually used The most useful is called universal indicator paper This indicator not only shows the presence of an acid or alkali but also shows its strength The colour of the universal indicator changes fro...

Page 19: ...nto a crystallising dish and let the water evaporate off in a warm place leaving a mixture of sodium sulphate and zinc sulphate crystals Experiment 5 12 Neutralisation of an acid with an alkali using universal indicator universal indicator paper citric acid sodium hydrogen carbonate sodium bicarbonate sodium hydrogen sulphate solution sodium carbonate solution 2 test tubes conical flask 2 crystall...

Page 20: ...at the magnesium What do you see If you see nothing happening boil the solution again and be patient Experiment 6 3 The reaction of iron with an acid iron filings sodium hydrogen sulphate solution 2 test tubes funnel filter paper crystallising dish Repeat Experiment 6 2 using 1 measure of iron filings instead of the zinc The crystals that you obtain are a mixture of sodium sulphate and iron sulpha...

Page 21: ...st tube and add 2cm of your sodium hydrogen sulphate solution Add 2 small pieces of clay pot Boil the solution carefully holding the tube in a test tube holder or a wooden clothes peg The clay pot will help the solution to boil smoothly but it can still spit and spurt out WEAR YOUR GOGGLES and ensure that the test tube is not pointing at anyone Boil the solution for about 5 minutes adding more wat...

Page 22: ...sulphate copper magnesium sulphate Experiment 7 4 The formation of iron hydroxides iron sulphate sodium hydroxide solution 2 test tubes funnel filter paper Dissolve measure of iron sulphate in 1cm of water in a test tube Add 2cm of sodium hydroxide solution A precipitate of iron II hydroxide is formed What colour is it Filter off this precipitate Open up the filter paper and leave it for an hour o...

Page 23: ...il Add a piece of clay pot gently boil the solution and then remove the test tube from the flame Look very carefully at the contents of the test tube and describe what you see Leave the tube for an hour or so Has the blue colour of the copper sulphate disappeared What has been formed Write a word equation for the reaction that has happened here See if you can recover any aluminium sulphate crystal...

Page 24: ... then red Carbon dioxide has been shown to be an acid Experiment 8 6 Heating copper carbonate copper carbonate small evaporating spoon In Experiment 7 1 you made a sample of copper carbonate Put the copper carbonate on the small metal evaporating spoon and heat it over the burner flame Describe what happens What colour is the residue in the spoon Look back at Experiment 6 7 to see if this contains...

Page 25: ... of aluminium foil and fold it round a lolly stick to make a packet Let the end of the foil extend over the end of the stick and fold it over to make a sealed bottom Put a piece of sellotape on the foil edge to hold the packet together and slide it off the lolly stick It should be about 3 cm long Continued Experiment 9 4 To identify the gas in sparkling water first experiment sparkling water unive...

Page 26: ...under the funnel Continue heating for about 10 minutes when there should be no further change in the test tube Remove the test tube from the flame put the HOT test tube on the tin tray and the funnel from the water Pour the ammonia solution from the beaker into a test tube and put a plastic cap on it Label the tube and store it safely Experiment 9 7 The reaction of carbonates with acid continued C...

Page 27: ...glow increases and the wood relights You will use this glowing splint in the next experiment Experiment 9 11 The reaction of copper sulphate with ammonia copper sulphate ammonia solution test tube dropping pipette Put measure of copper sulphate into a clean dry test tube and add a very small amount of water about cm Warm the tube to dissolve the copper sulphate and let it cool Add ammonia solution...

Page 28: ...ygen hydrogen peroxide solution iron sulphate test tube dropping pipette Iron in an iron II compound gets oxidised to iron III when it is treated with hydrogen peroxide Mix measure of iron sulphate with 2cm of water in a test tube Add a few drops of hydrogen peroxide solution with the dropping pipette and gently warm the solution What happens Are the colour changes the same as in Experiment 9 12 E...

Page 29: ...ent 2 4 an invisible message written with starch solution turned blue when dipped in iodine solution The formation this blue colour with starch is a very sensitive test for iodine Add 4 drops of iodine with the dropping pipette to a test tube of water followed by 4 drops of starch solution Use laundry spray starch see Experiment 2 4 or the starch solution prepared in the next experiment The soluti...

Page 30: ...ing spoon and heat it over the burner flame until nothing further happens Put the HOT SPOON in the tin lid to cool Describe what happens The black residue left in the spoon is carbon This is because sugar contains a lot of carbon In Experiments 8 7 and 8 8 you heated tartaric and citric acids These are similar to sugar but contain less carbon Was there any carbon residue left when they were heated...

Page 31: ...supplied with this Chemistry Lab Experiment 11 6 Testing for sucrose sugar Fehling s solution 2 test tubes test tube holder or wooden clothes peg clay pot The sugar that we are familiar with is sucrose Repeat Experiment 11 5 replacing the 1cm of Golden Syrup solution with 1 measure of sugar dissolved in 1cm of water in a test tube What happens this time when you boil the solution Nothing happens b...

Page 32: ... pour it carefully into the glass container It should almost fill it When the syrup is cool enough to handle move the container to a place where you can easily see it Cover it with a piece of kitchen roll to keep out dust flies etc Leave for 2 or 3 days by which time there should be some sugar crystals on the bottom and maybe floating on the top of the container If none have formed put a sprinkle ...

Page 33: ...tion and blue in alkali solution Turmeric is yellow in acid solution and orange in alkaline solution 5 9 1 strong acid 2 weak or strong alkali 3 strong alkali 4 strong alkali 5 weak acid 6 weak or strong acid 7 weak or strong acid 8 weak alkali 9 weak acid 10 weak acid 5 10 1 Lemon juice is a weak acid It contain citric acid 2 Vinegar is a weak acid It contains ethanoic acid 3 Sparkling water is a...

Page 34: ... that carbon dioxide gas is being expelled from the sparkling water In Experiment 9 4 the indicator is put into the solution In this experiment the carbon dioxide gas is boiled out Other acids that might have been added to the fizzy soft drink do not boil out of the solution and so do not spoil this experiment 9 6 The lime water goes milky showing that carbon dioxide is produced in the flame The b...

Reviews: