Chapter 2 Securing the XDQA24 System
4
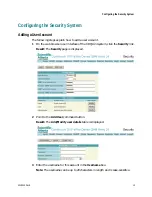
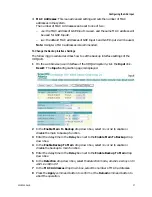
Enter the password for this account in the Password box.
Note: The password can be up to 20 characters in length and is also case-sensitive.
5
Confirm the password in the Re-enter password box.
6
In the Access-level drop down box select the access level for this account, viz.:
Guest, User or Administrator.
7
Press the Add/Update command button to confirm or the Cancel command
button to abort the operation.
Result: The new user account is added to the User accounts list on the Security
page.
Deleting a User Account
Perform the following steps to remove a user account from the User accounts list.
1
On the web browser user interface of the XDQA24 system, click the Security link.
Result: The Security page is displayed.
2
In the User Accounts list point to the Modify command button in the row of the
account that must be removed.
Result: The Add/Modify user details table is displayed.
3
Press the Delete User command button.
Result: The user account is removed from the User accounts list on the Security
page.
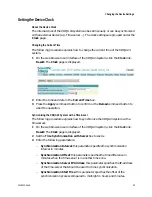
Enabling of disabling the Security System
The following procedure explains how to enable or disable the security system.
1
On the web browser user interface of the XDQA24 system, click the Security link.
Result: The Security page is displayed.
2
Select Enable or Disabled in the User security drop down box.
3
Press the Apply command button to confirm or the Reload command button to
abort the operation.
14
4018055 Rev B
Summary of Contents for Continuum DVP eXtra Dense QAM Array 24
Page 1: ...4018055 Rev B Continuum DVP eXtra Dense QAM Array 24 Configuration Guide...
Page 2: ......
Page 4: ...For Your Safety iv 4018055 Rev B...
Page 6: ......
Page 10: ......
Page 12: ......
Page 14: ......
Page 24: ......
Page 32: ......
Page 44: ...Chapter 3 Configuring the XDQA24 System 30 4018055 Rev B...
Page 64: ......
Page 88: ......
Page 96: ......
Page 103: ......


