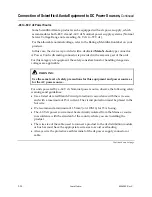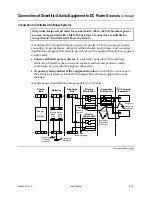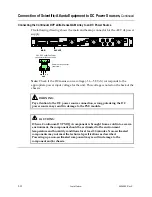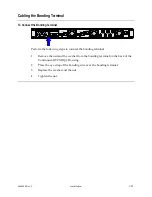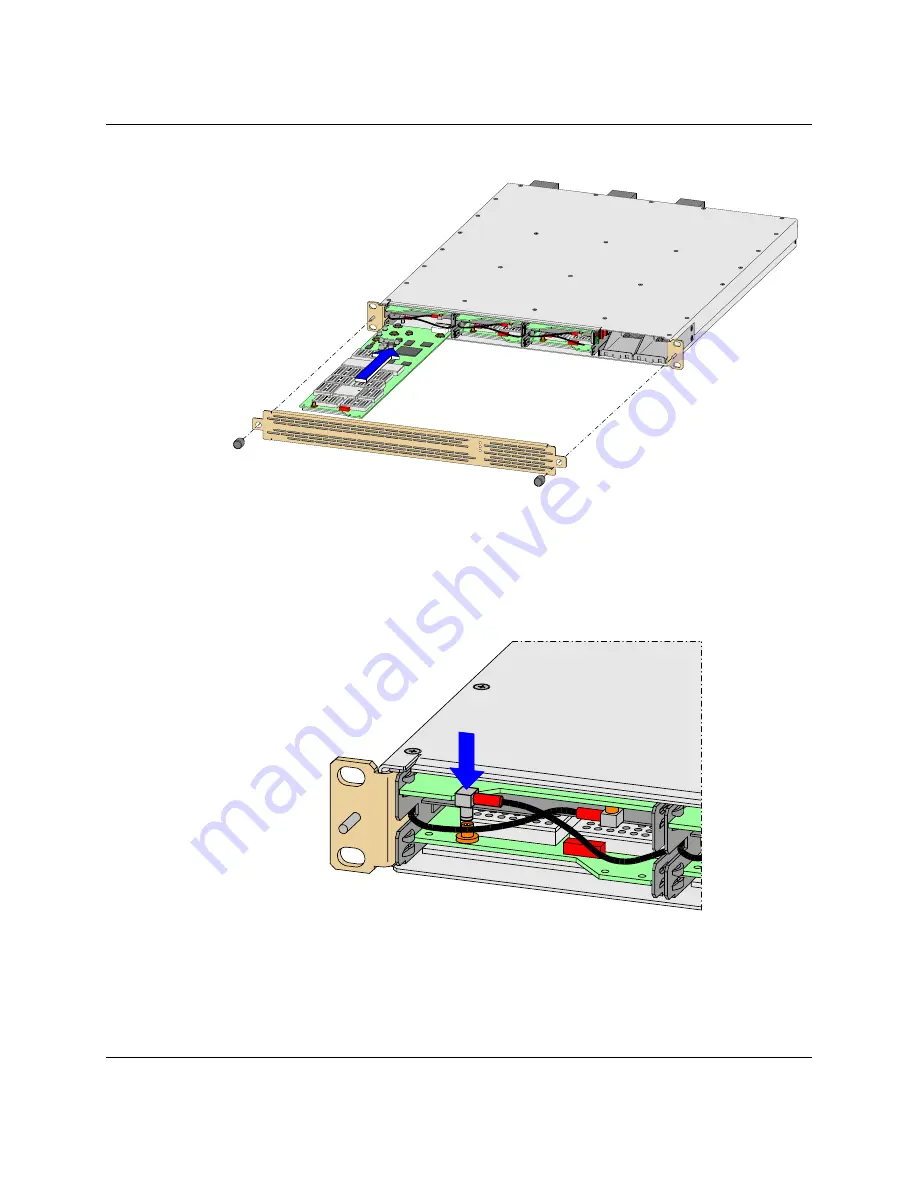
Installing or Removing a Dense QAM Array Dual QAM Card,
Continued
3.
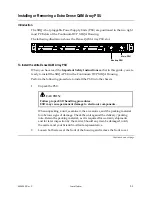
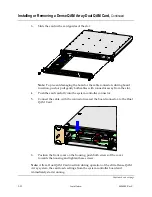
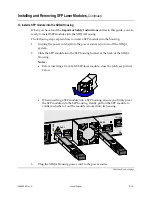
Slide the card in the card guides of the slot.
Continuum DVP
eXtra Dense QAM Array
Alarm
Main
Backup
Note:
To prevent damaging the board or the cable connectors during board
insertion, push or pull gently both cables with connector away from the slot.
4.
Push the card carefully into the system controller connector.
5.
Connect the cable, with the connector nearest the board connector, to the Dual
QAM Card.
6.
Position the front cover on the housing, push both screws of the cover
towards the housing and tighten these screws.
Note:
After a Dual QAM Card insertion during operation of the eXtra Dense QAM
Array system, the card loads settings from the system controller board and
immediately starts running.
Continued on next page
2-12
Installation
4004949 Rev C
Summary of Contents for Continuum DVP eXtra Dense QAM Array
Page 1: ...Continuum DVP eXtra Dense QAM Array System Guide...
Page 3: ...Continuum DVP eXtra Dense QAM Array System Guide...
Page 18: ...xvi 4004949 Rev C...
Page 20: ......
Page 36: ......
Page 38: ...2 2 Installation 4004949 Rev C...
Page 68: ......
Page 80: ......
Page 86: ......
Page 88: ......
Page 94: ......
Page 100: ......
Page 106: ......
Page 110: ......
Page 111: ......


