Connection of Scientific-Atlanta Equipment to AC Power Sources
Connecting the Continuum DVP eXtra Dense QAM Array to an AC Power Source
When you have read the
Rack Mounting Safety Precautions
in topic
Important
Safety Instructions
, earlier in this guide, you are ready to connect the Continuum
DVP XDQA system to an AC mains inlet.
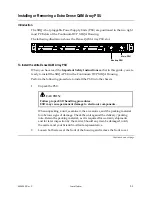
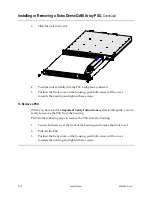
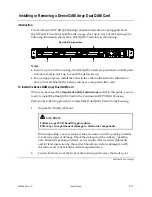
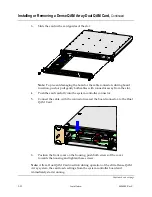
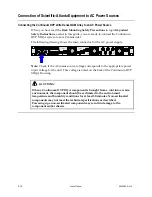
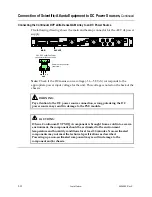
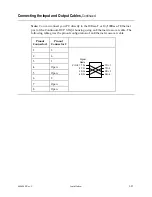
The following drawing shows the main connector for the AC power supply.
FAN 1
FAN 2
FAN 3
GbE 1
GbE 2
10/100bT
10bT
1
4
2
3
6
5
RF OUT
BACKUP
MA
IN
Note:
Check if the AC mains source voltage corresponds to the appropriate power
input voltage for the unit. This voltage is noted on the back of the Continuum DVP
XDQA Housing.
CAUTIONS:
When a Continuum DVP DQA component is brought from a cold into a warm
environment, the component should be acclimated to the environment
temperature and humidity conditions for at least 30 minutes. Non-acclimated
components may not meet the technical specifications as described.
Powering up a non-acclimated component may result in damage to the
component and/or chassis.
2-18
Installation
4004949 Rev C
Summary of Contents for Continuum DVP eXtra Dense QAM Array
Page 1: ...Continuum DVP eXtra Dense QAM Array System Guide...
Page 3: ...Continuum DVP eXtra Dense QAM Array System Guide...
Page 18: ...xvi 4004949 Rev C...
Page 20: ......
Page 36: ......
Page 38: ...2 2 Installation 4004949 Rev C...
Page 68: ......
Page 80: ......
Page 86: ......
Page 88: ......
Page 94: ......
Page 100: ......
Page 106: ......
Page 110: ......
Page 111: ......

