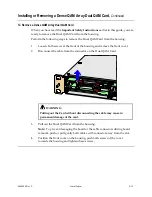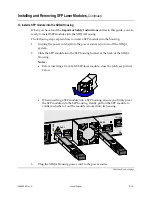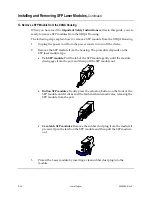
Installing or Removing a Dense QAM Array Dual QAM Card
Introduction
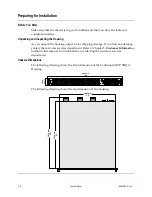
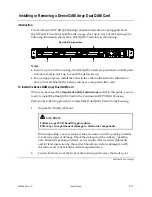
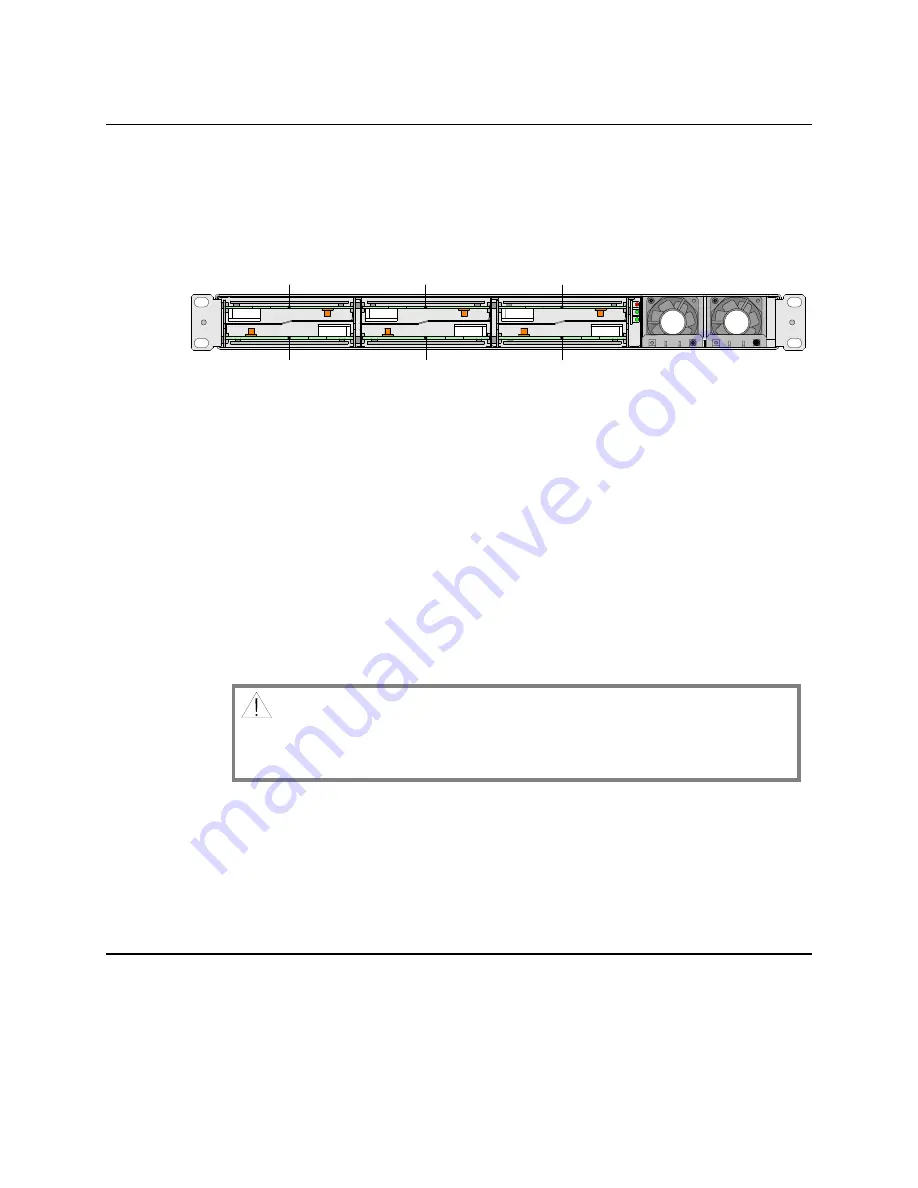
The Continuum DVP XDQA Housing
contains maximum 6 hot-pluggable Dual
QAM Cards. These Dual QAM Cards occupy slot 1 up to slot 6 of the housing. The
following illustration shows the 6 Dual QAM Card slots in the housing.
1
2
3
4
5
6
Dual QAM Card position
Notes:
•
In slot 1 up to 3 of the housing, the Dual QAM Cards are positioned with the parts
side down and in slot 4 up to 6 with the parts side up.
•
For cooling purposes, install the cards in the order indicated in the illustration
above if not all Dual QAM Card positions are occupied with a card.
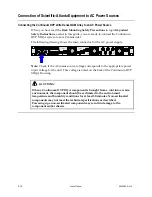
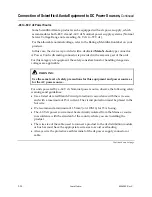
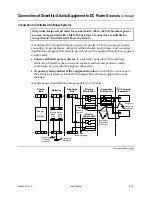
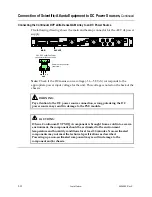
To Install the Dense QAM Array Dual QAM Card
When you have read the
Important Safety Instructions
earlier in this guide, you are
ready to install the Dual QAM Card in the Continuum DVP XDQA Housing.
Perform the following procedure to install the Dual QAM Card into the housing.
1.
Unpack the Dual QAM Card.
CAUTION:
Follow proper ESD handling procedures.
ESD may cause permanent damage to electronic components.
When unpacking a unit, examine it, the accessories, and the packing material
for obvious signs of damage. Check the unit against the delivery/packing
note. Retain the packing material, as it is required for warranty shipments
and for later inspection by the carrier. Should any item be damaged, notify
the carrier and your Scientific-Atlanta representative.
2.
Loosen both screws at the front of the housing and remove the front cover.
Continued on next page
4004949 Rev C
Installation
2-11
Summary of Contents for Continuum DVP eXtra Dense QAM Array
Page 1: ...Continuum DVP eXtra Dense QAM Array System Guide...
Page 3: ...Continuum DVP eXtra Dense QAM Array System Guide...
Page 18: ...xvi 4004949 Rev C...
Page 20: ......
Page 36: ......
Page 38: ...2 2 Installation 4004949 Rev C...
Page 68: ......
Page 80: ......
Page 86: ......
Page 88: ......
Page 94: ......
Page 100: ......
Page 106: ......
Page 110: ......
Page 111: ......

