MARGIN STOPS
Businesslike
side
margins
are
assured
by
the
positive, fully visible “‘quicksct” Margin Stops.
‘To
set
cither
margin,
press
down
on
the
stop
and
slide
to
the
desired
position,
As
you
are
warning bell sounds about 7 spaces
before the right margin is reached.
PAGE GAGE
INDICATOR
‘The
Page
Gage
Indicator
tells
how far
your
typing
line
is
from
the
bottom
of the
page.
On the lefi
Platen end are two rows of numbers
marked in red, Turn the Platen until the number
indicating the length of paper you are using is
aligned under the word “SET” on the Paper
Bail.
Insert
paper
squarely
to
assure
straight
feeding, and type in the usual manner.
As
you
approach
the
bottom
of
the
sheet,
the
red
numerals
under
the
word
‘‘END”
on
the
Paper
Bail
show
you
the
number
of
inches
remaining to the bottom of the paper.
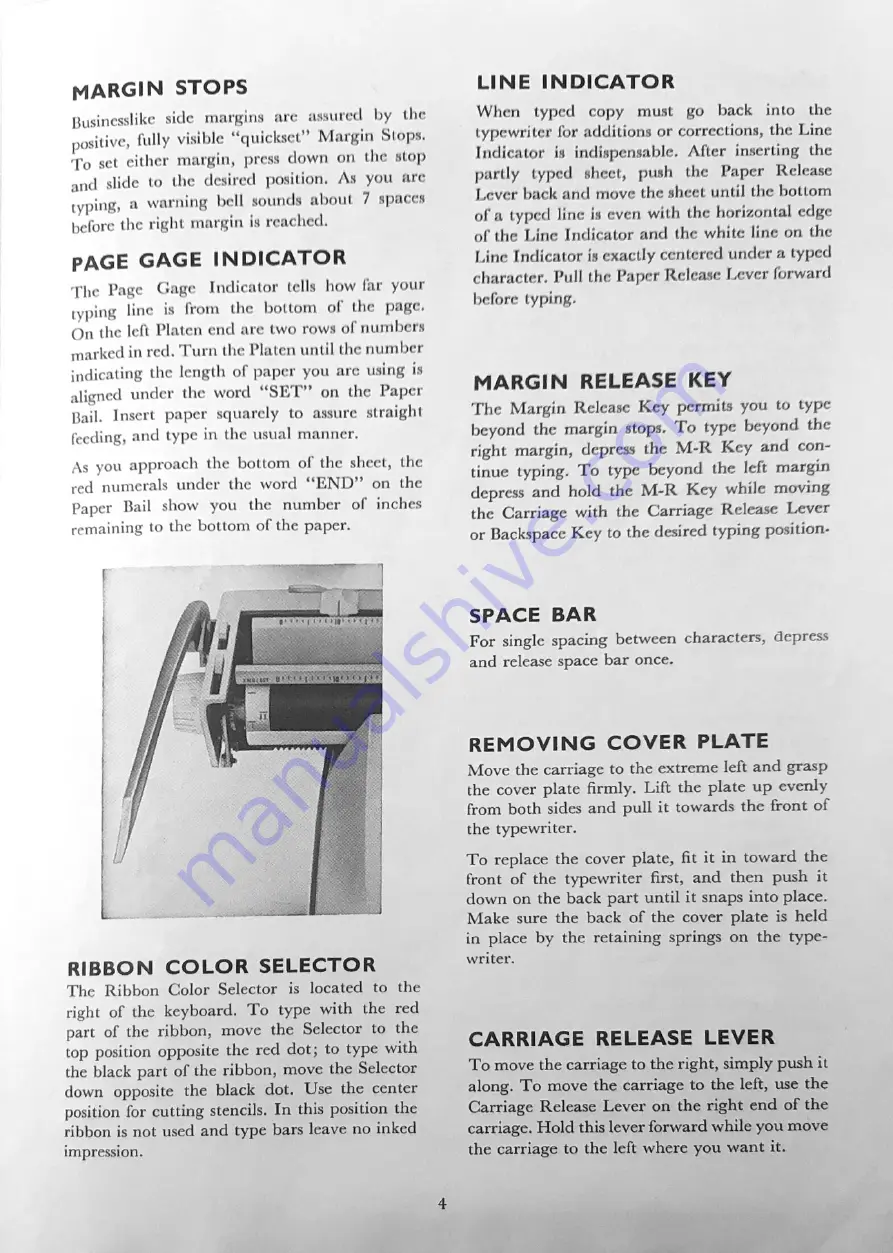
RIBBON
COLOR
SELECTOR
The
Ribbon
Color
Selector
is
located
to
the
right of the keyboard.
To type with
the red
part
of the
ribbon,
move
the
Selector
to
the
top position opposite
the red dot;
to type with
the black part of the ribbon, move the Selector
down
opposite
the
black
dot.
Use
the
center
position for cutting stencils. In this position the
ribbon is not used and type bars leave no inked
impression.
LINE
INDICATOR
When
typed
copy
must
go
back
into
the
typewriter for additions or corrections, the Line
Indicator
is
indispensable.
After
inserting
the
partly
typed
sheet,
push
the
Paper
Release
Lever back and move the sheet until the bottom
of a typed line is even with the horizontal edge
of the Line Indicator and
the white line on the
Line Indicator is exactly centered under a typed
character, Pull the Paper Release Lever forward
before typing.
MARGIN
RELEASE
KEY
The
Margin
Release
Key
permits
you
to
type
beyond the margin stops. To type beyond the
right margin, depress the M-R Key and con-
tinue
typing.
To
type
beyond
the left
margin
depress and hold the M-R Key while moving
the
Carriage
with
the
Carriage
Release
Lever
or
Backspace
Key to
the
desired
typing
position-
SPACE
BAR
For
single
spacing
between
characters,
depress
and release space bar once.
REMOVING
COVER
PLATE
Move the carriage to the extreme left and grasp
the
cover
plate
firmly.
Lift the plate
up evenly
from both sides and
pull it towards
the front of
the
typewriter.
To
replace
the
cover plate,
fit it in
toward
the
front
of the
typewriter
first,
and
then
push
it
down on the back part until it snaps into place.
Make
sure
the
back
of the
cover
plate
is
held
in
place
by
the
retaining
springs
on
the
type-
writer.
CARRIAGE
RELEASE
LEVER
To move the carriage to the right, simply push it
along. To move the carriage to the left, use the
Carriage Release Lever on the right end of the
carriage. Hold this lever forward while you move
the carriage to the left where you want it.


