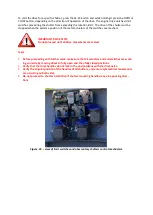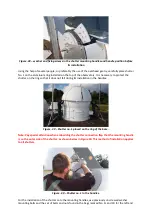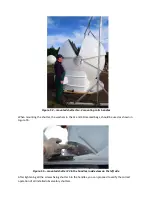
After tightening the screws of the shutter to its mounting handles, you can try to open and close it
using the buttons on the manual control panel by pressing and holding the S1 button, and then the
OPEN and CLOSE buttons.
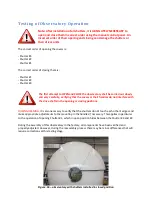
Special care should be taken while verifying the operation of the limit
switches and the
synchronous operation of both drives
.
Installation of Observatory Shutter #2
The next stage of the work is the installation of shutter No. 2. Preparation for installation we begin
with the correct positioning relative to the base of the observatory. Shutter #1 shall be in a closed
position, rested on the front of the ring.
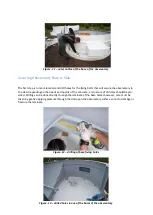
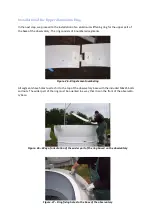
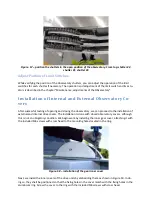
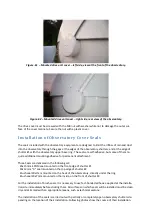
Figure. 44
–
Orientation and preparation of Shutter No. 2 for installation
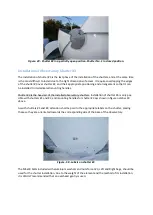
Unlike Shutter No. 1, its installation is made from the back of the observatory.
As with shutter # 1,
special care should be taken to ensure that the side of the
flap marked "Shutter Right" is on the right
side, and the side marked "Shutter Left" is on the left side of the observatory looking from the front
door of the base.
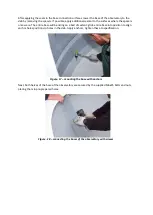
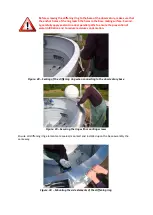
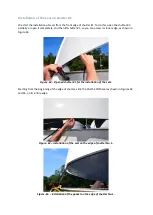
Figure. 45
–
Shutter #2 labels
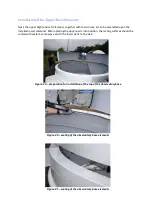
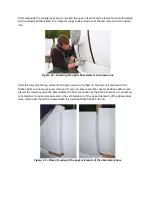
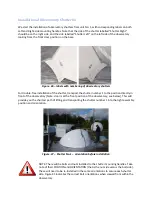
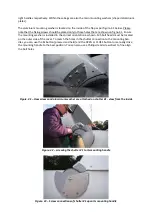
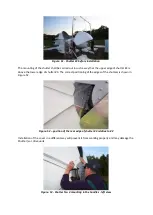
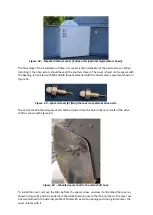
Before lifting shutter #2 into the installation position, firstly install the parking handles to the top of
the base, and within the stiffening ring. These parking handles must be screwed with M6x10 bolts to
the notches made in the ring as indicated in the figure 46 below.

