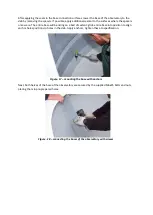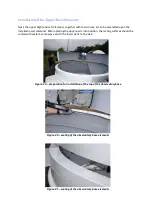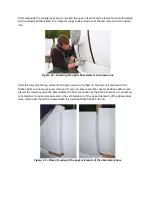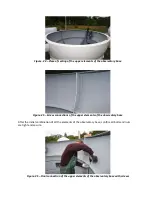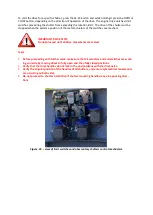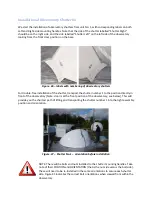
The operation with the fixing of the shutter #2 to its mounting handles is like those described when
mounting shutter #1. Special care should be taken for proper positioning of the aluminium washer on
the inside of the shutter. Its holes should match the holes drilled in the shutter.
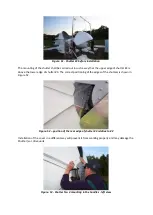
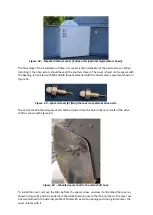
Figure. 49
–
Inner washer for shutter No. 2
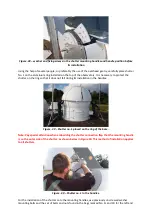
Make sure that the bottom edge of the shutter is below the aluminium ring. Only in this position will
it be possible to operate the shutter properly.
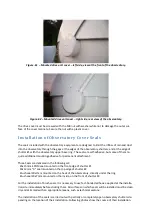
Verify with Figure 50 below your bolt layout.
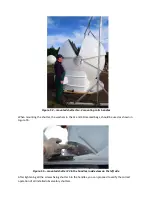
Figure. 48
–
Screw connections of shutter No. 2
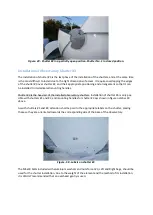
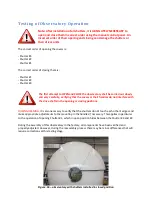
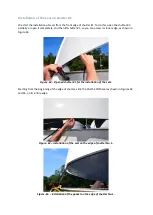
After tightening all bolts to shutter #2 whilst it laid in its parking handles, it is necessary to remove
these three handles from the ring. After unscrewing the fixing screws, the handles can be pulled from
the bottom, and through the gap between the shutter and the base wall by pulling out the shutter
slightly. After disassembling and removing these handles, you can then try to OPEN and CLOSE shut-
ter #2 using the buttons on the manual control panel by pressing and holding the S2 button and
OPEN and CLOSE buttons.
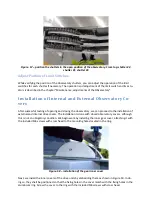
Special care should be taken while verifying the operation of the limit
switches and the synchronous operation of the drives
on both sides of the observatory.

