PAGE 33
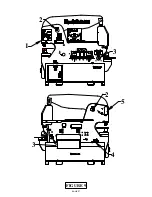
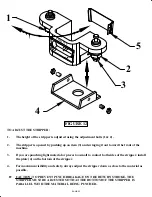
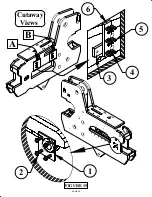
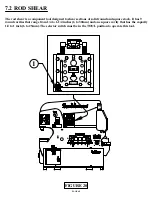
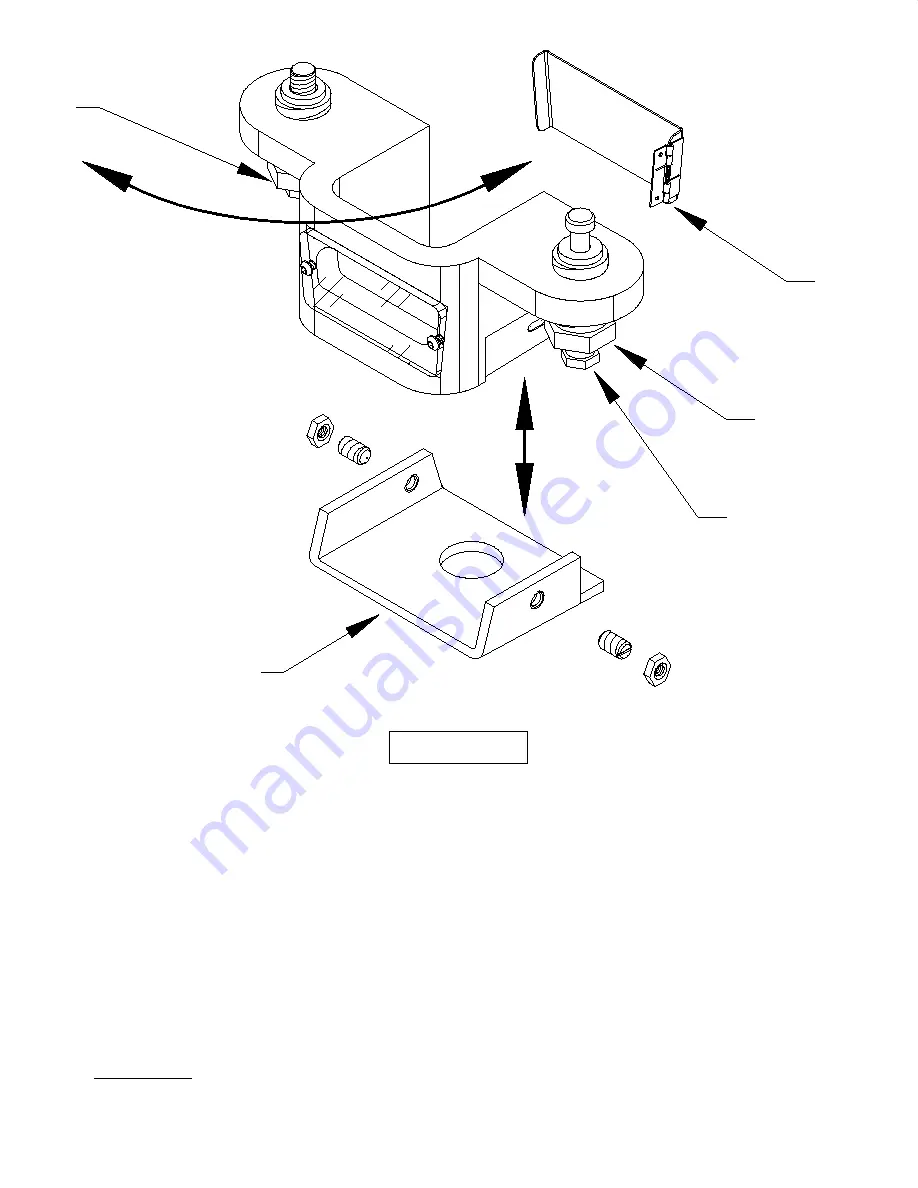
TO ADJUST THE STRIPPER:
1.
The height of the stripper is adjusted using the adjustment bolts (1 & 2).
2.
The stripper is opened by pushing up on item (3) and swinging it out toward the front of the
machine.
3.
If you are punching light material or pieces too small to contact both sides of the stripper, install
the plate (4) on the bottom of the stripper.
4.
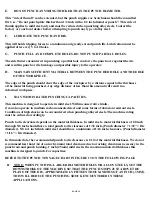
For maximum visibility and safety, always adjust the stripper down as close to the material as
possible.
►
CAUTION: TO PREVENT PUNCH BREAKAGE ON THE RETURN STROKE, THE
STRIPPER MUST BE ADJUSTED SO THAT THE BOTTOM OF THE STRIPPER IS
PARALLEL WITH THE MATERIAL BEING PUNCHED.
FIGURE 12
007229
007237
007227
F R O N T
007236
007239
007240
007268
220014
220014
1
2
3
11741
11740
5
007252
110014
1/2x13-UNC
110014
1/2x13-UNC
001541
001541
4

