Installing The Ice Maker
Unpacking
Removing packaging materials
IMPORTANT: Do not remove any permanent
instruction labels inside your ice maker or the Tech
Sheet that is fastened behind the lower access
panel.
•
Remove tape and any labels from your ice
maker before using (except the model and serial
number label).
To remove any remaining tape or glue, rub the area
briskly with your thumb. Tape or glue residue can
also be easily removed by rubbing a small amount of
liquid dish soap over the adhesive with your fingers.
Wipe with warm water and dry.
•
Do not use sharp instruments, rubbing alcohol,
flammable fluids, or abrasive cleaners to remove
tape or glue. These products can damage the
surface of your ice maker. For more information,
see the “Important Safety Instructions” section.
Cleaning before use
After you remove all of the packaging materials,
clean the inside of your ice maker before using it.
See the cleaning instructions in the “Caring for Your
Ice Maker” section.
Space Requirements
•
To ensure proper ventilation for your ice maker,
the front side must be completely unobstructed.
The unit may be closed-in on the top and three
sides, but the installation should allow the ice
maker to be pulled forward for servicing if
necessary.
•
Installation of the ice maker requires a cold
water supply inlet of
1
4
“ (6mm) OD soft copper
tubing with a shut-off valve and either a
gravity-drain system or condensate pump to
carry the water to an existing drain.
•
Choose a well ventilated area with
temperatures above 55°F (13°C) and below
100°F (38°C). Best results are obtained
between 70°F (21°C) and 90°F (32°C). This unit
MUST be installed in an area protected from the
elements, such as wind, rain, water spray, or
drip.
•
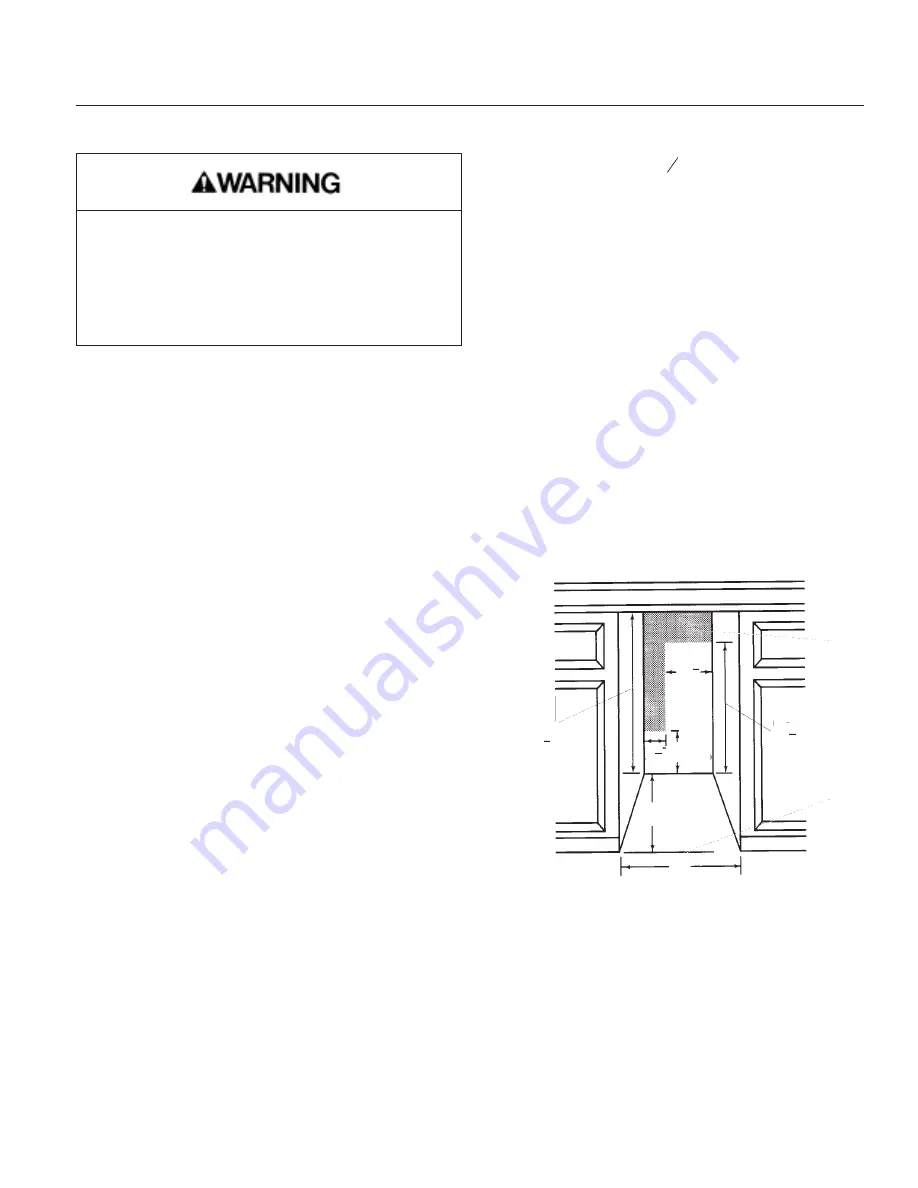
When installing the ice maker under a counter,
follow the recommended opening dimensions
shown. Do not place electrical or plumbing
fixtures in the clear zone as indicated by the
gray shaded area.
NOTE: Do not kink or pinch the power supply cord
between the ice maker and cabinet.
1. Clear Zone
2. Floor Level
n
You should choose a location where the floor is
even. It is important for the ice maker to be level in
order to work properly. If needed, you can adjust the
height of the ice maker by changing the position of
the rear wheels. See the “Leveling the Ice Maker”
section.
July 1999
Page 3
CSW45
Excessive Weight Hazard
Use two or more people to move and install ice
maker.
Failure to do so can result in back or other injury.
15”
24”
11
1
2
”
3
1
2
9”
28
1
2
”
34”
min
34
1
2
”
max


