background image

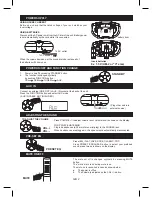
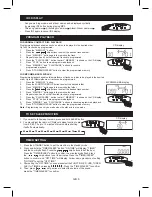
3 .  Turn in a station by pressing the UP/ DOWN 


button.

5 .  The FM stereo indicator (Stereo) will appear on  


the LCD display panel when an FM Stereo   


Broadcast is received.

1 .  Press the FUNCTION button and select Radio  


mode.

2 .  Select AM or FM by pressing the 


STOP/BAND/CLEAR button.

4 .  Release the button as soon as the frequency starts  


to change. The tuner will search up or down the  


selected band and stop at the next receivable  


station. When scanning stops, the frequency of  


the received station will be displayed. 


LISTENING TO THE RADIO

GB 3

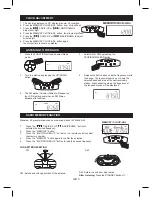
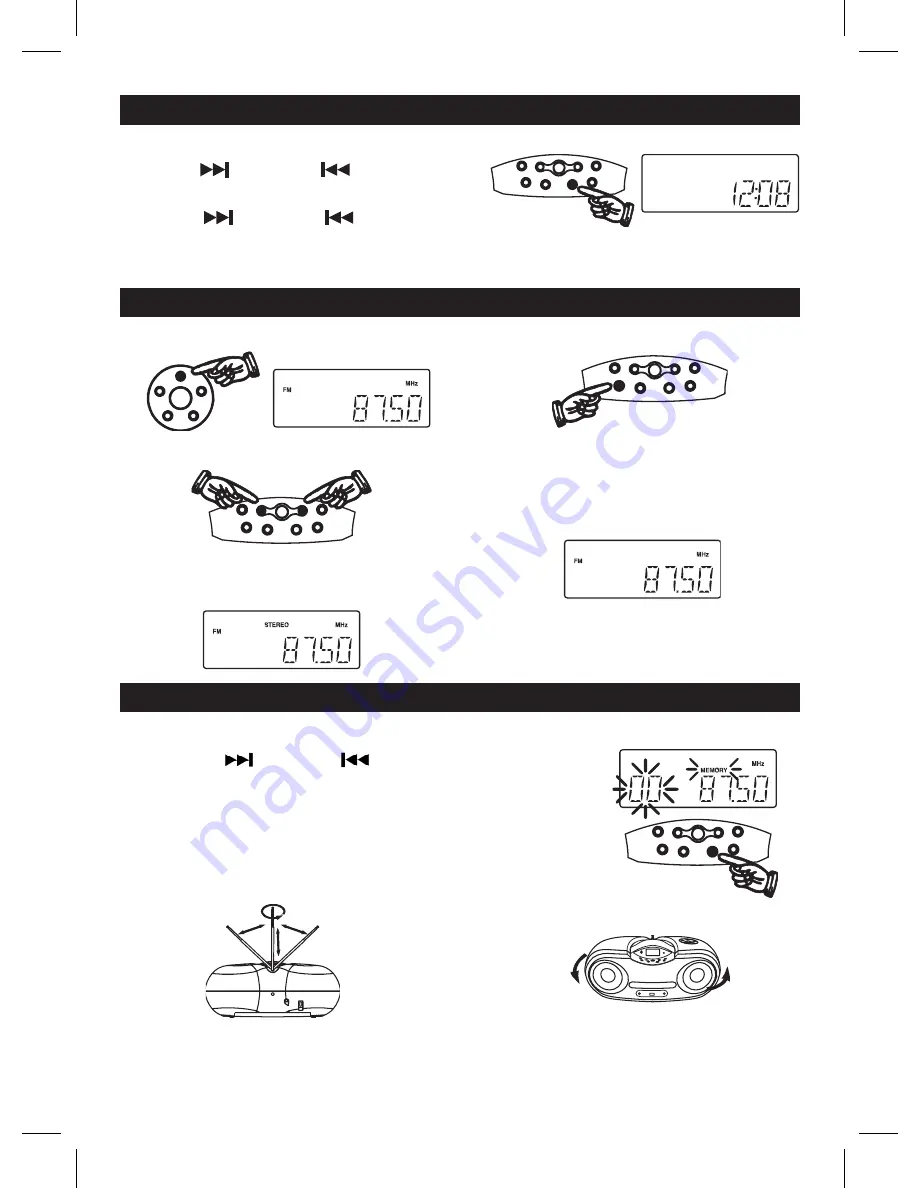
1.  The clock is displayed on CD display at power off condition.

2.  Press the MEMORY CLOCK-ADJ. button, hour of clock flash.

3.  Press the           F-SKIP/UP or           B-SKIP/DOWN to 


adjust hour digit.

4.  Press the MEMORY CLOCK-ADJ. button, the minute digit flash.

5.  Press the            F-SKIP/UP or            B-SKIP/DOWN to adjust 


minute digit.

6.  Press the MEMORY CLOCK-ADJ. button again,  


the correct time is shown on display.


CLOCk ADJUSTMENT

MEMORY/CLOCK-ADJ.

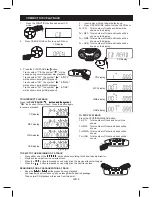
Maximum 20 preset stations can be memorized, each in FM and AM.

1. 

Press the "           F-SKIP/UP or          B-SKIP/DOWN " button to 


selected the desired frequency. 

2. 

Press the " MEMORY " button.

3. 

Press the " M-UP/FOLDER UP " on radio or on remote control to select 


the memory number.

4. 

Press the " MEMORY " button again to confirm the selection.

5. 

Press the " M-UP/FOLDER UP " button to read the desired frequency.


RADIO MEMORY FUNCTION 

MEMORY / CLOCK-ADJ.

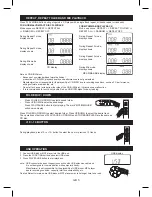
FOR BETTER RECEPTION


FM


AM

AM : Rotate the unit from side to side.

FM : Extend and change position of the antenna.

After Listening: 

Press the STANDBY button off.

Summary of Contents for SDM60

Page 1: ...TROLS 14 STANDBY BUTTON 15 OPEN CLOSE BUTTON 16 FUNCTION BUTTON 17 PRESET EQ BUTTON 18 VOLUME CONTROL 19 VOLUME CONTROL 20 SPEAKER 21 CD DOOR 22 USB PORT 23 TELESCOPIC ANTENNA 24 BATTERY COMPARTMENT 2...

Page 2: ...n is not impeded by covering the ventilation openings with items such as newspapers table cloths curtains etc Do not place naked flame sources such as lighted candles on the apparatus Take attention t...

Page 3: ...peakers are automatically disconnected TO ADJUST THE VOLUME ADJUSTING THE SOUND PRE SET EQ Preset EQ FLAT JAZZ ROCK CLASSIC POP Press PRESET EQUALIZER button to select your preferred sound preset mode...

Page 4: ...ss the F SKIP UP or B SKIP DOWN to adjust hour digit 4 Press the MEMORY CLOCK ADJ button the minute digit flash 5 Press the F SKIP UP or B SKIP DOWN to adjust minute digit 6 Press the MEMORY CLOCK ADJ...

Page 5: ...be shown on the display CD display CD display USB display TO SKIP TO THE BEGINNING OF A TRACK Press either one of the skip buttons according to the desired skip direction Play back resumes from the se...

Page 6: ...side of the CD R RW disc It may cause a malfunction It is recommended to record only audio files on CD R RW discs for easy reading Press FOLDER UP DOWN to select desired folder Press UP DOWN to select...

Page 7: ...elect the desired track number 5 Press MEMORY button again to memorize the track 6 Repeat steps 2 and 5 until all desired tracks are programmed 7 Press the PLAY PAUSE button to start MEMORY is shown o...

Page 8: ...completely excluded The rubber feet of the appliance can cause discoloring to furniture surfaces If necessary place the appliance on a non slide surface If at any time in the future you should need t...

Reviews: