HC-SG550M 2 Quick Start Guide
Page
9
enter into TEST mode, default the camera in menu
setting. There are some functions in TEST mode:
Custom settings, manual capture, preview or send
MMS manually. The remote control is needed in
this mode.
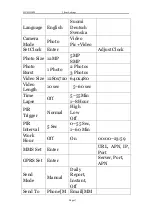
2.5 Custom Settings
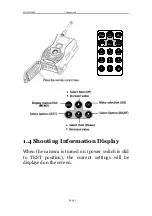
Press
MENU
on the remote control to enter into
the menu setting. The camera can be adjusted to
manually customize the camera settings which
display on the LCD screen of the camera.
You can press
RIGHT
key to manually capture
photos or record a video and again
RIGHT
to stop
a video after exit menu setting.
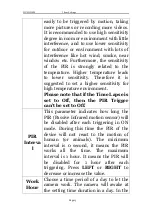
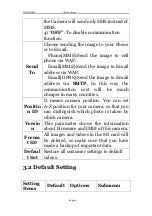
When
Send Mode
is set as “Manual”, you can send
the selected photo (in playback mode by pressing
OK
to enter) to the preset address in TEST
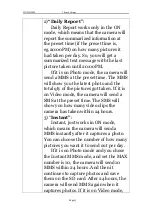
mode. ”Daily Report” and “Instant” mode are used
in ON mode. Please note that the images can only
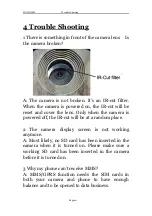
be sent and video cannot be sent. If the SIM card is
not inserted, the image cannot be sent as well.
2.6 Enter into On Mode
Slide the power switch to the
ON
position to power
on the camera and enter into the
ON
mode. Before
entering into the ON mode, you can adjust the
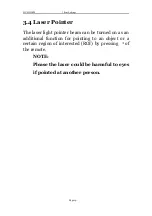
camera towards the target monitoring area by laser
pointer (press
*
on the remote to control).
After switching on the camera, the motion
indication LED (red) light will blink for about 10s.

