TB-9107
Page 12 of 14
© 2021 DESCO INDUSTRIES INC
Employee Owned
SCS
- 926 JR Industrial Drive, Sanford, NC 27332
East: (919) 718-0000 | West: (909) 627-9634 • Website:
Operation
1. Position the ionizer so that maximum airflow is
directed towards the items or area to be neutralized.
2. Rock the power switch to the I or II position. The
ionizer will conduct a self-test upon power-up. All
three LEDs will remain illuminated for approximately
15 seconds. The blue LED will remain illuminated
during normal operation.
3. Set the fan speed switch to the desired setting.
Higher airflow will result in faster discharge times.
Maintenance
Occasional cleaning of the case and of the ionizing
electrodes are the only routine maintenance procedures
required.
CLEANING THE CASE
Wipe the case with a soft cloth moistened with water.
If a stronger cleaning solution is required, mild soap
with water may be used. The use of any other cleaning
solutions is not recommended.
CLEANING THE EMITTER POINTS
NOTE: Disconnect the power to the ionizer whenever
cleaning the emitter points.
When the emitter points become dirty, the internal
circuitry of the ionizer will be automatically adjusted to
emit an equal amount of positive and negative ions.
Particulates on the emitter point may, however, inhibit
ionization to a limited degree. The emitter points are
located between the fan blades and the rear grill. A jet
of clean, compressed air can be used to remove dirt
on emitter points. If a more rigorous cleaning method is
needed to remove particulate, clean the points with a
cotton swab dampened with isopropyl alcohol. Access to
the points is available through the rear grill. Be careful
not to damage the points during cleaning.
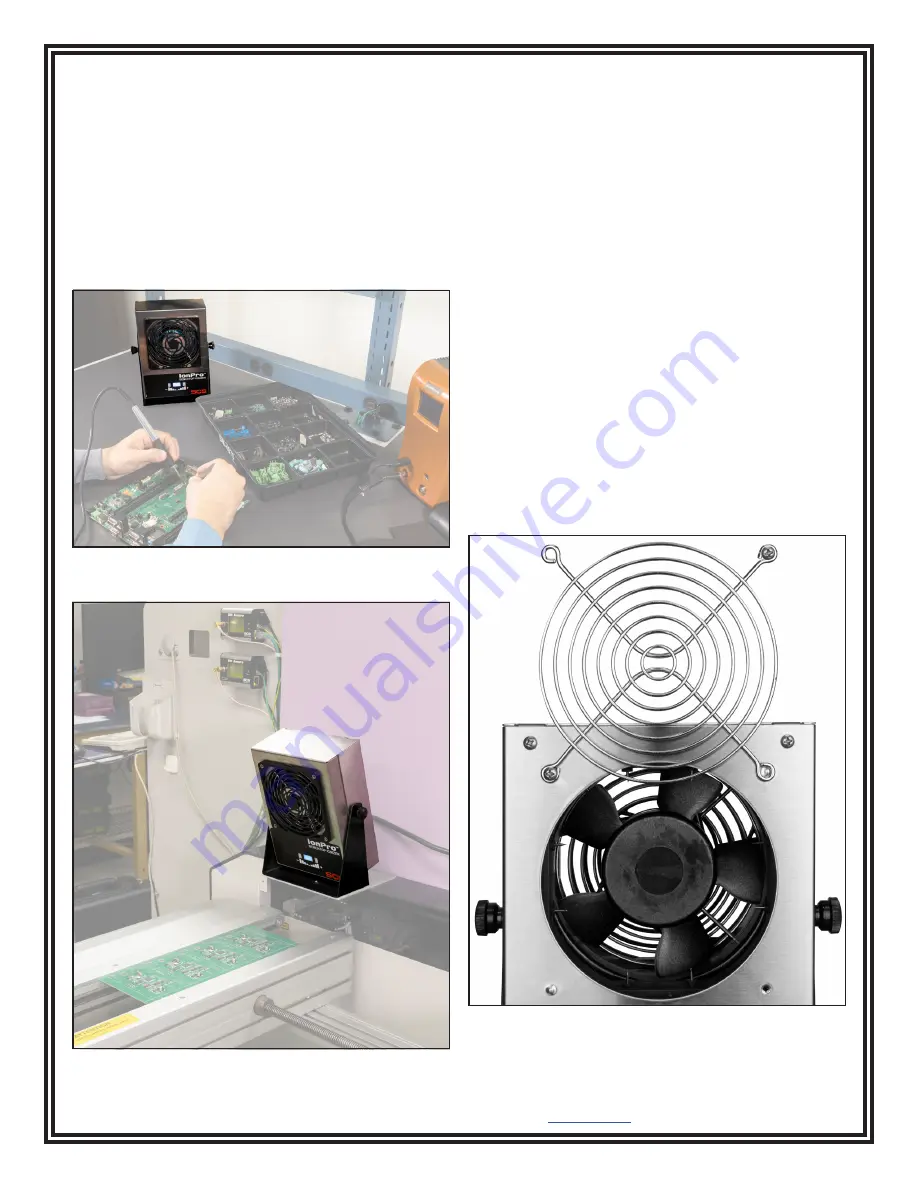
Figure 4. Using the Ion Pro™ Benchtop Ionizer at a
workbench
Figure 5. Using the Ion Pro™ Benchtop Ionizer at a
machine station
Figure 6. Swinging the rear fan grill to access the emitter
pins inside the Ion Pro™ Benchtop Ionizer


