10
3.
Press the
button again to confi rm (store) the current setting and go to the
next setting.
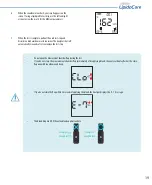
You can only move forward through the settings. Returning to the previous setting is not allowed. Corrections can only be made by repeating
the settings. The setting procedure can be terminated at any time by pressing the
(
) button. The settings made up to that
point will be stored.
4.
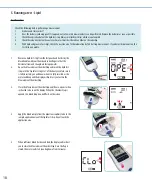
Once the setting is completed, the Analyzer will be automatically turned off .
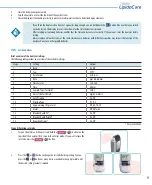
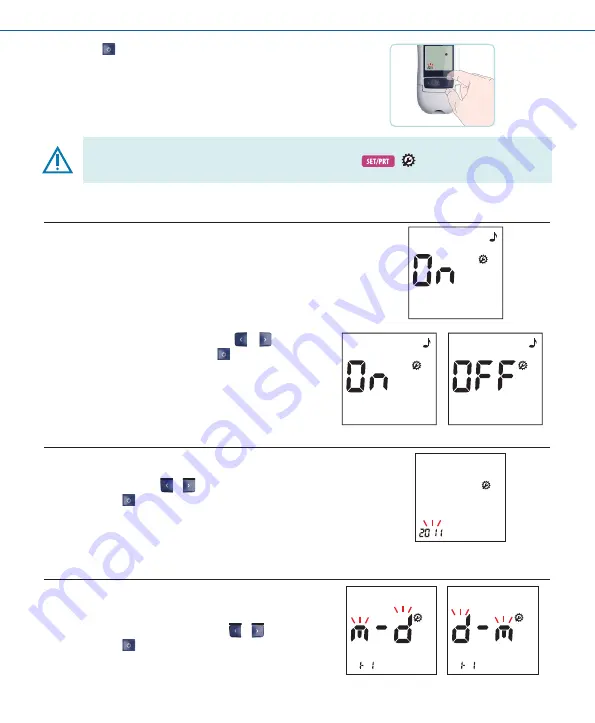
Stage 1) Setting - Beep
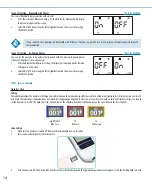
At the fi rst stage, you set the Beep function.
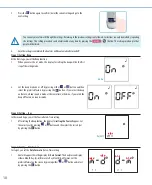
1.
When you enter the set mode, the display for setting the beep will be the fi rst
step of the setting mode.
Ex) On
2.
Set the beep mode on or off by pressing either
or
button and then
select the preferred feature by pressing the
button. If you select the beep
on feature, a ‘beep’ sound is made at the same time; otherwise, if you select the
beep off feature, no sound is made.
Stage 2) Setting – Year
In the second stage, you set the Year in Date & Time setting.
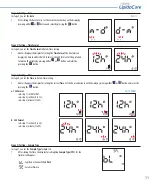
1.
After setting the Beep funtion, the display for
setting the Year
will appear. Set
the correct year by pressing
or
button and then select the correct year
by pressing the
button.
Ex) 2011
Stage 3) Setting – Date Format
In stage 3, you set the
Date Format
in Date & Time setting.
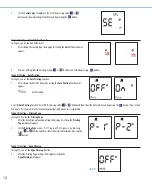
1.
Next will appear the setting display for
Date Format
. The Analyzer can display
either a Month-Day (m-d) format or a Day-Month (d-m) format. Set the
preferred format on the screen by pressing either
or
button and select
by pressing the
button.


