Vigilant User Manual
97/232
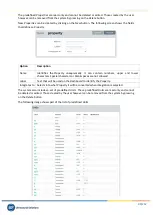
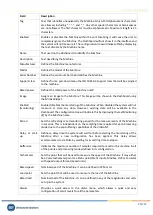
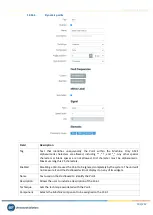
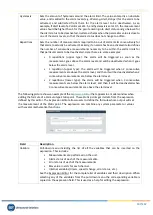
Parameter
Indicates the
Parameter
or measurement to set the alarm limits.
Unit
Shows the units of the
Parameter
or measurement.
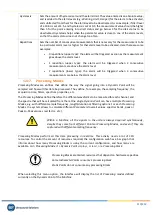
Type
Selects the type of alarm to be set for the
Parameter
or measurement. These are
different options:
•
None
. The values on the table will be ignored. No alarms will be assigned to the
measurement.
•
Upper2
. Sets 2 upper limits for the measurement (UA, UD).
•
Upper3
. Sets 3 measurement upper limits (UW, UA, UD).
•
Lower2
. Sets 2 lower limits for the measurement (LA, LD).
•
Lower3
. Sets 3 measurement lower limits (LW, LA, LD).
•
Window2
. Sets 2 upper and lower limits (LA, LD, UA UD).
•
Window3
. Sets 3 upper and lower limits (LW, LA, LD, UW, UA UD).
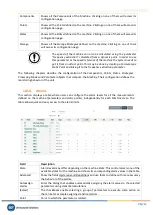
LD
Lower Danger
. Sets the value of the lower danger limit.
LA
Lower Alert
. Sets the value of the lower alert limit.
LW
Lower Warning
. Sets the value of the lower warning limit.
UW
Upper Warning
. Sets the value of the upper warning limit.
UA
Upper Alert
. Sets the value of the upper alert limit.
UD
Upper Danger
. Sets the value of the upper danger limit.
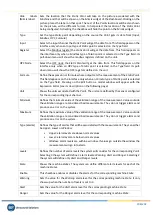
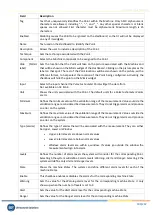
Hyst
Sets the hysteresis value used for calculating the change in the alarm level.
See next
section for more information.
Rep
Sets the number of repetitions needed to change the alarm level.
See next section for
more information.
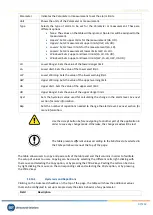
Use the Accept button before navigating to another part of the application in
order to save any change made. Otherwise, the changes made will be lost.
The table presents different values according to the Machine state selected in
the State pull-down menu at the top of the page.
The table allows users to copy and paste cells of the table and sort their columns in order to facilitate
the setup of values to users. Copying can be done by selecting the different cells, right-clicking with
the mouse and selecting the Copy option, or by pressing the
CTRL+C
keys. Pasting the cells can be done
by right clicking the mouse on the corresponding cells and selecting the
Paste
option, or by pressing
the
CTRL-V
keys.
12.14.1.
Hysteresis and Repetitions
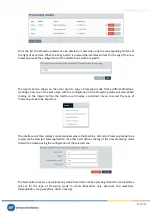
Clicking on the Advanced checkbox on the top of the page, the table will show the additional values
that can be configured to set up more precisely the alarm behavior of any parameter:
Field
Description

