Section 03 ENGINE SYSTEM
Subsection 04 (EXHAUST SYSTEM)
1
F18D0XA
2
3
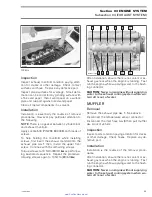
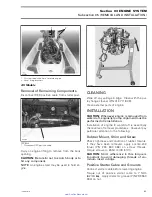
1. Exhaust pipe flange
2. Exhaust clamp
3. Engine manifold
Apply a soapy solution on inner side of muffler
strap
no. 5
to prevent muffler rotation at strap in-
stallation.
Reinstall muffler strap using the spring installer/re-
mover (P/N 529 035 989). Care must be taken not
to induce any rotation of the muffler.
Tighten the bottom clamp of the inlet hose
no. 8
.
Care must be taken not to induce strain on hose
to avoid muffler movement.
smr2005-009-003
Reconnect cooling hoses to the exhaust pipe and
torque clamps to 8 N•m (71 lbf•
in
).
After installation, ensure there is no water or ex-
haust gas leak when engine is running. Test run
the engine while supplying water to the flushing
connector.
CAUTION:
Never run engine without supplying
water to the exhaust cooling system when wa-
tercraft is out of water.
EXHAUST MANIFOLD
Removal
Disconnect the cooling hoses from the exhaust
pipe
no. 1
.
Remove the exhaust clamp
no. 6
and detach the
muffler from its support. Move the muffler
no. 4
rearwards to separate the exhaust pipe from the
manifold. See above in EXHAUST PIPE.
Disconnect the cooling system supply hose under-
neath the front part of the exhaust manifold
no. 7
.
NOTE:
On inter-cooled engines, the hose comes
from the intercooler.
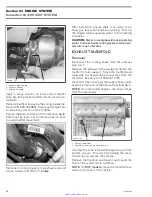
1
R1503motr151A
2
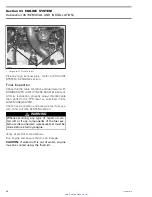
1. Exhaust manifold
2. Cooling system supply hose location
Unscrew the exhaust manifold beginning with the
bottom screws. This will help holding the mani-
fold while you remove the screws.
Remove the manifold and move it out toward the
front of the watercraft to withdraw.
NOTE:
On
RXP models
, move the manifold rear-
wards to remove it from vehicle.
54
smr2005-009
www.SeaDooManuals.net


