Maintenance and Troubleshooting
2406-7 Broadband At Sea
7-15
Step 6:
Press
ENTER
key to exit Remote Tilt Mode.
Step 7:
From antenna:
Verify Tilt Bias entered is within specifications.
2.
Observe the bubble for approximately 3-5 minutes to ensure it remains centered.
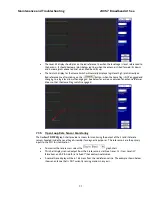
Using DacRemP:
1.
Select the
reference sensor graph.
3.
Verify the CL and LV displays are steady and within 4 divisions of nominal. (Anything more
than 4 divisions above or below red reference line should be of concern and
troubleshooting is required)
Step 8:
Save Level and Cross-Level Tilt Bias values.
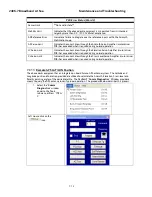
Using the DAC2202 ACU Front Panel:
4.
Press
DOWN
arrow or enter until you see “
REMOTE PARAMETERS”
window is
displayed
2.
Press
RIGHT
arrow and then press
ENTER
key (you will see a confirmation
saying ‘SAVED’)
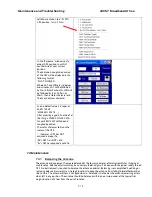
Using DacRemP:
5.
Click
icon on the Remote Command window. (Verify ^0087 is displayed in
the “Last Sent Command” window)
This saves the new tilt bias settings in the PCU. Reset or re-initialize the antenna to verify that the Level cage
is properly level with the new settings.
7.4.3.
To Reset/Reinitialize the Antenna:
Pressing Reset on the ACU front panel does NOT cause a reset of the above decks equipment. To Re-initialize
the antenna from the
REMOTE COMMAND
window on the ACU:
1.
Using the
LEFT/RIGHT
and
UP/DOWN
arrow keys set the Remote Command value to "
^0090
" and
press
ENTER
.
This resets the PCU on the antenna. The antenna will reinitialize with this command (Performs a similar
function as a power reset of the antenna).
Summary of Contents for 2406-7
Page 3: ......
Page 8: ...2406 7 Broadband At Sea Table of Contents viii This Page Intentionally Left Blank ...
Page 10: ...2406 7 Broadband At Sea Introduction 1 2 THIS PAGE INTENTIONALLY LEFT BLANK ...
Page 54: ...2406 7 Broadband At Sea DRAWINGS 9 2 This Page Intentionally Left Blank ...
Page 56: ......
Page 59: ......
Page 61: ......
Page 62: ......
Page 66: ......
Page 67: ......
Page 68: ......
Page 69: ......
Page 72: ......
Page 74: ......
Page 76: ......

